For inventory that requires inspection before use in operations, set up a customized electronic form that must be completed and signed before the material quality status is changed from the default status to Released. For easiest control of inspections, we recommend setting up Inspection Templates.
Create an Inspection Template
Inspection templates are a powerful way to control inspections across multiple parts. When a template is updated, all parts that use that template are automatically updated with the changes (if they are set to "Use Template" and not "Copy from Template". See Add Inspection Configuration section for additional information)
To create an inspection template from scratch, click on the gear icon in the top right corner of the page, open "All Lists", then click on "Inspection Configuration". You may see some inspections listed there already if you have parts with configured inspections.
To create a new inspection configuration, just click on "Add Inspection Configuration" in the top right and fill out the inspection information. Once the configuration is saved, it should show a checkmark in the "Is Template" column on the Inspection Configuration page, marking it as available to be used on multiple parts.
Convert Existing Inspection to Template
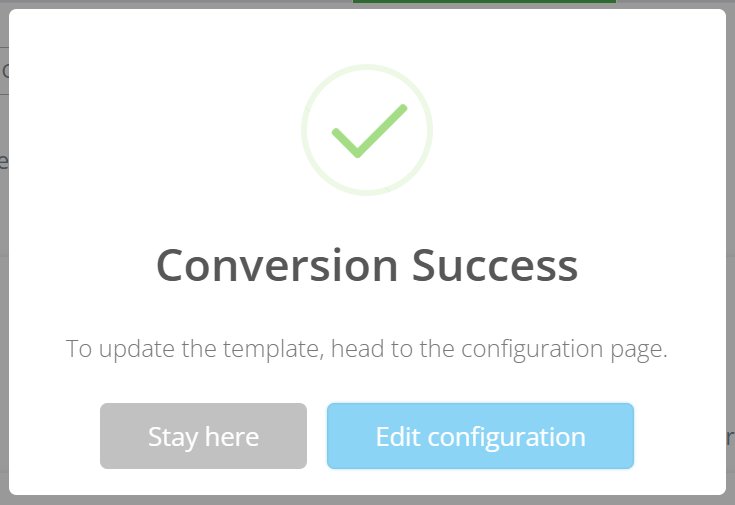
If you already have an inspection configuration set up and you want it to be available to other parts as a template, click the dropdown arrow next to "Remove Configuration" and select "Convert to Template".
Once you name the template and save, it will be available on the Inspection Configuration page.
Add an Inspection Configuration
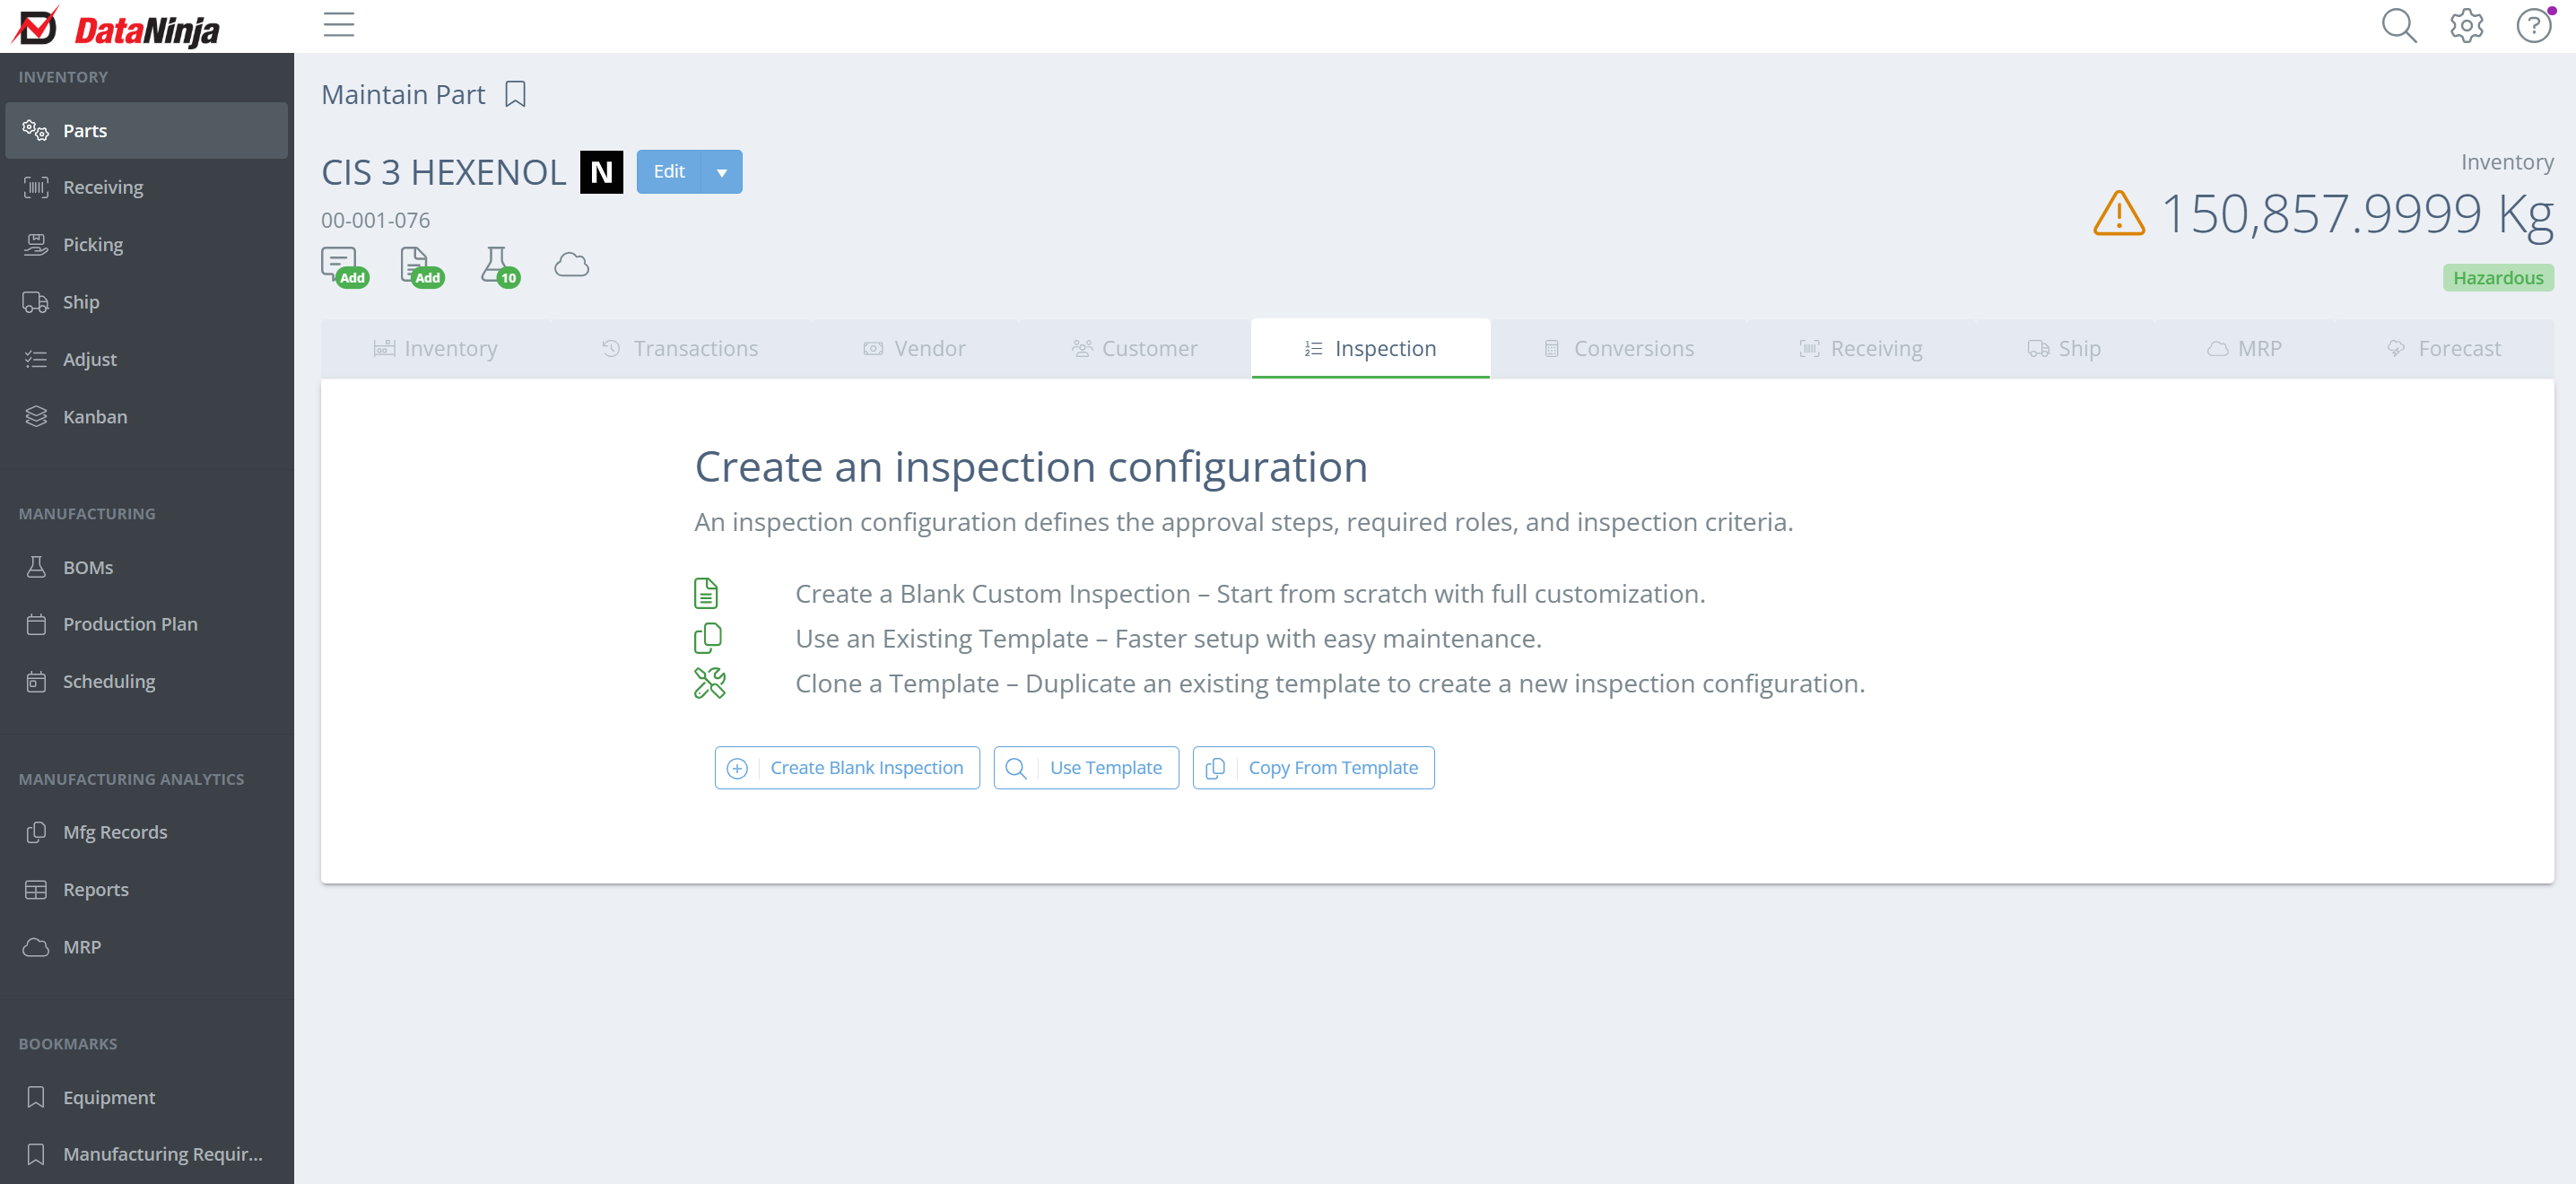
To add an incoming inspection on a part, go to the Parts page, search for the part and then click "View" to open the Maintain Part page. Click on the "Inspection" tab, and if you haven't set up an inspection on the part yet, you will see 3 options to get one added.
Create Blank Inspection:
Start from scratch- you will be required to fill in all of the information for the inspection.
Use Template:
If you already have an inspection template set up, you can apply it to the part but you will not be able to make any changes to the inspection on the part without adjusting/removing the template.
Copy From Template:
If you already have an inspection template set up, you can copy the approval steps and inspection criteria, and you will still be able to make changes to the inspection on the individual part without affecting the template.
Create a Blank Inspection Configuration
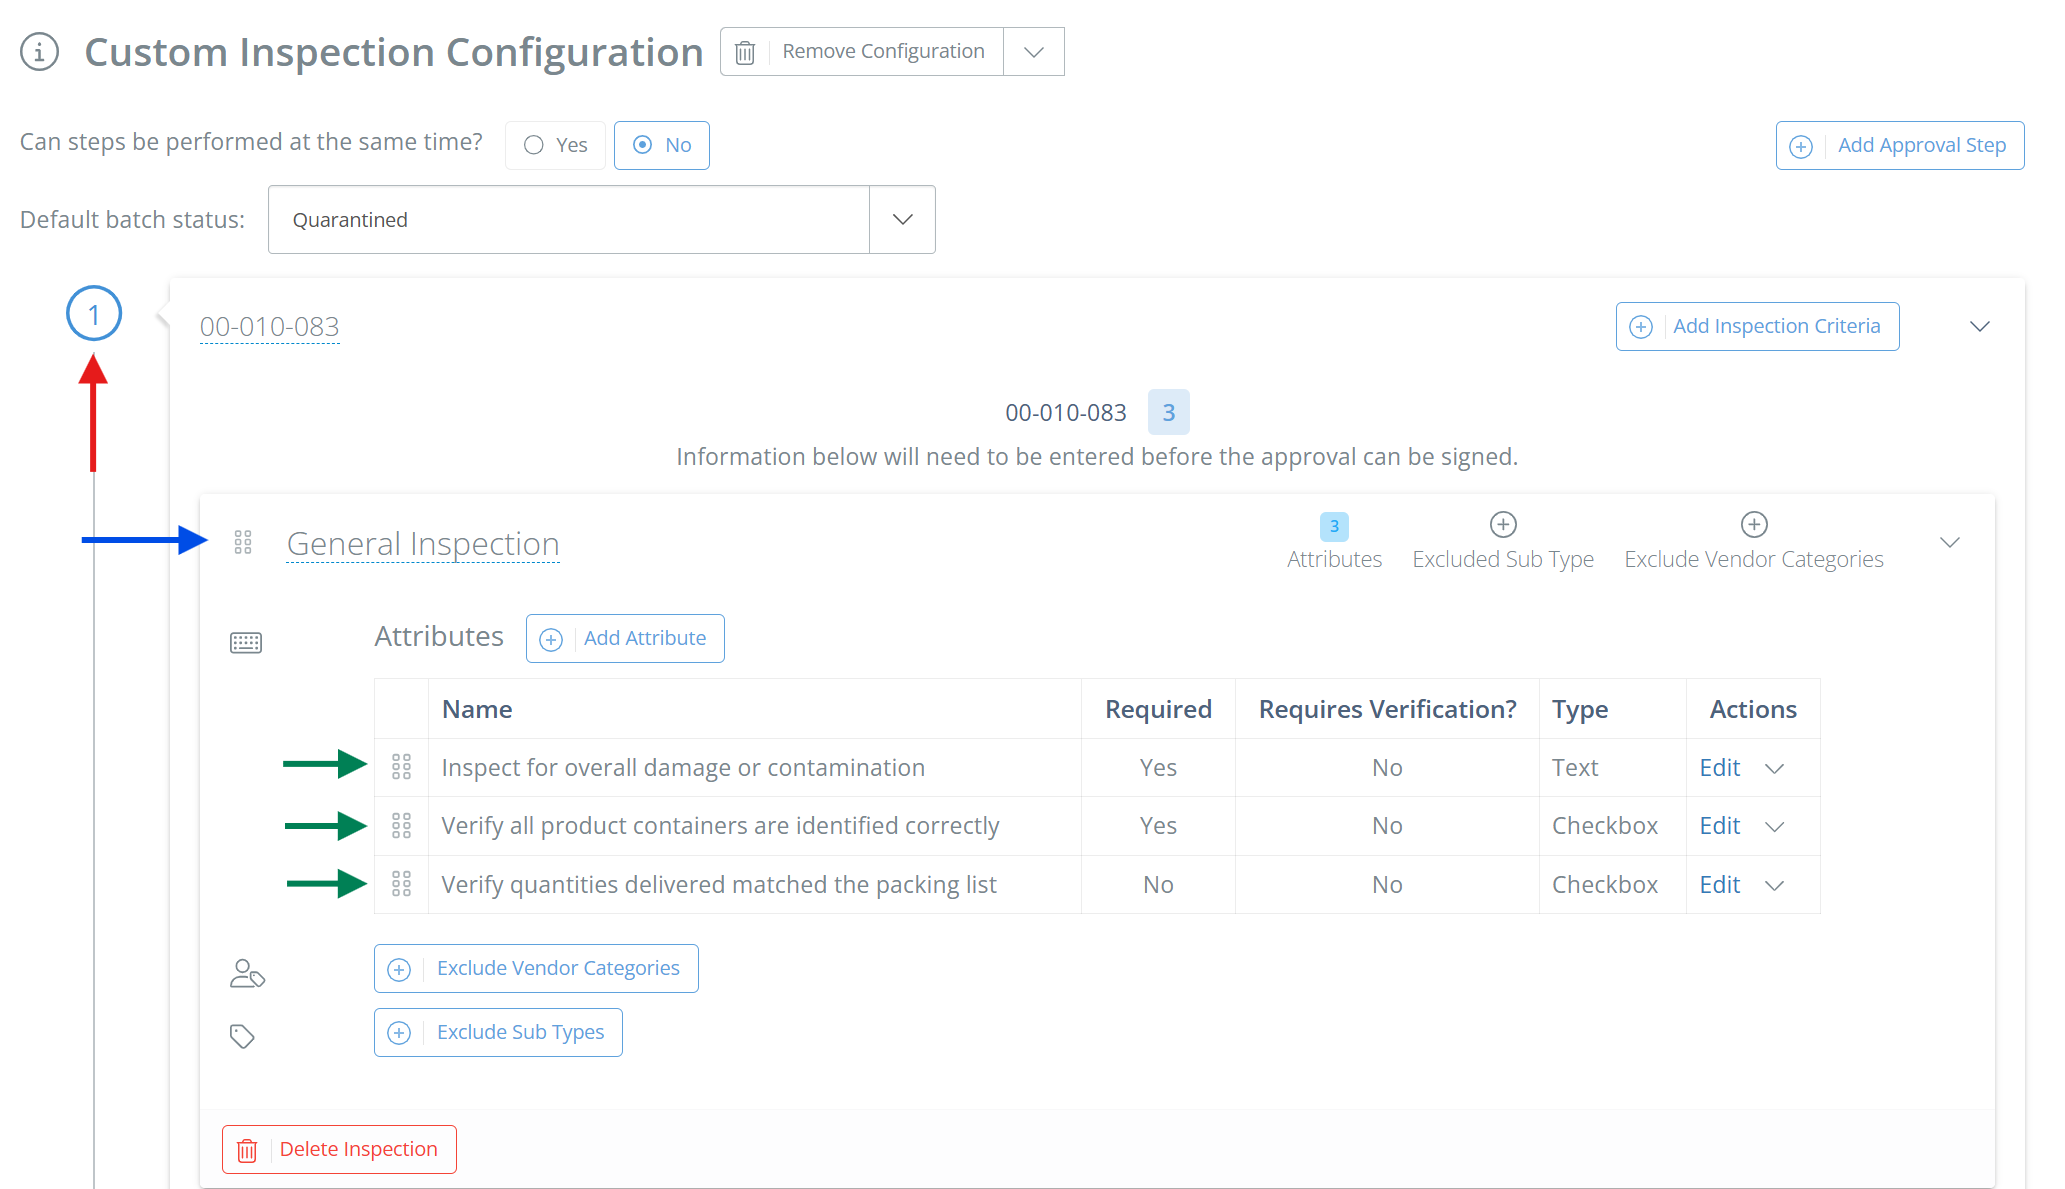
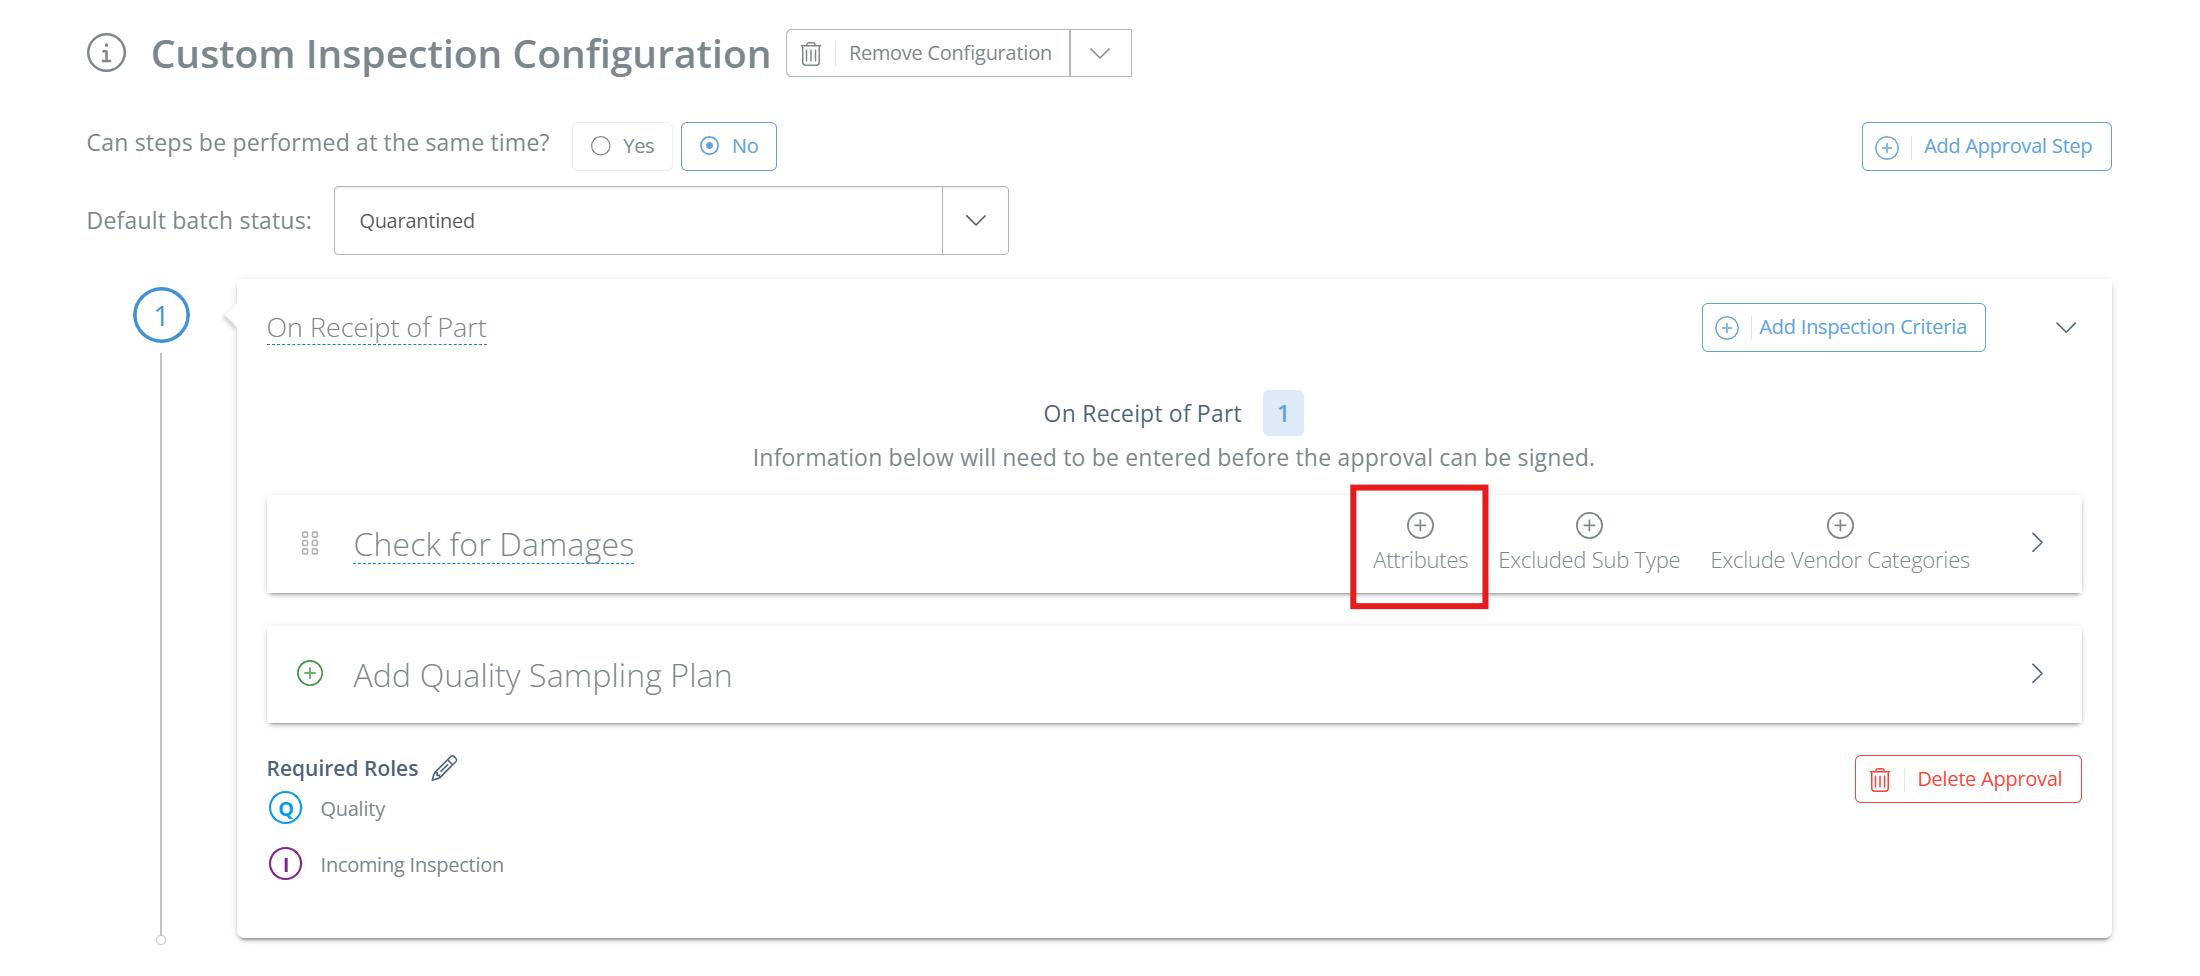
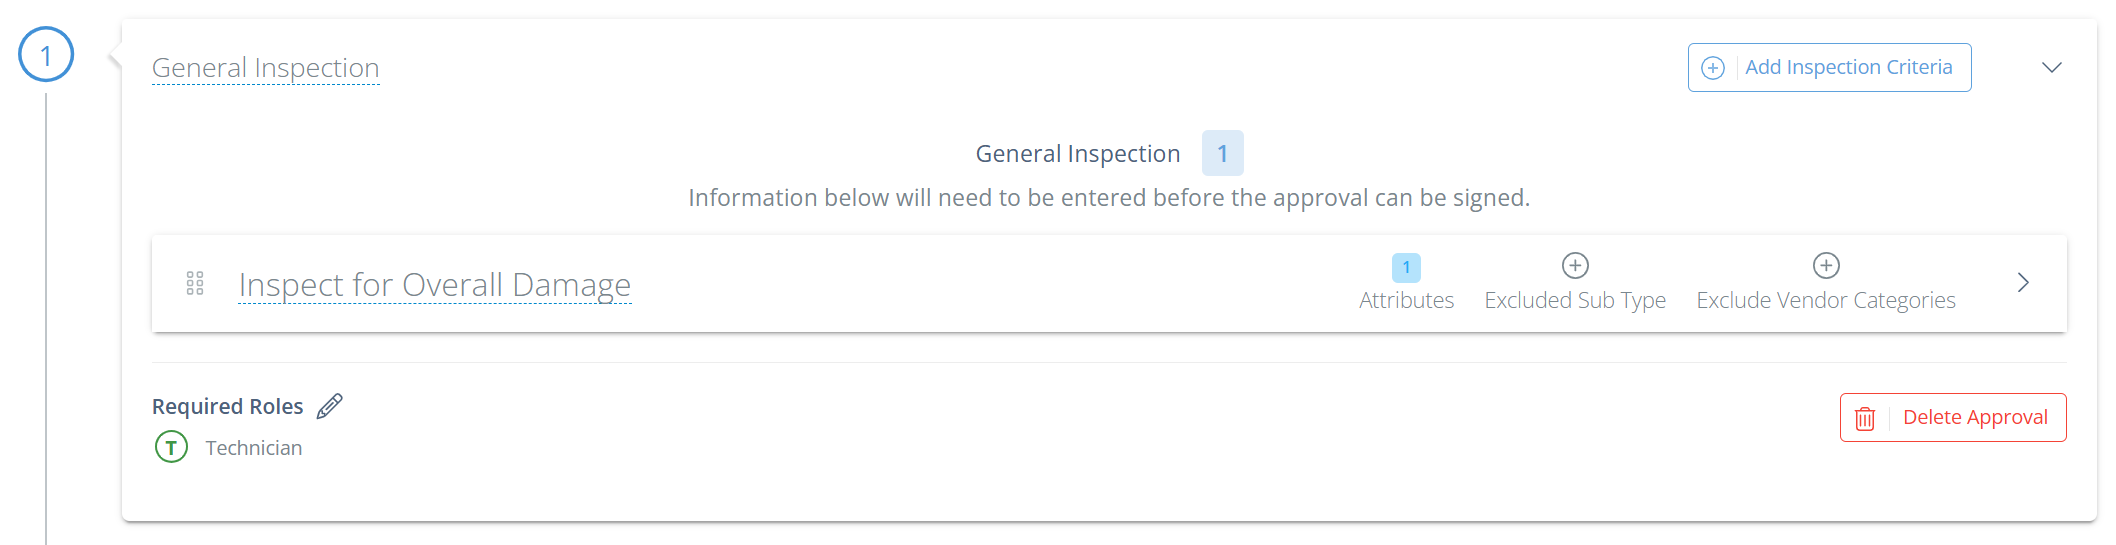
Each inspection on a part typically requires 3 things: approval steps, inspection criteria, and attributes. Below is an example of an approval step with 1 inspection criteria and 3 attributes.
Approval step number (red), inspection criteria (blue), and attributes (green)
👍
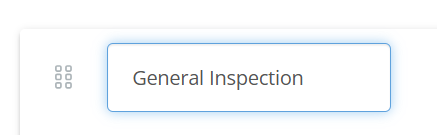
Easy Edits
If you see a blue-dotted line beneath words or numbers, that means the field can be edited just by clicking on the information! For example, if you were to click on "General Inspection" in the screenshot above, you would be able to edit the inspection criteria name.
Add Approval Step(s)
When you start creating a blank inspection on a part, the first step is to create an approval step. In the sidebar that appears after clicking "Create Blank Inspection", set the name for the approval step, then specify which role(s) can complete the approval and hit "Save".
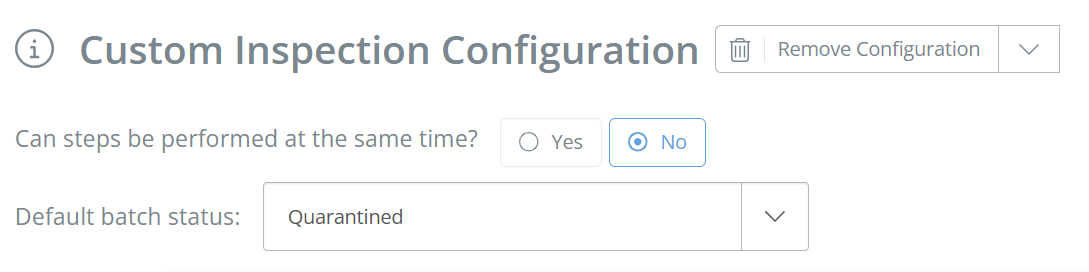
The sidebar will close and you should now see the approval step on the page. You should now be able to see the "Default batch status" field- DataNinja will default to "Quarantined". This is the batch status that received batches of this part will be set to upon receipt, so be sure to change it from "Quarantined" if needed.
📘
Approval Step Completion Order (New!)
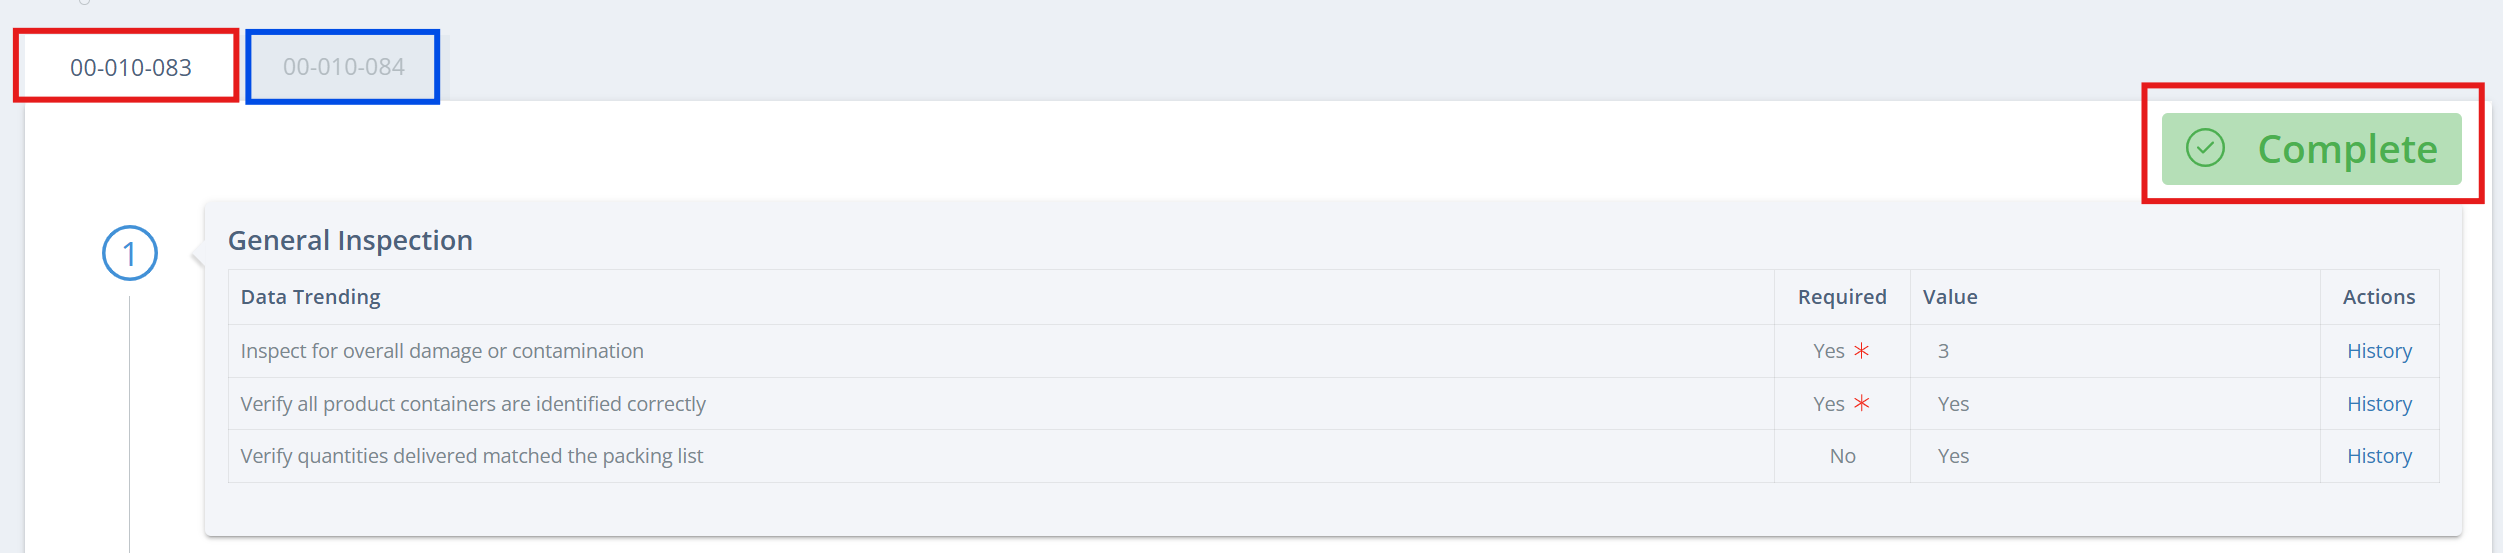
DataNinja has the capability to restrict the order in which approval steps are completed. Approval steps will show in different tabs when completing an inspection.
If "No" is marked next to "Can steps be performed at the same time?" then approval steps must be completed in sequential order. Until the first approval step is completed and signed, the next step will not show.
Approval step one completed (red), approval step two available to complete (blue)
If "Yes" is selected, then any approval step can be updated/completed, regardless of sequential completion. Approval steps will still show in different tabs and require separate signatures, as pictured above.
Add Inspection Criteria
Click "Add Inspection Criteria" and enter the name for the criteria. The new inspection criteria should now show on the Inspections tab.
Notice that the inspection criteria doesn't have any attributes- this is what you will add next.
📘
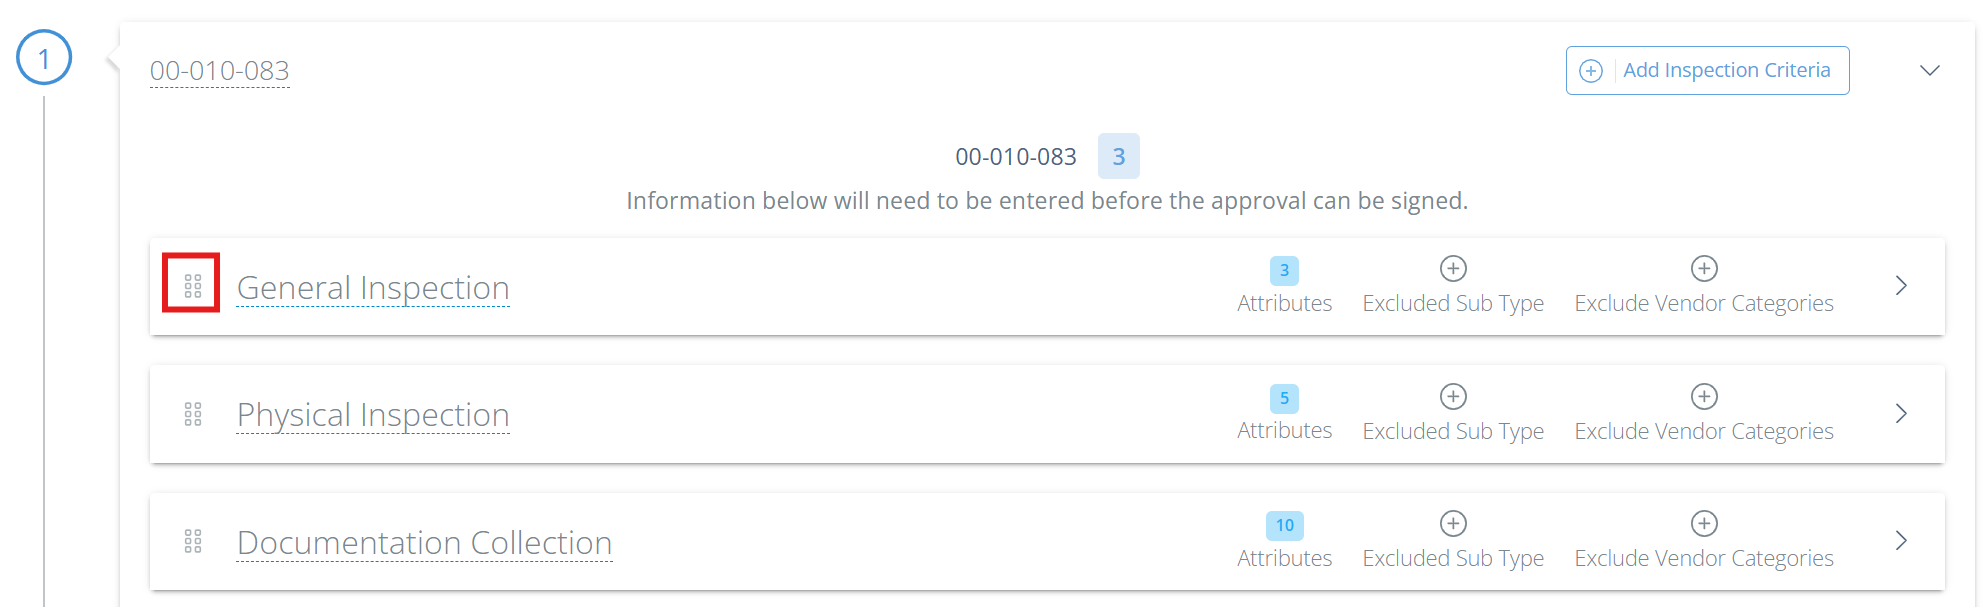
Changing Inspection Criteria Order
You will see 6 dots to the left of the criteria name- you can click and drag on these dots to change the order of the inspection criteria.
Add Attributes
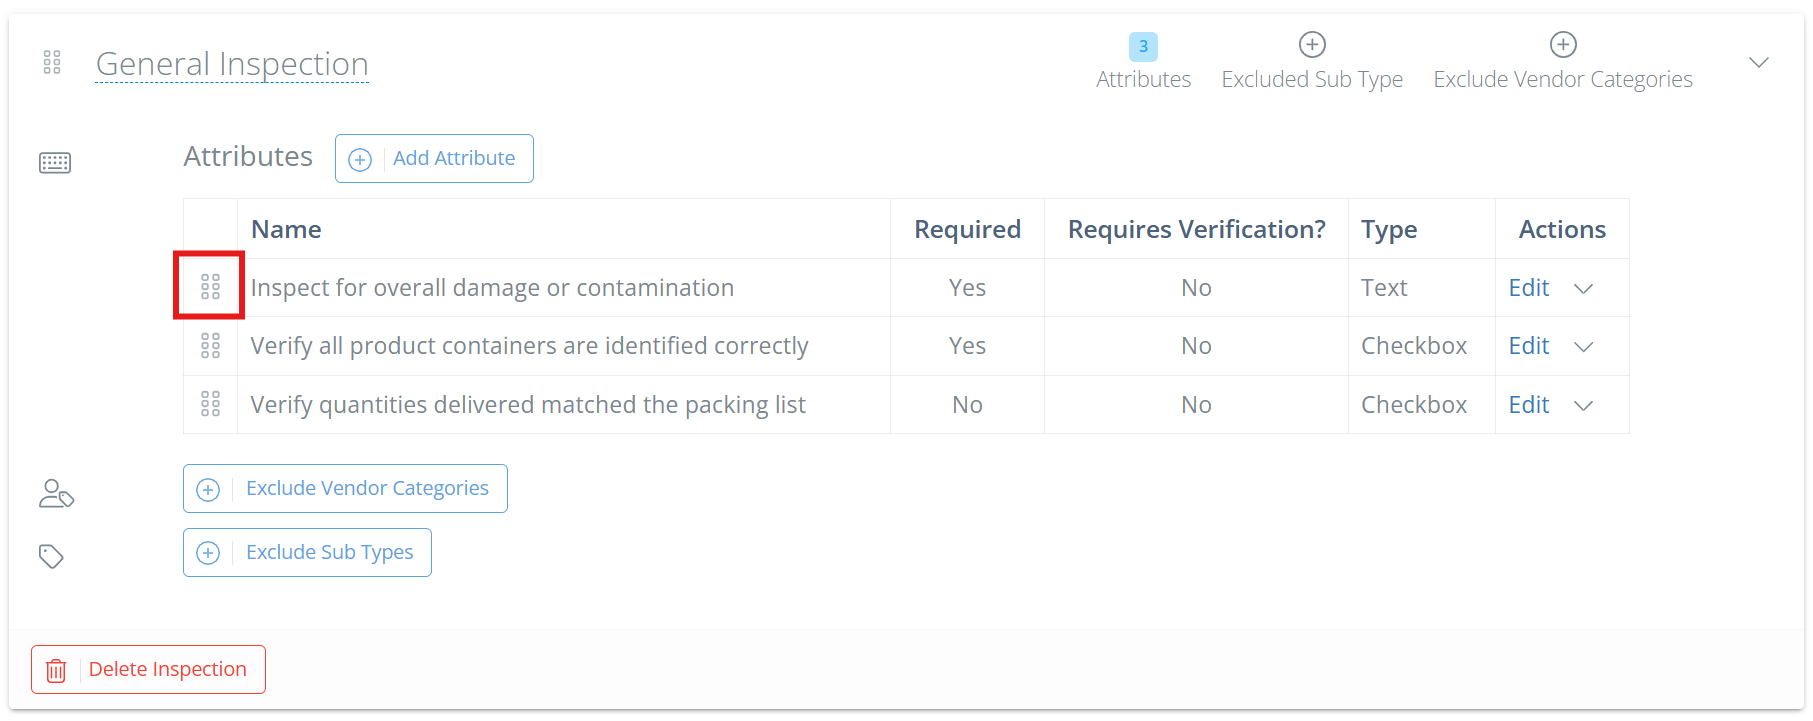
Click on the Attributes button (or the arrow on the far right) and the inspection criteria will expand. Click "Add Attribute" and a new sidebar will open- enter a name for the attribute, then select if the attribute is required, if it needs verification, and the type.
👍
Second Person Verification (New!)
For each attribute on a Process Step, you can now require a second person to verify that the attribute was completed correctly. Just select "Yes" under "Requires Verification?" when setting up or editing the attribute. Be aware that this means that a second user with a different DataNinja login must hit "Confirm" on the attribute in order to complete it.
Types of Inspection Attributes
Attributes are specific actions/recorded actions needed to complete each inspection criteria.
Attribute Type
Monitors
Alerts If
Check Box
Completion
Not Checked Off OR Incorrect Choice
Date Field
Date Entry
Blank OR Not Correct Format
File
Upload Success
No File/Image Uploaded
Number Field
Number Entry
Blank OR Outside Threshold
Select Box
Checked Entries
No Boxes Marked OR Incorrect Choice(s)
Text Field
Text Entry
Blank
Weight
Weight From Connected Scale
Blank OR Outside Threshold
📘
Changing Attribute Order
You will see 6 dots to the left of the attribute name- you can click and drag on these dots to change the order of attributes.
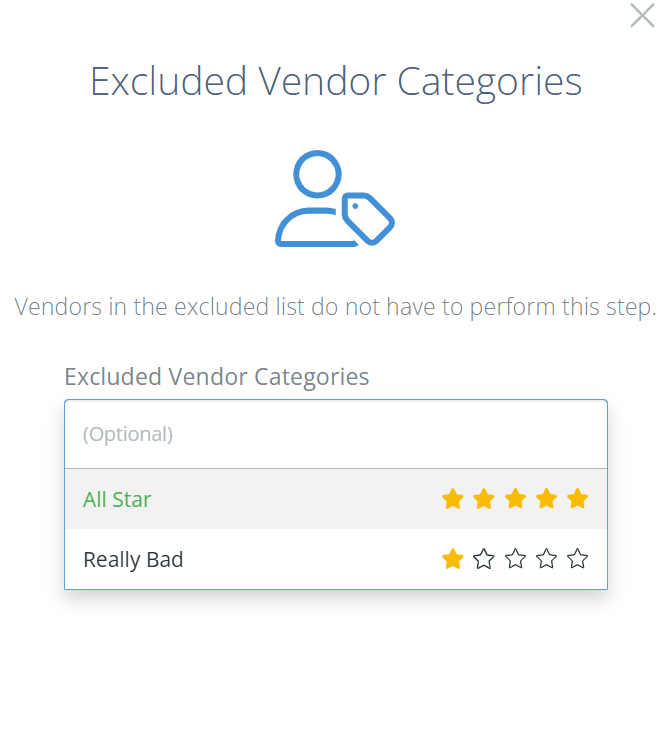
Exclusions (New!)
There may be cases in which you don't need to complete an incoming inspection- DataNinja now allows you to exclude the inspection as a requirement under specific circumstances.
Vendor Categories
Vendor categories are based on rating. If you do not have ratings on your vendors, you won't see any vendor categories to exclude.
Notes: To add vendor categories, click on the gear icon in the top right, go to "All Lists" and then open the Vendors page. Edit a vendor and add a category, or click "Create new category" after clicking in the category field.
Sub Types
Sub Types are only relevant if your company uses NetSuite. See our NetSuite Incoming Inspections page for details.
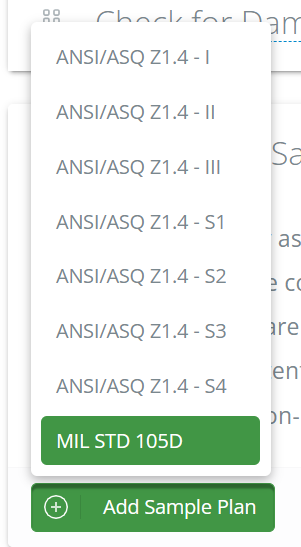
Add Quality Sampling Plan (optional)
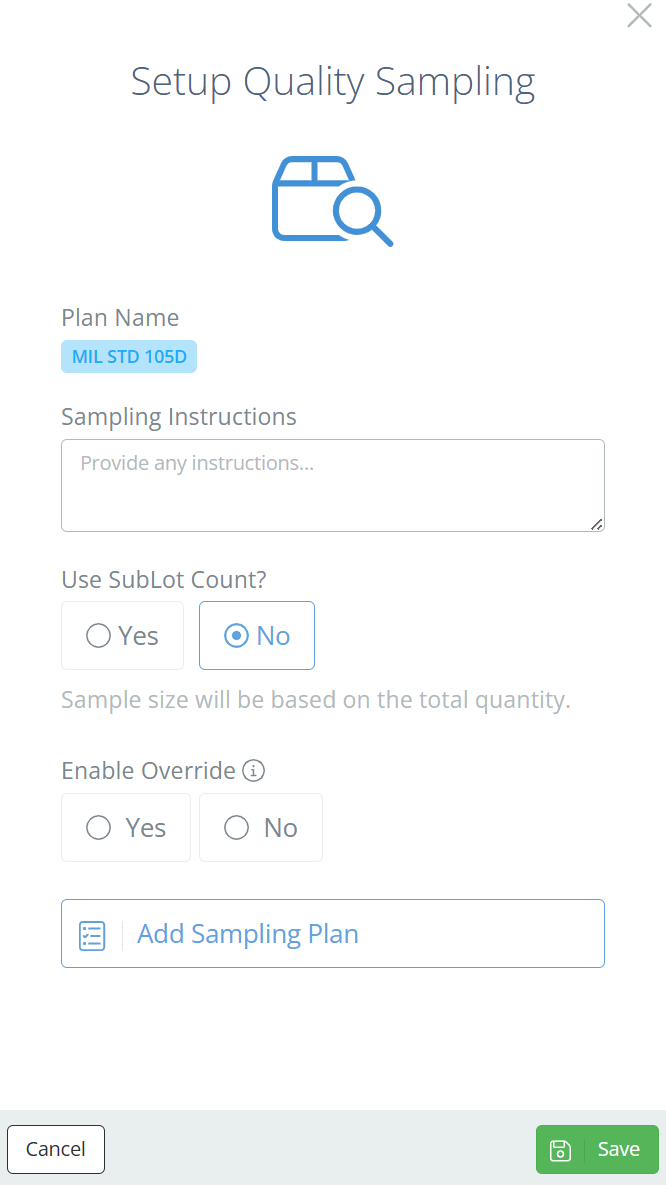
If desired, you can set up a sampling to be completed as part of the incoming inspection. Just click "Add Quality Sample Plan", then "Add Sample Plan". Select the sampling plan, and a sidebar will appear on the right side of the screen.
Provide any specific instructions for the sampling, and choose whether to use SubLot count or not. If you select "Yes", the sampling will be based on the number of labels printed during receiving. If you select "No", then the sample size will be based on the total quantity received.
You can choose to enable override on the sampling (allows users with appropriate permissions to override AQL requirements), and then will need to add a sampling plan. If you don't have one set up, see our Sampling Plan page for instructions on how to do so.
Delete an Inspection Configuration
If you want to completely remove an inspection configuration from a part, just hit "Remove Configuration". This will delete all inspection information from the part; if the part is using a template, the template will not be affected.
Delete an Approval Step
If you want to delete an approval step, expand the approval step by clicking the arrow on the far right, then click "Delete Approval". All inspection criteria and attributes associated with the attribute step will be deleted as well.
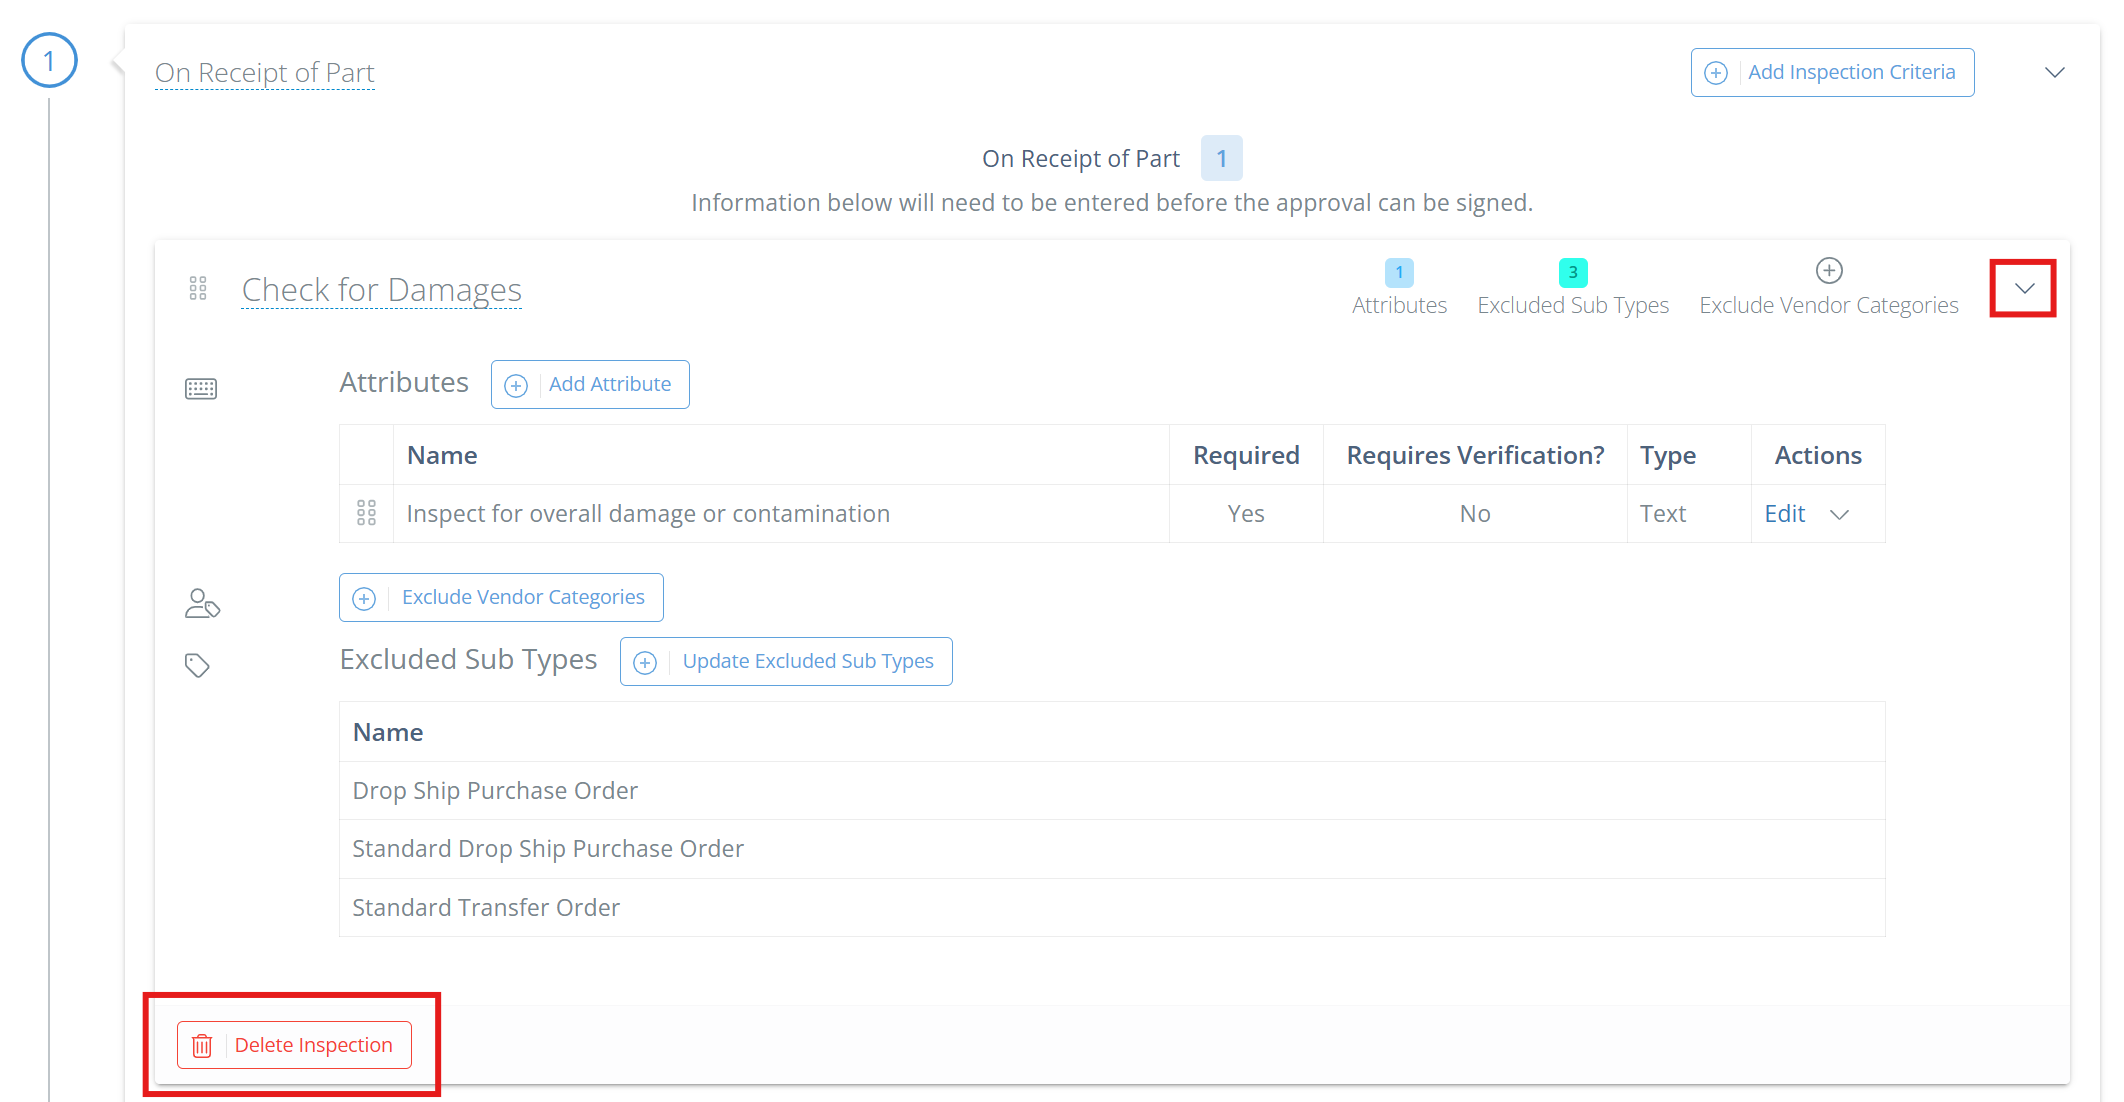
Delete an Inspection Criteria
If you want to delete an inspection criteria from an approval step, expand the inspection criteria by clicking the arrow on the far right, then click "Delete Inspection". Associated attributes will be removed, but the approval step will remain.
Delete an Attribute
If you want to delete an attribute from an inspection criteria, click the dropdown arrow in the "Actions" column and select "Delete". The associated inspection criteria will not be deleted.
Electronic Quality Inspection Workflow
When receiving a part with a required inspection, the operator will see a notification to either complete the inspection immediately, or do it later. This notification will appear after going through the receiving process, as the barcodes are printing.
If the operator is authorized to complete the inspection, they can inspect the material immediately, or inspect later. By clicking Inspect Later the inspection approval will be routed automatically to the Approvals To Sign dashboard, visible on the DataNinja homepage for authorized users. Just click the DataNinja logo in the top left to access the homepage.
Ex. Part received has a default batch status of "Quarantined"
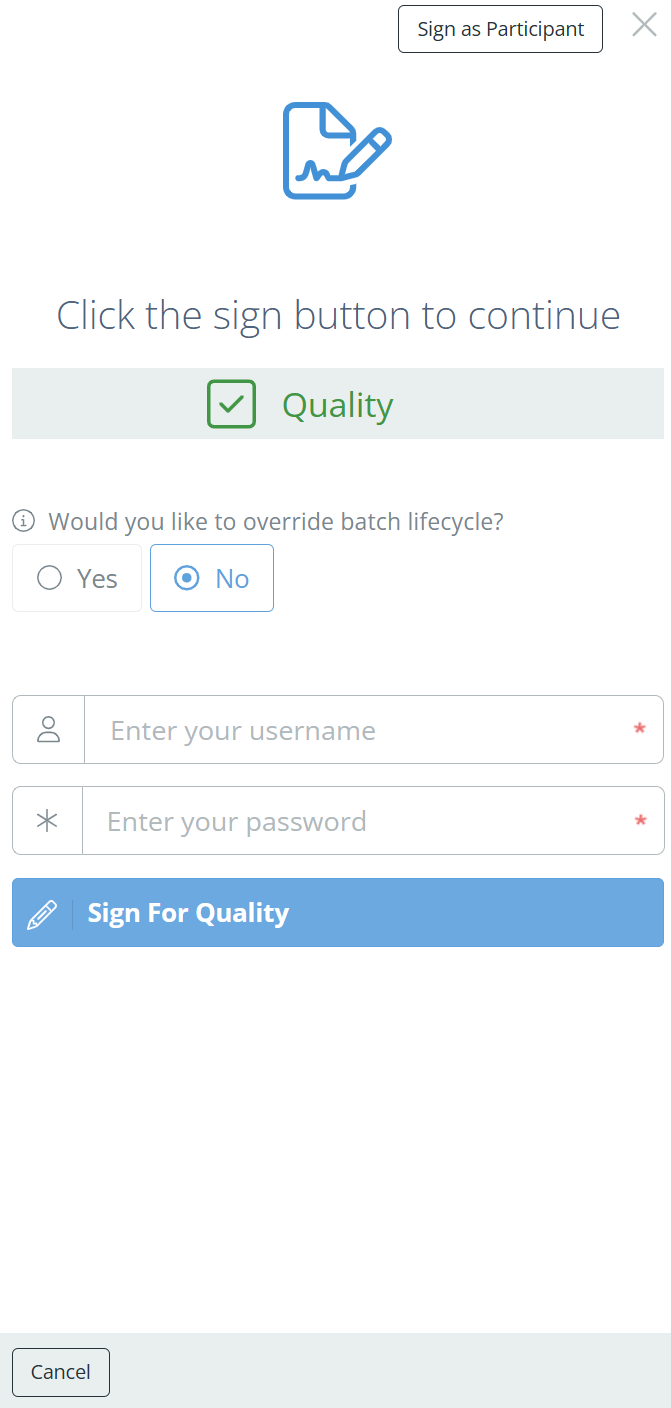
Completing an Inspection
Open and complete an inspection by entering data for each of the inspection attributes. When complete, click "Sign" and enter your DataNinja login information to release the material for operational use.
👍
Nice to Know
When completing inspections on a tablet or mobile device, tap Attached Files to open the camera and link a picture to the material inspection.