Inventory Locations
How to add a new inventory Location
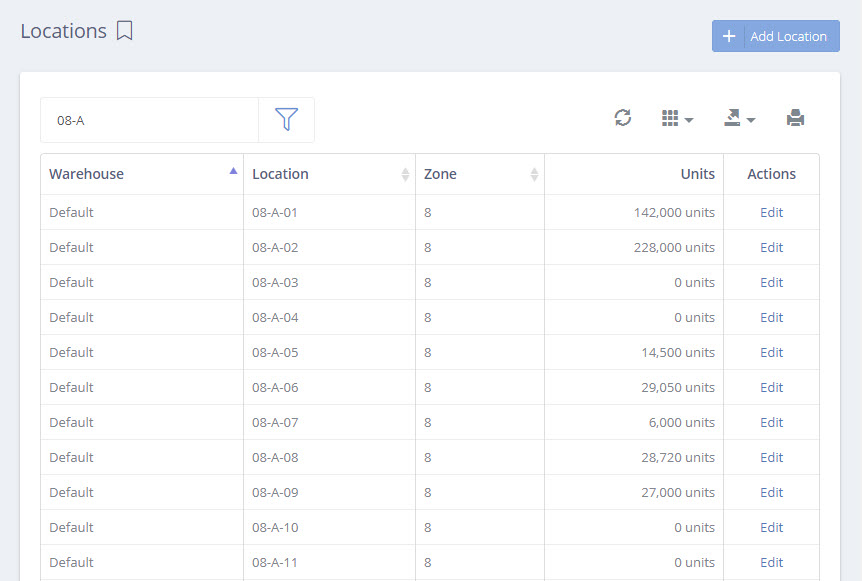
Add and edit new inventory locations on the Locations page

Adding a New Inventory Location
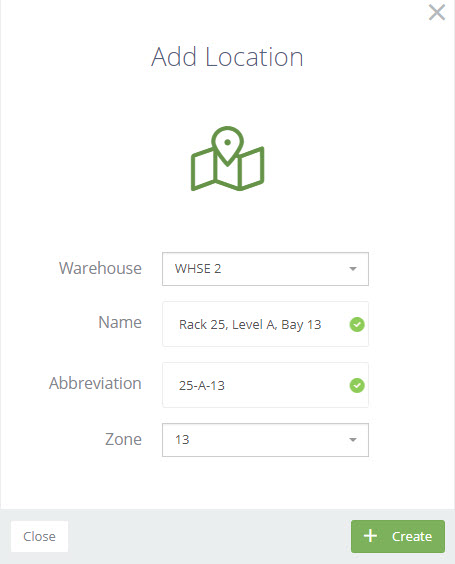
There is no limit to the number of inventory locations in DataNinja. Just tap the "Add Location" button to create a new inventory location.

Inventory locations are organized into Warehouse Zones. Warehouse Zones are grouped into a Warehouse. There is no limit to the number of Warehouses, or Zones within a Warehouse. So go crazy with them! - Just not too crazy :)
Tip
Start with high-level locations. Going too fine detailed too fast can cause operational inefficiencies as your teams get accustomed to scanning in and out of barcoded bin locations.
Barcodes for Inventory Locations
Once your locations are in the system it is recommended that you print barcodes for them. Barcodes are a great way to link the physical space of your warehouse to your inventory system, that way you can scan to transfer and Cycle Count inventory rather than manually keying in the inventory location.
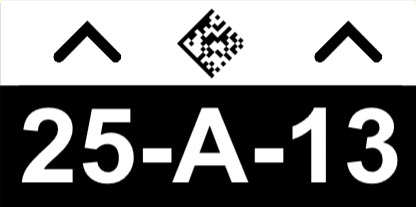
This is what a typical inventory barcode looks like:

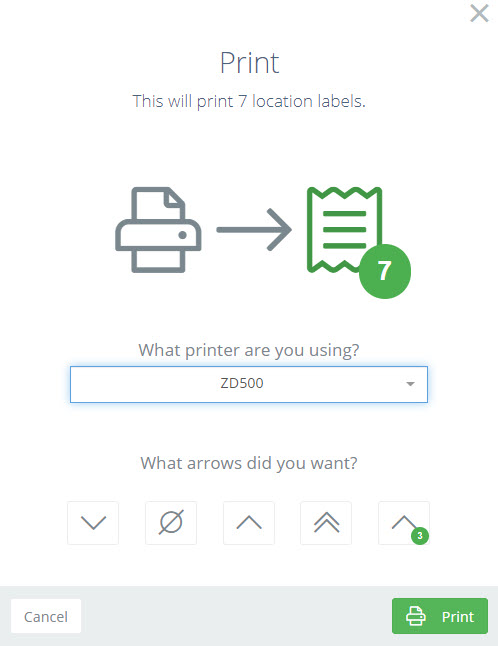
To print a location barcode, navigate to the locations page and select the locations to print.

Tip
Most location barcodes are down low where team members can scan even for inventory locations that are up high. Unless you are using a long-range barcode scanner consider using arrows to indicate the specific location where the location barcode applies.
Updated 12 months ago
