Inventory Adjustments
Three most common ways to adjust inventory
DataNinja makes inventory counts quick and easy by allowing you to update as you count. If you forgot your scanner, simply make note of the part number, batch identifier that needs to be adjusted, and amount.
Making an Adjustment
From the Adjustments Page
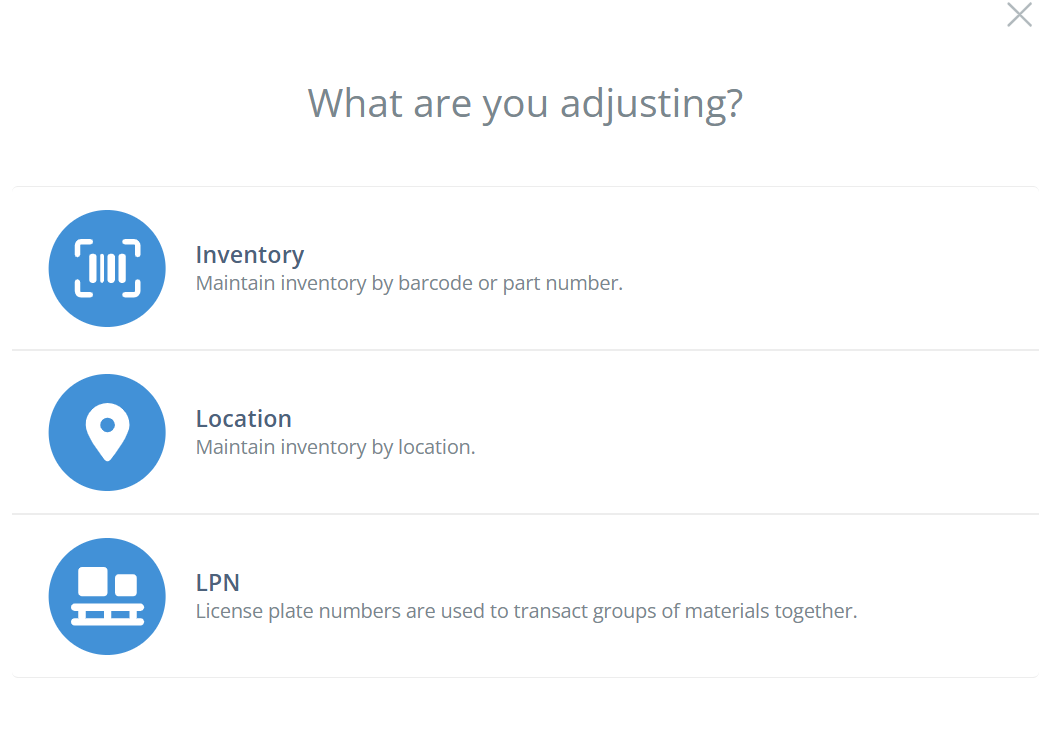
From the left-hand sidebar, click "Adjust", and an aside will open- click on "Inventory".
Scan the barcode that needs adjustment, record changes and then save by hitting "Adjust" in the bottom right.
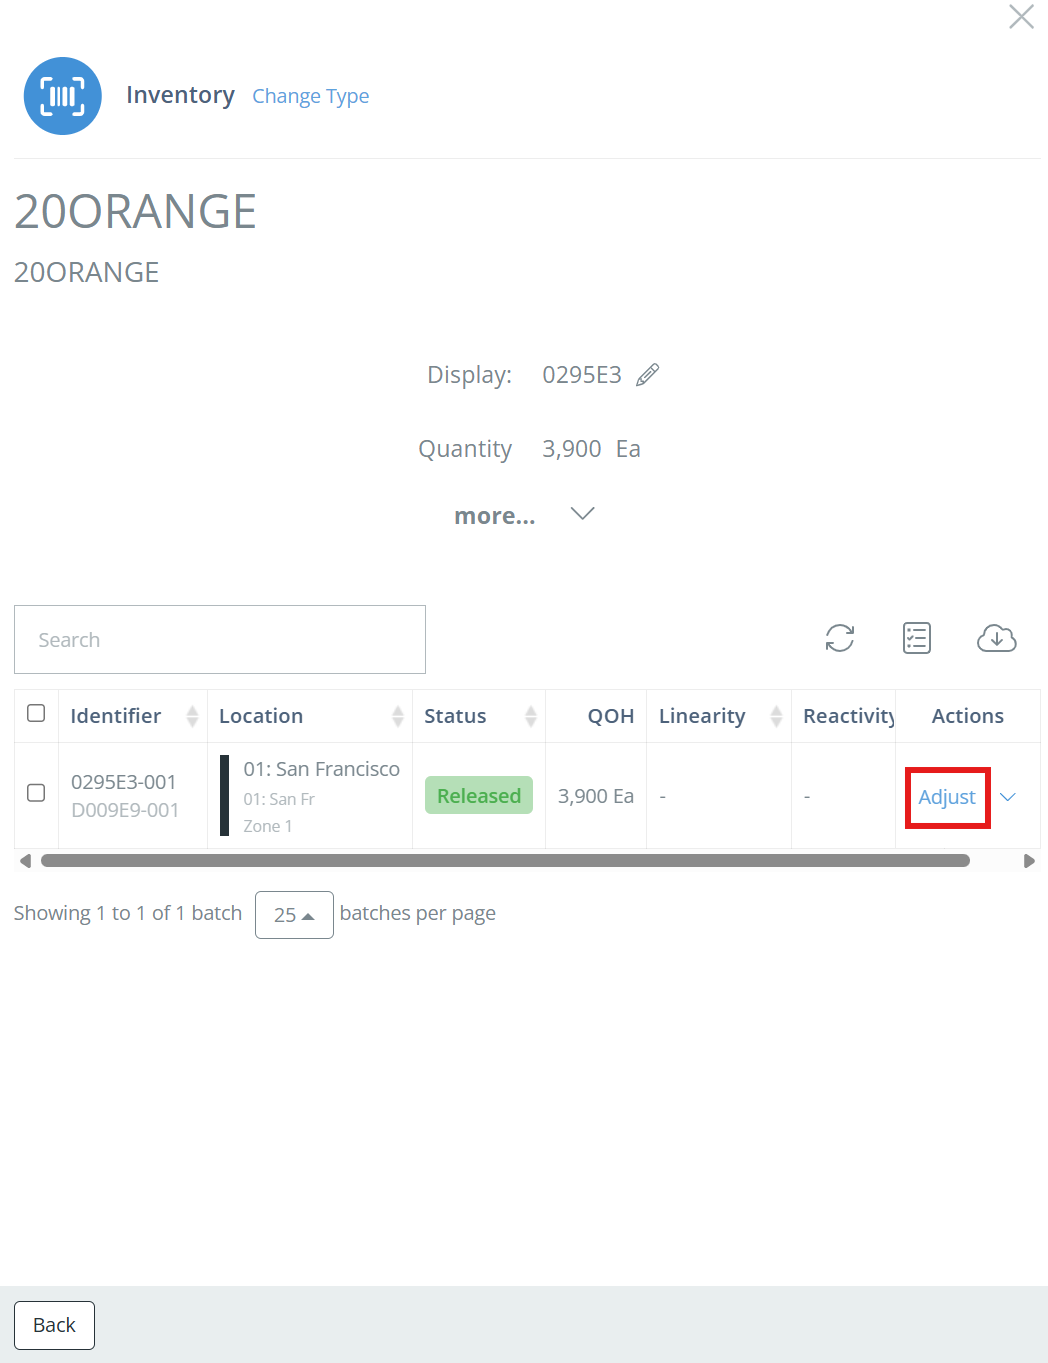
You can also manually type in the batch identifier or part number/name, then click "Adjust" in the Actions column.
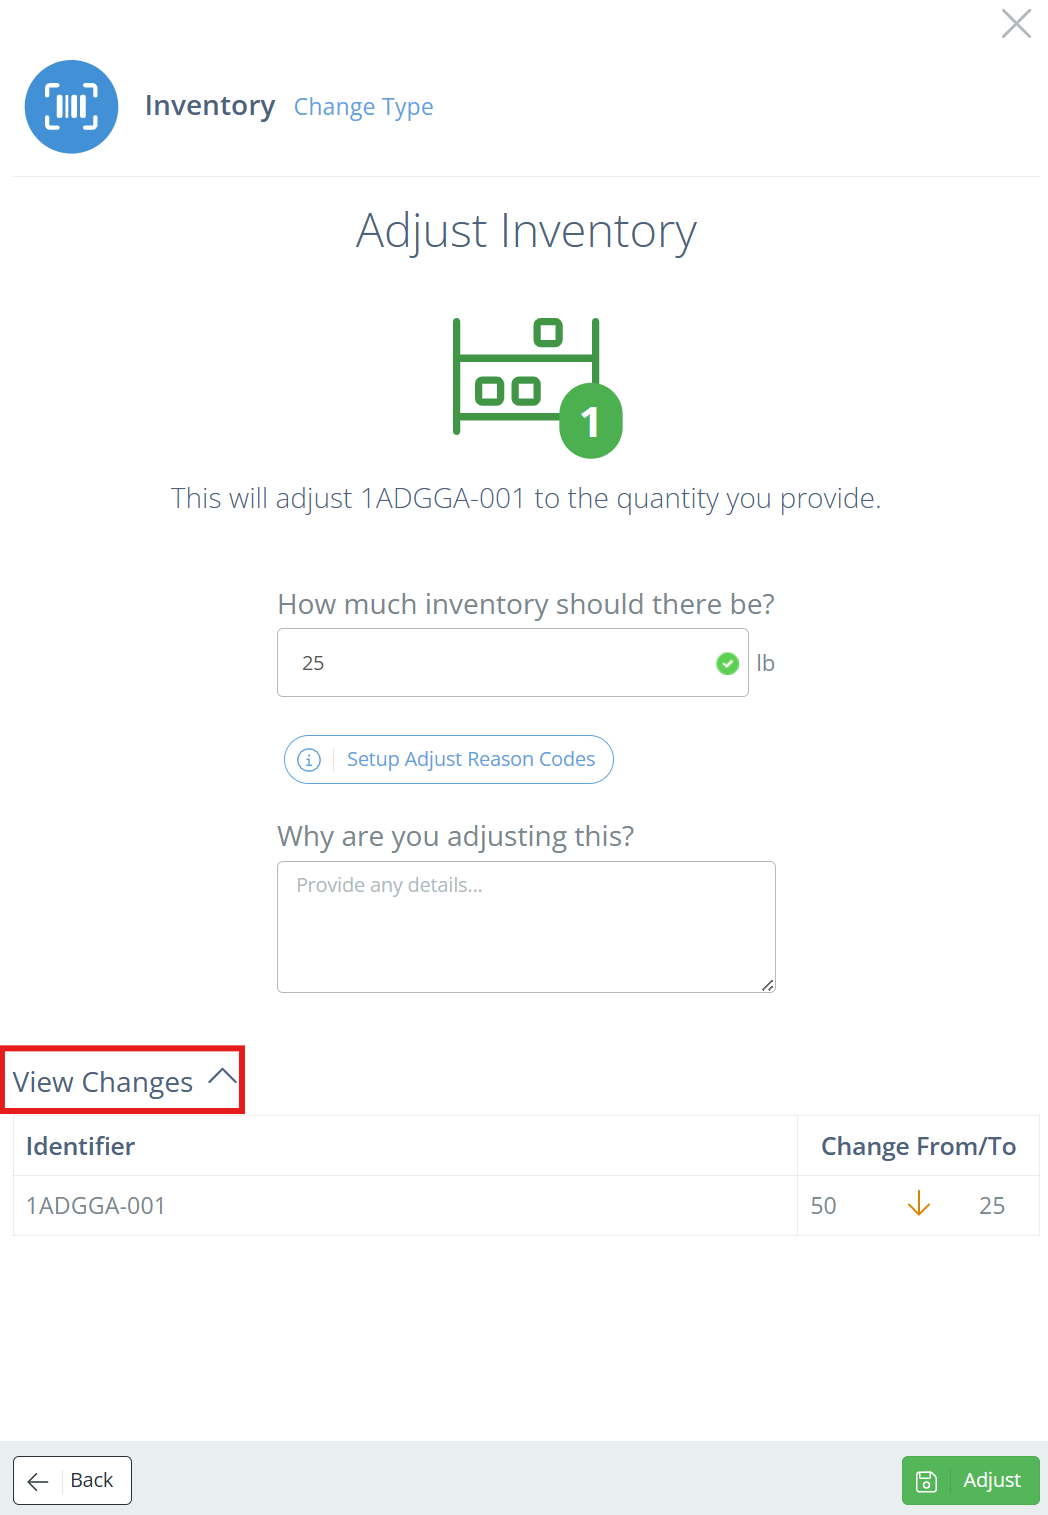
On the Adjust Inventory aside, enter the correct amount of inventory, the Reason Code (if your company has them set up), and a note (this can be optional or required, depending on your Company Settings). You can view the changes to be made by clicking on "View Changes" in the bottom left corner. Click "Adjust" to save the adjustment.
Reason CodesReason Codes are supported for use with both NetSuite and QuickBooks integrations in DataNinja. See our Reason Codes page for more information.
From the Maintain Part Page
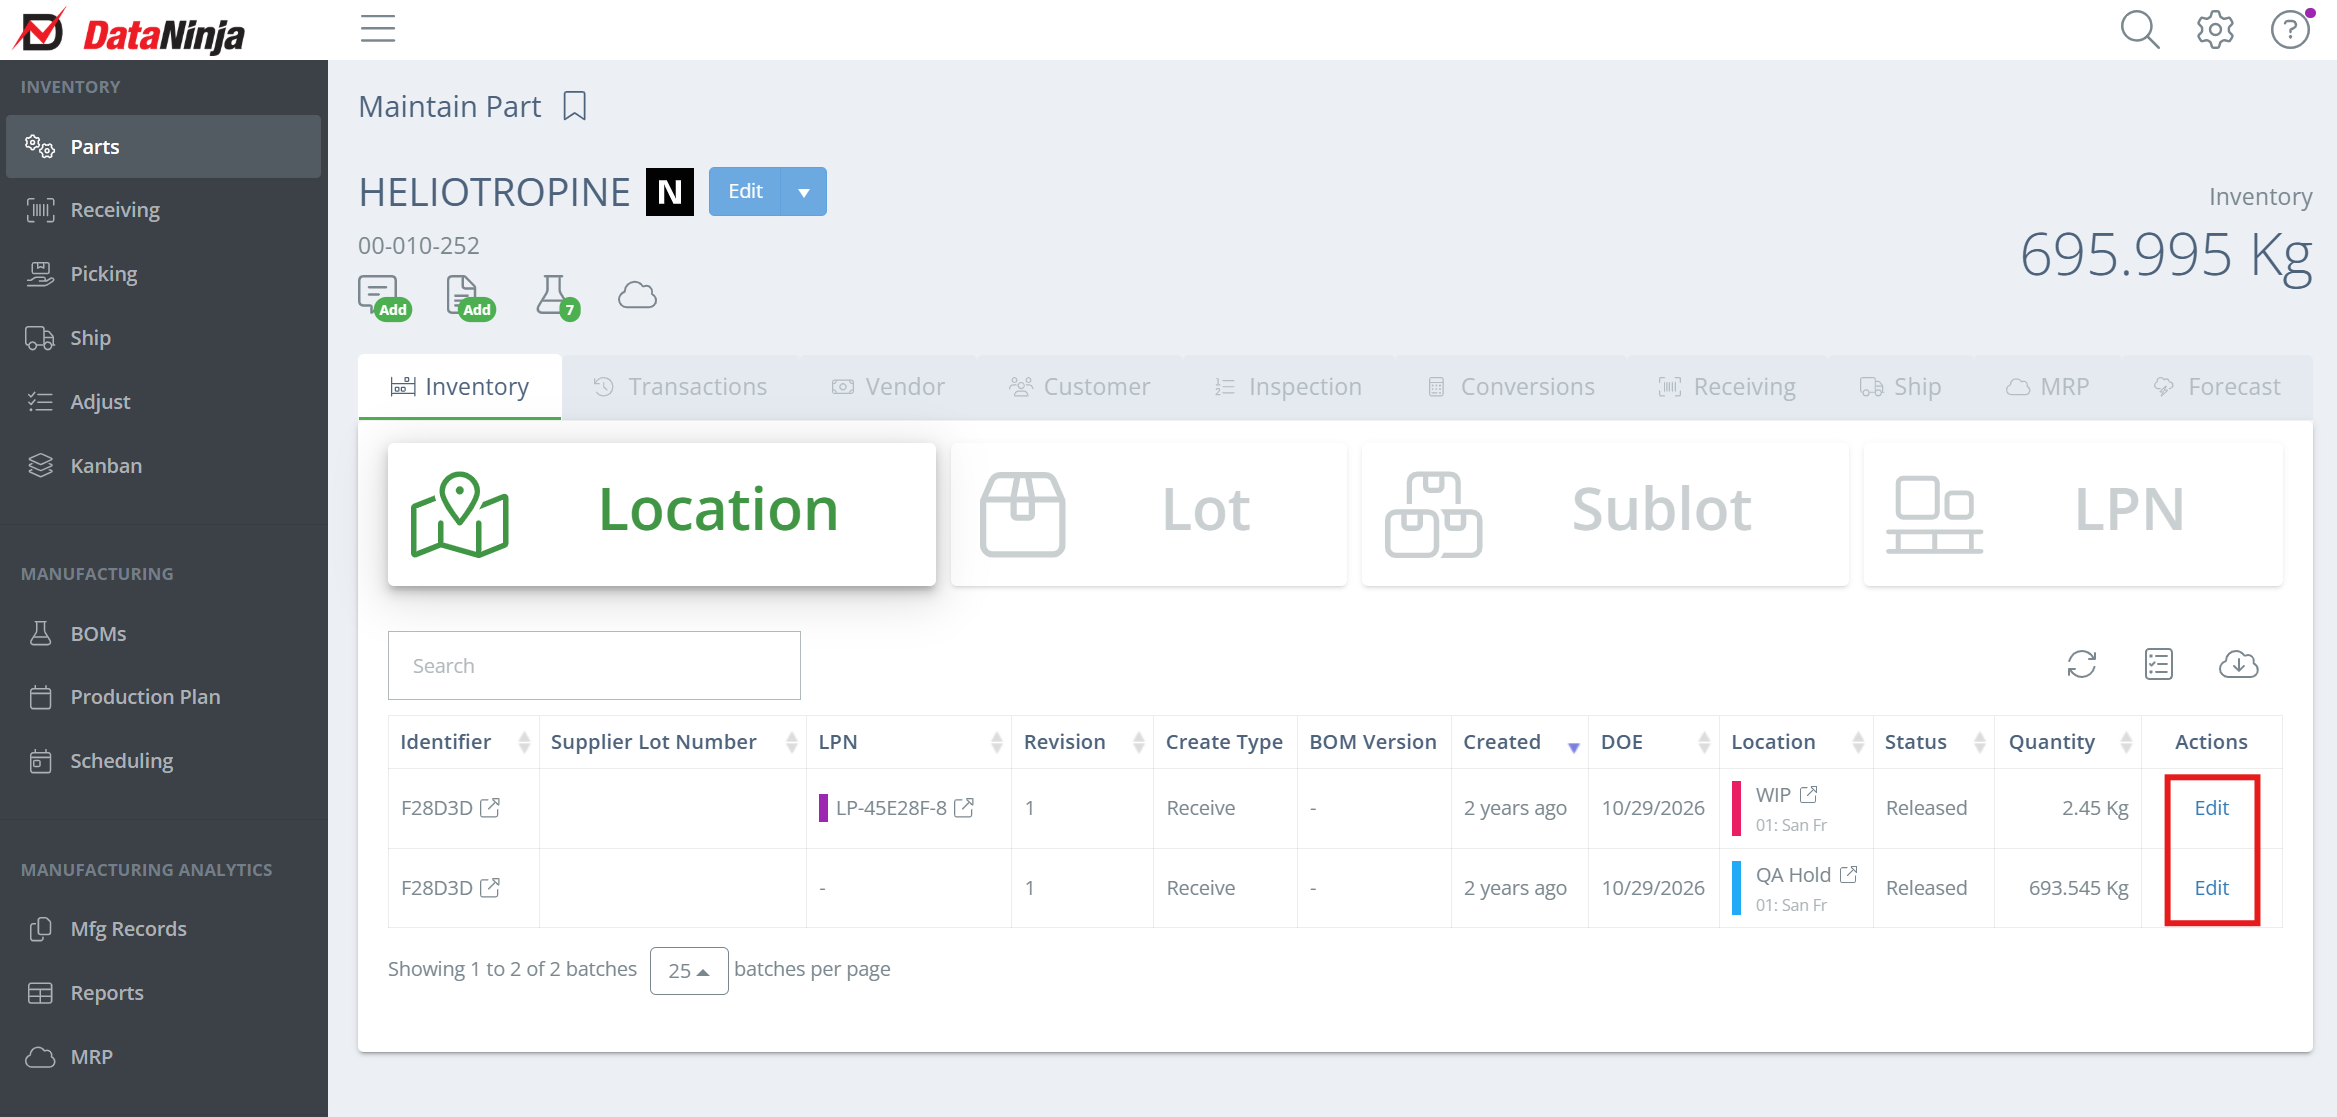
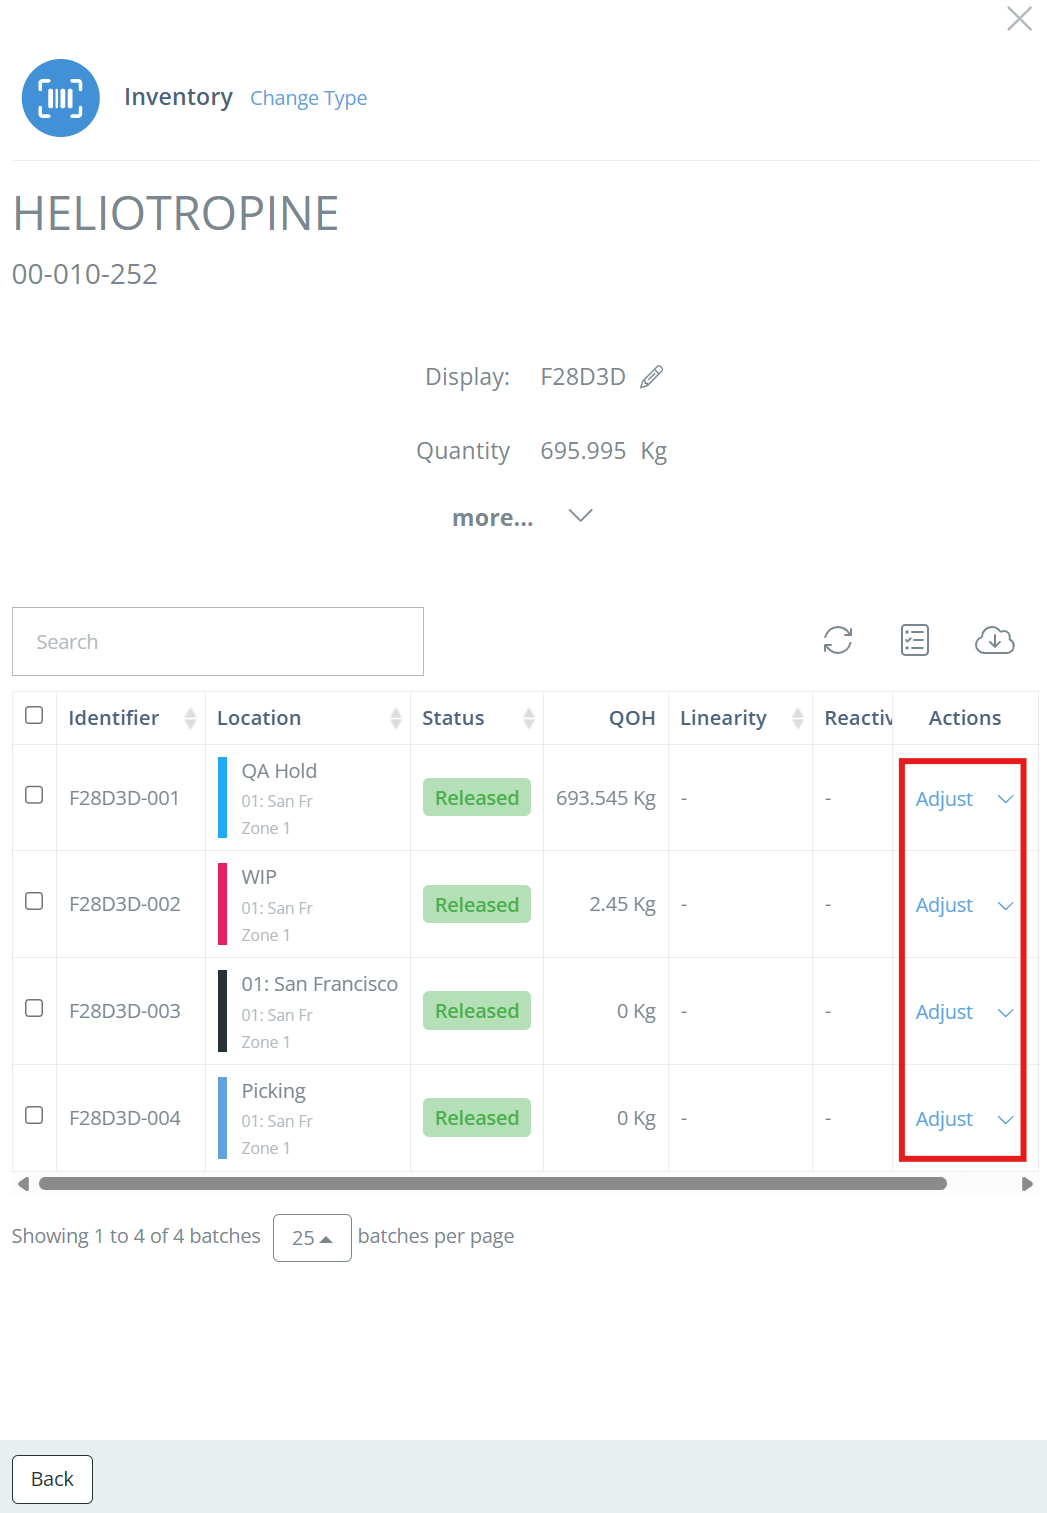
From the Parts page, double click on the part to be adjusted, then click on "Edit" in the Actions columns for the identifier you want to adjust.
In the new aside, click "Adjust" in the Actions column for the relevant identifier.
Type in the correct amount. Depending on how your DataNinja settings are configured, you may be required to explain why you are adjusting the inventory level. You can view the changes to be made by clicking on "View Changes" in the bottom left corner. Click "Adjust" to save the adjustment.
Reason CodesReason Codes are supported for use with both NetSuite and QuickBooks integrations in DataNinja. See our Reason Codes page for more information.
Using the Search
From any screen, select the search icon and scan (preferred) or type in what needs adjusting.

This will take you to the batch record; go to the Inventory tab, then click "Adjust".
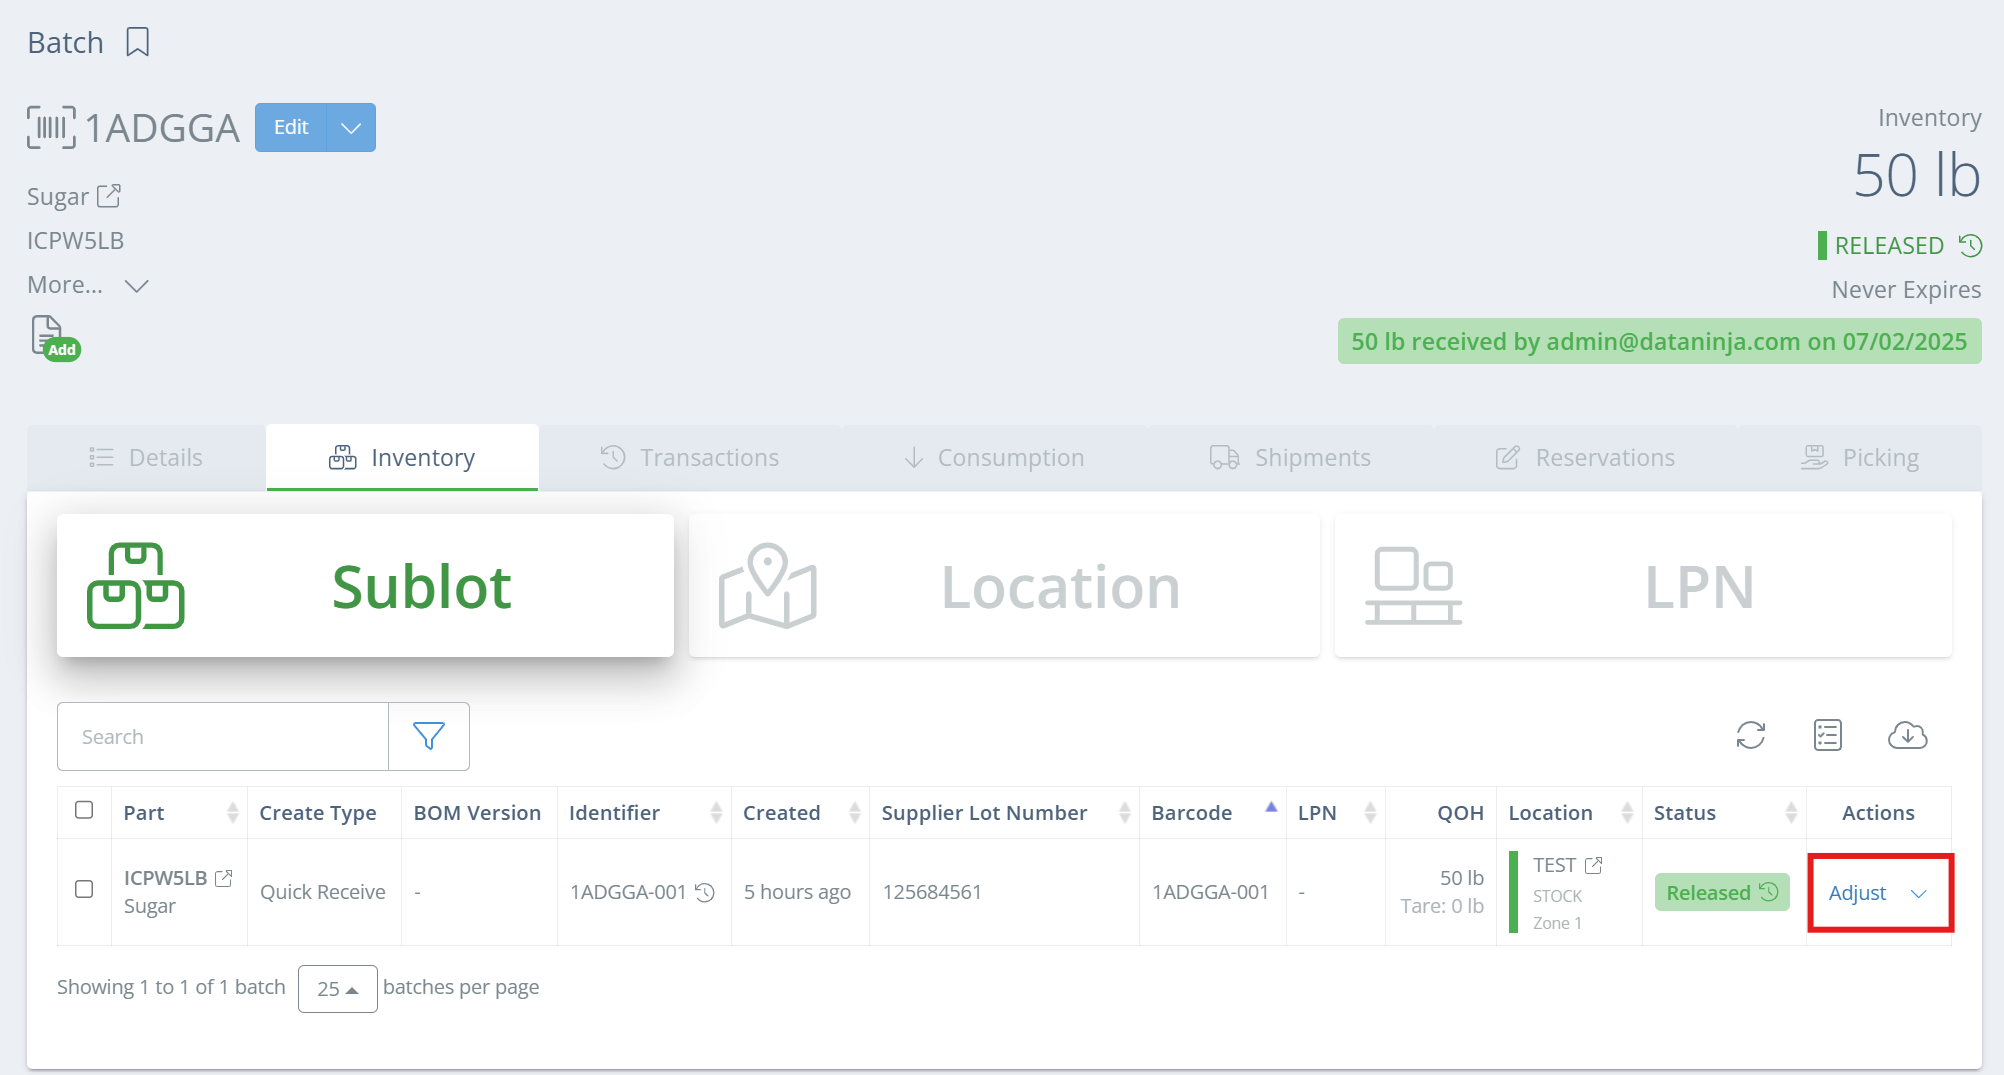
In the new aside, click "Adjust" in the Actions column for the relevant identifier.
Type in the correct amount. Depending on how your DataNinja settings are configured, you may be required to explain why you are adjusting the inventory level. You can view the changes to be made by clicking on "View Changes" in the bottom left corner. Click "Adjust" to save the adjustment.
Reason CodesReason Codes are supported for use with both NetSuite and QuickBooks integrations in DataNinja. See our Reason Codes page for more information.
Updated 9 months ago