
Part Configuration
Edit part settings
Español: Lee esta página en español.
Français : Consultez cette page en français.
This page applies to DataNinja tenants integrated with NetSuite or QuickBooks Online, and to tenants with no finance system integration. The workflow in DataNinja is the same across integrations; where a financial system changes behavior, the integration-specific note calls it out.
Items that are synced with an integration will show the relevant integration's logo. Screenshots on this page may show the NetSuite logo, but tenants integrated with QuickBooks Online will see that logo instead. Tenants with no financial integration won't see any logo.
Once a part is created, you can configure additional settings and edit current ones to automate system interactions with the inventory item.
Edit a Part
Find the part you want to edit, then click on "View" in the Actions column on the right, or double click on the row.
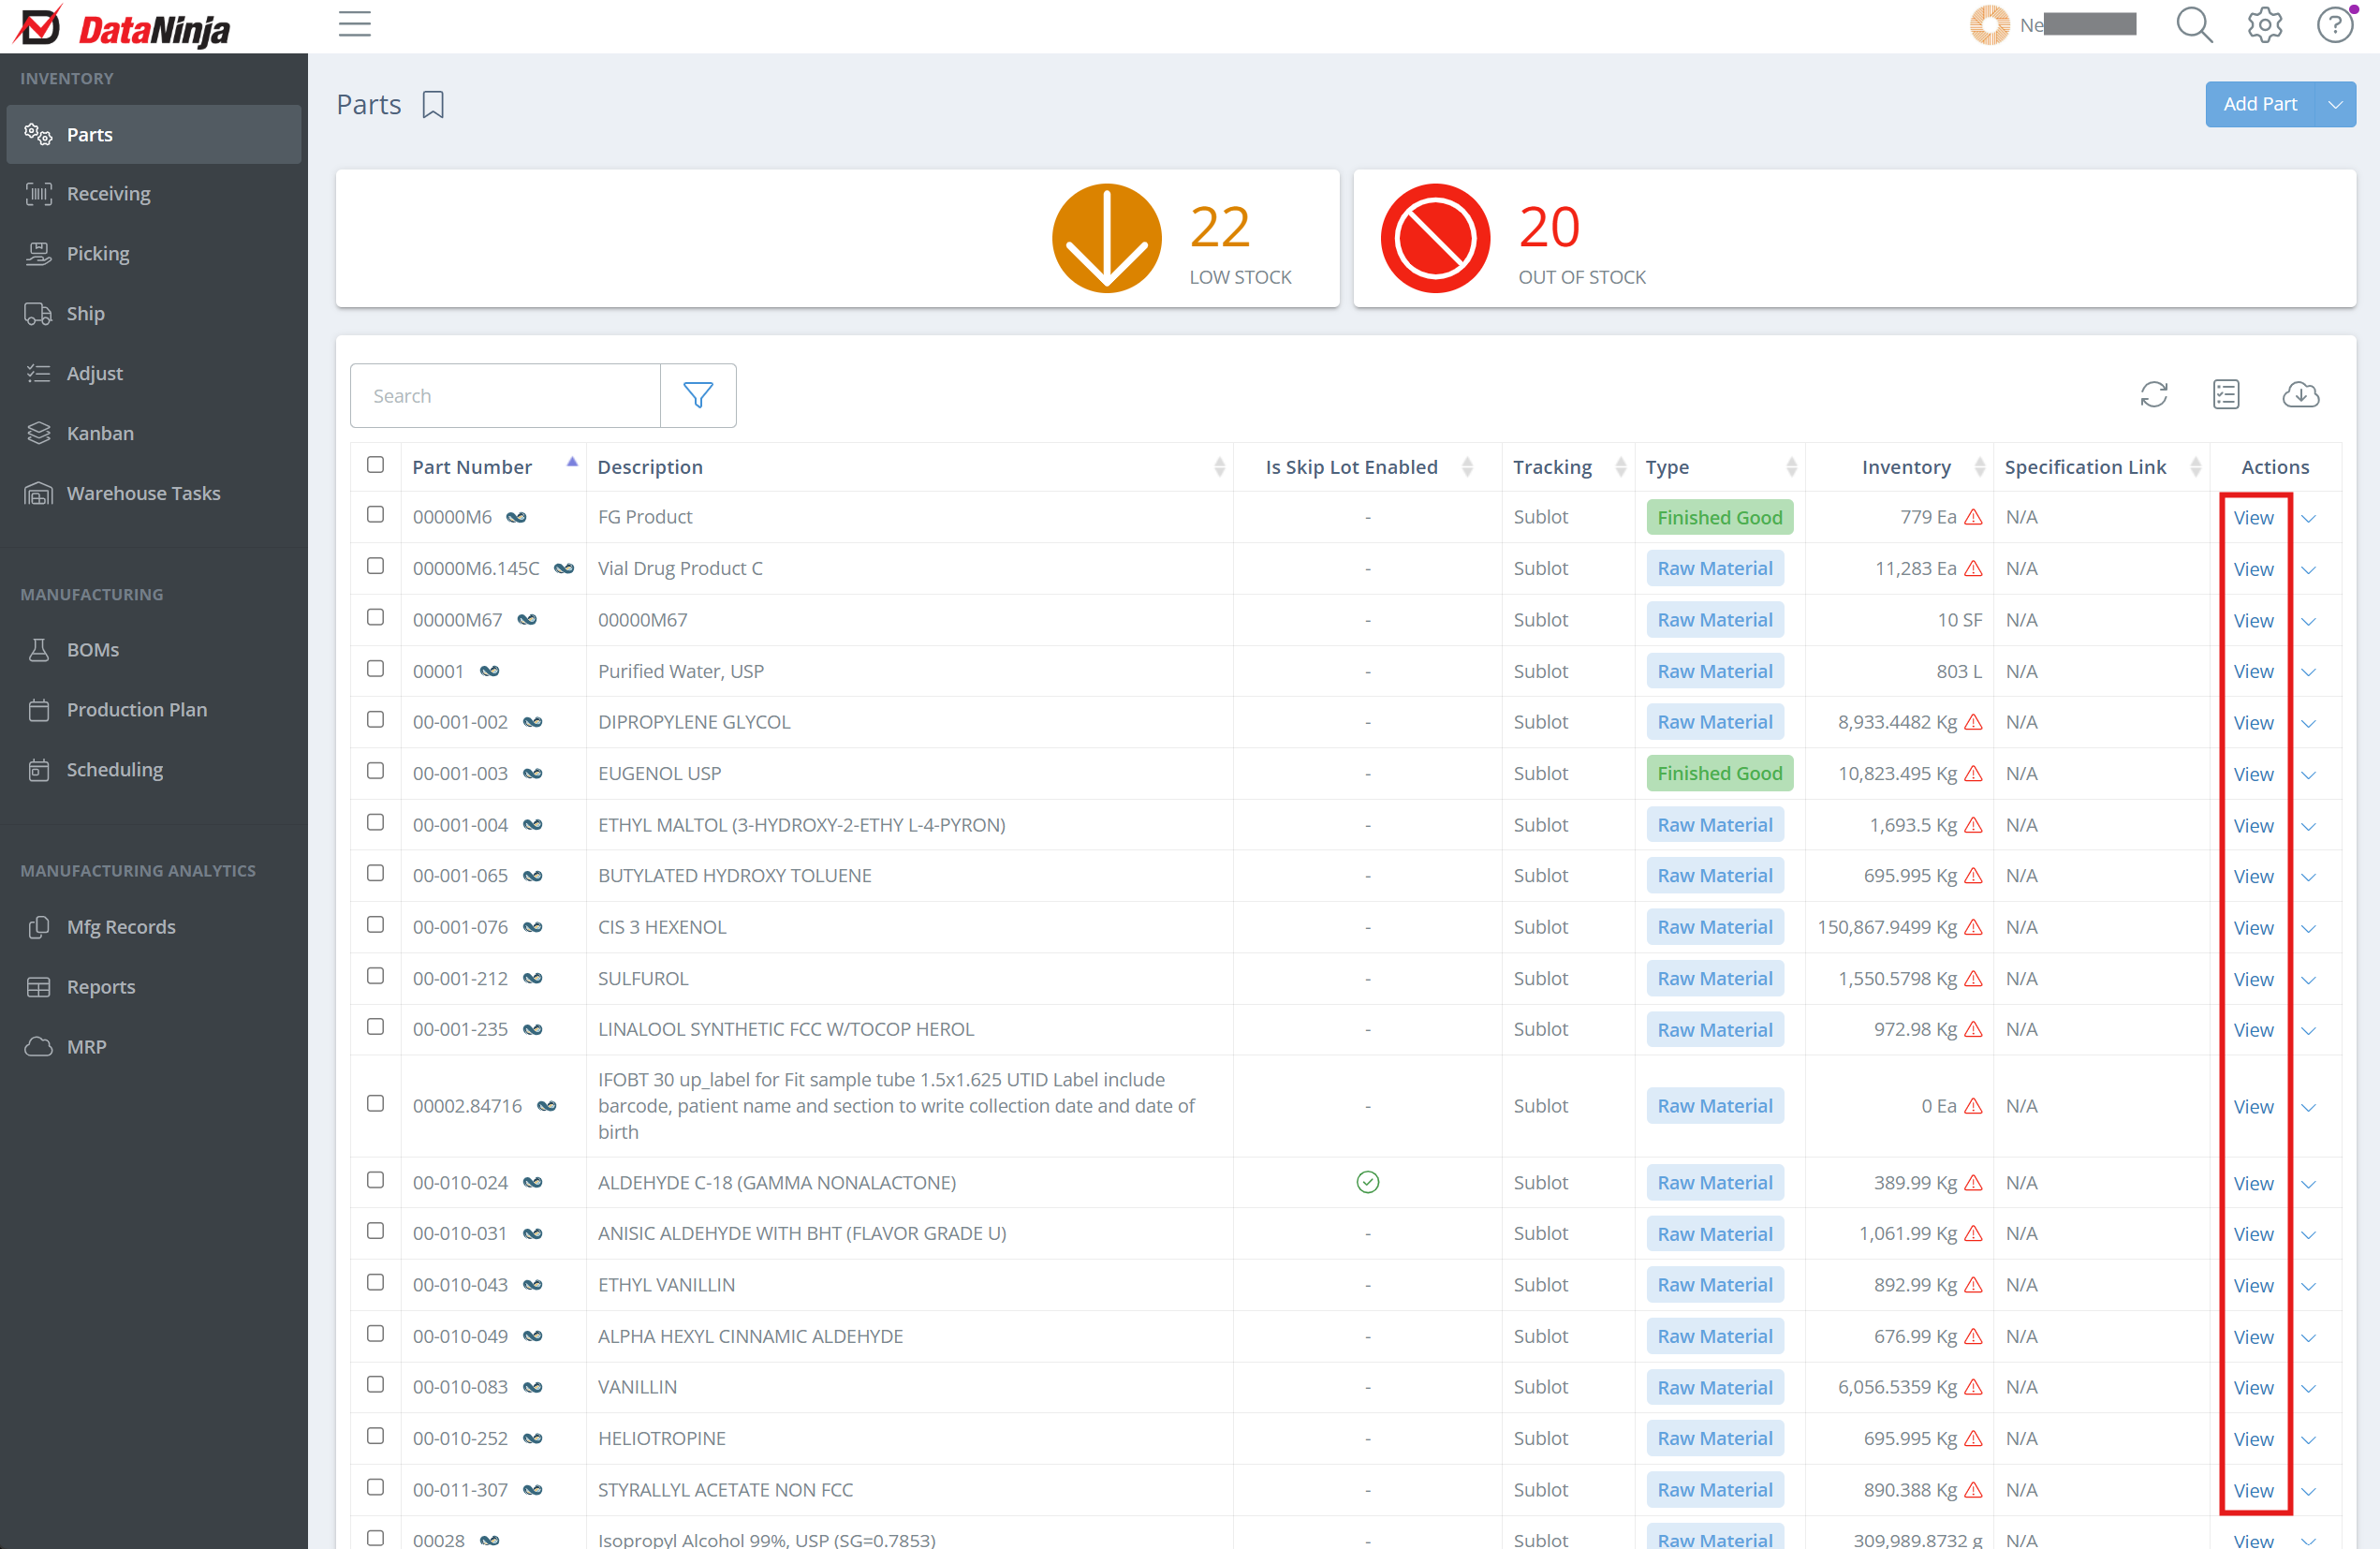
Screencap from v4.21.264.356
Click "Edit" next to the part name.
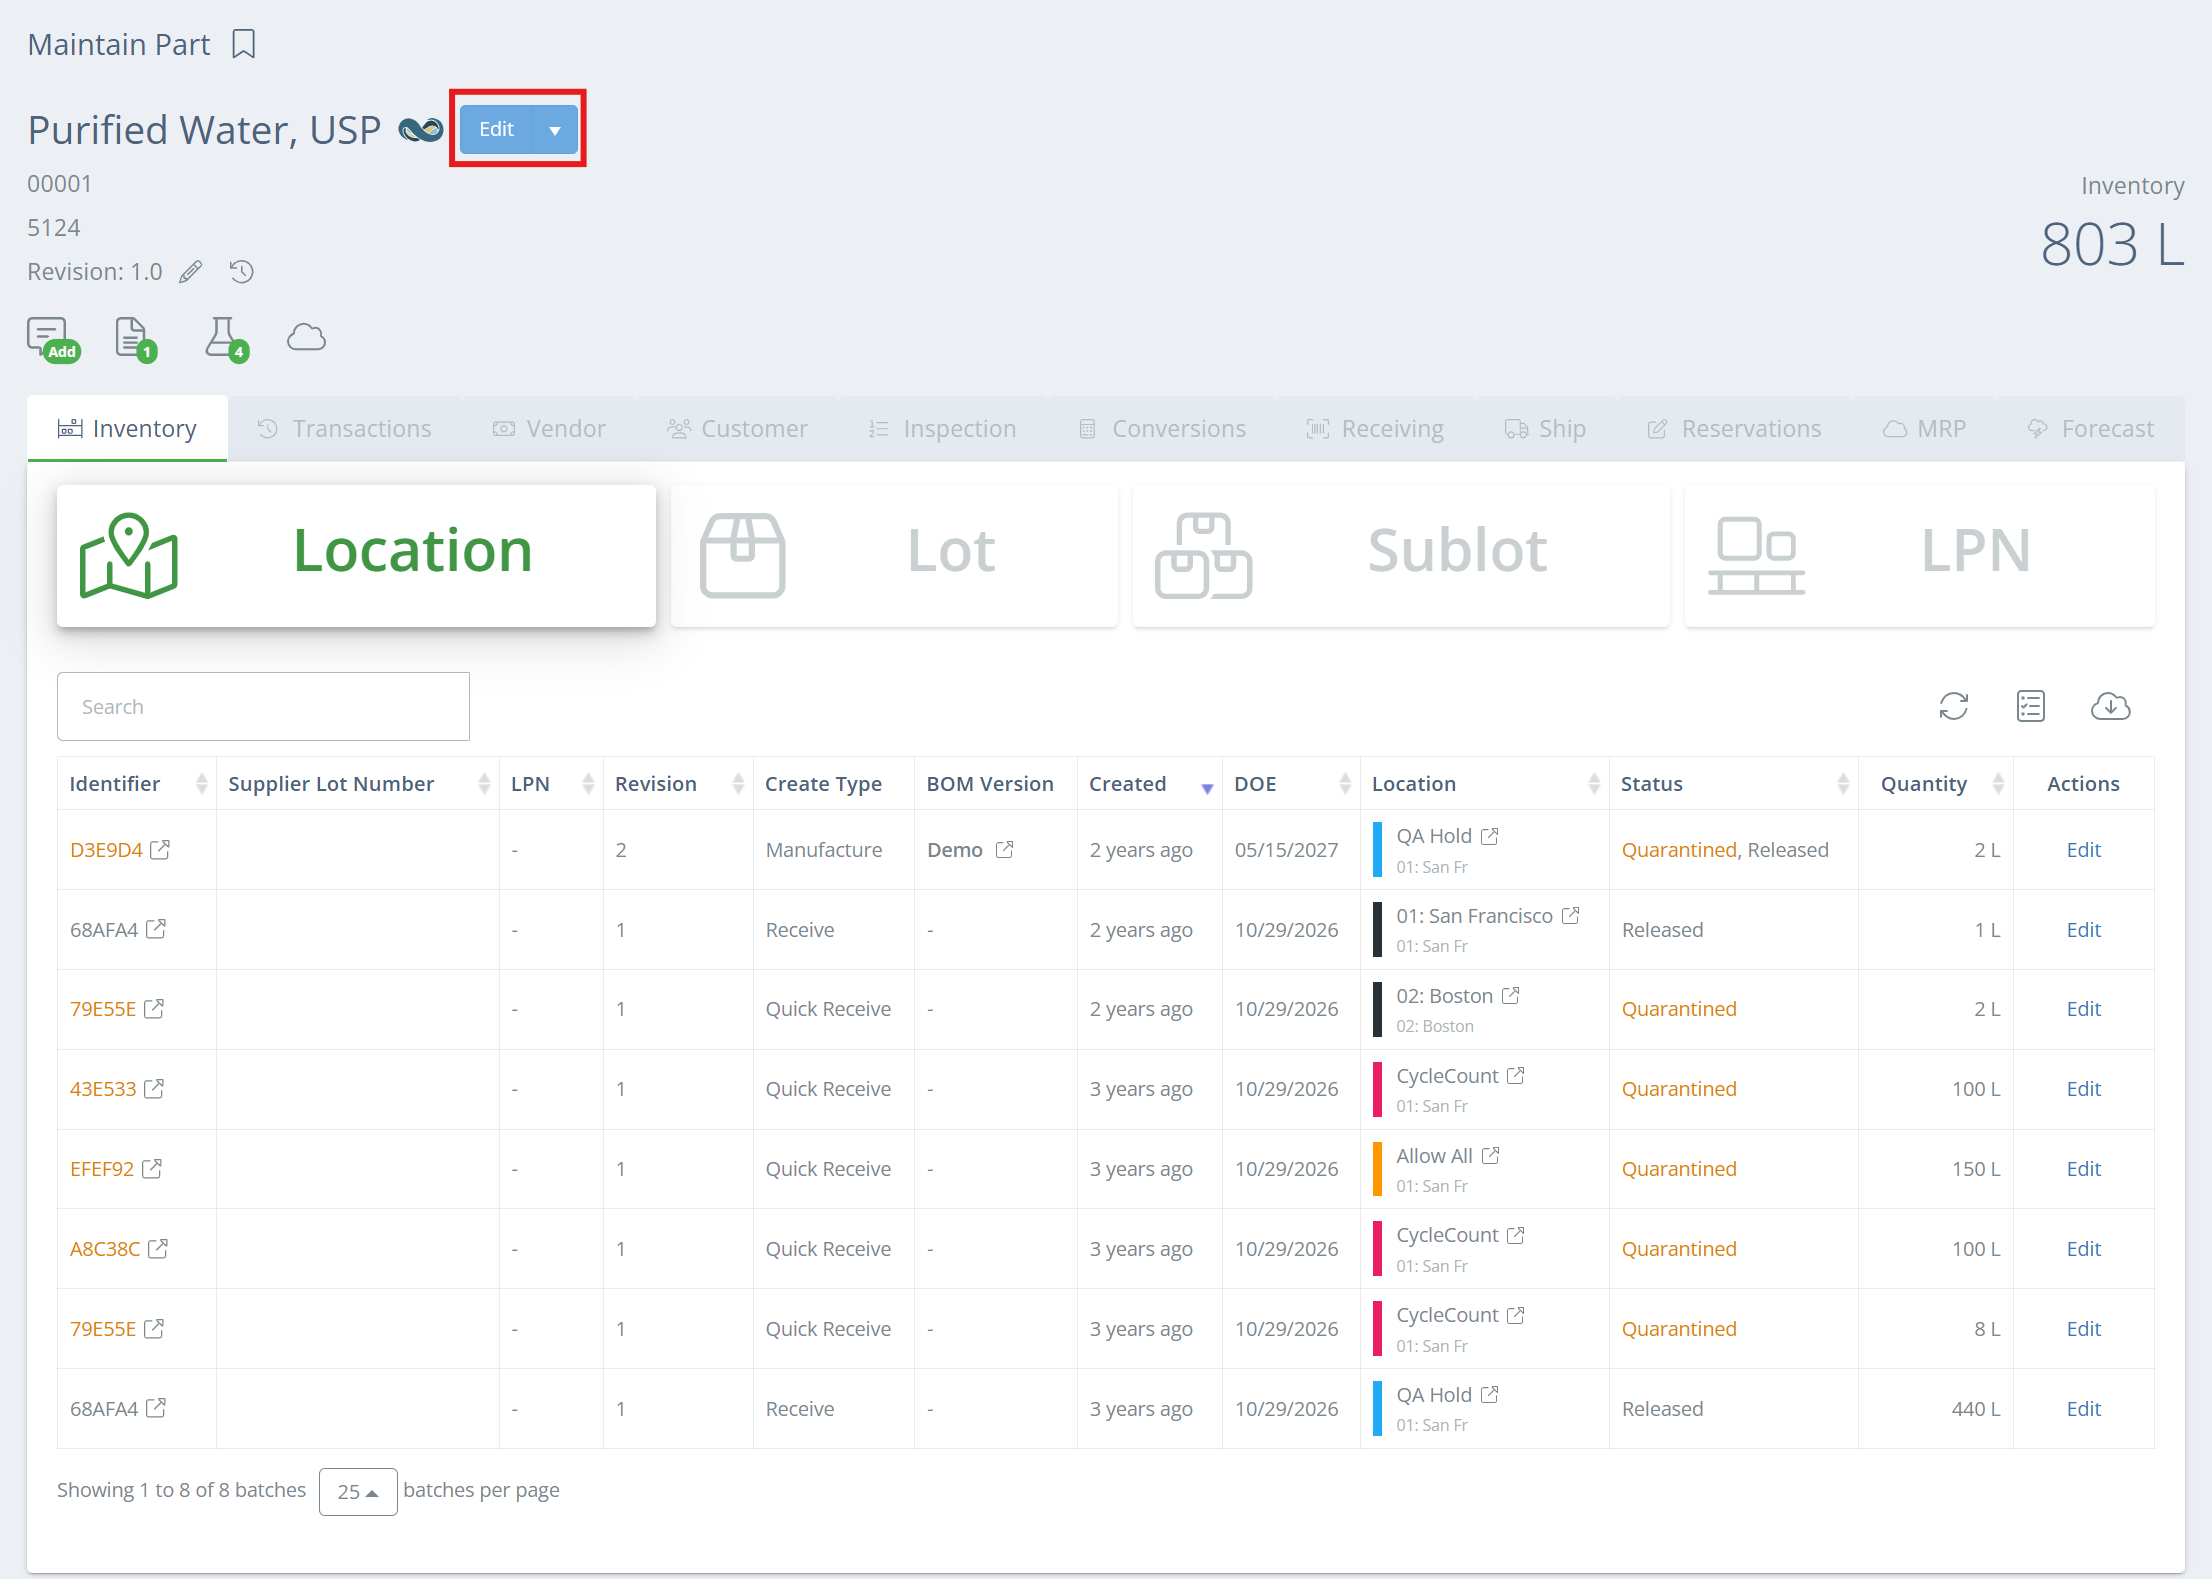
Screencap from v4.21.264.356
Edit/configure part settings, then click "Save and Close".
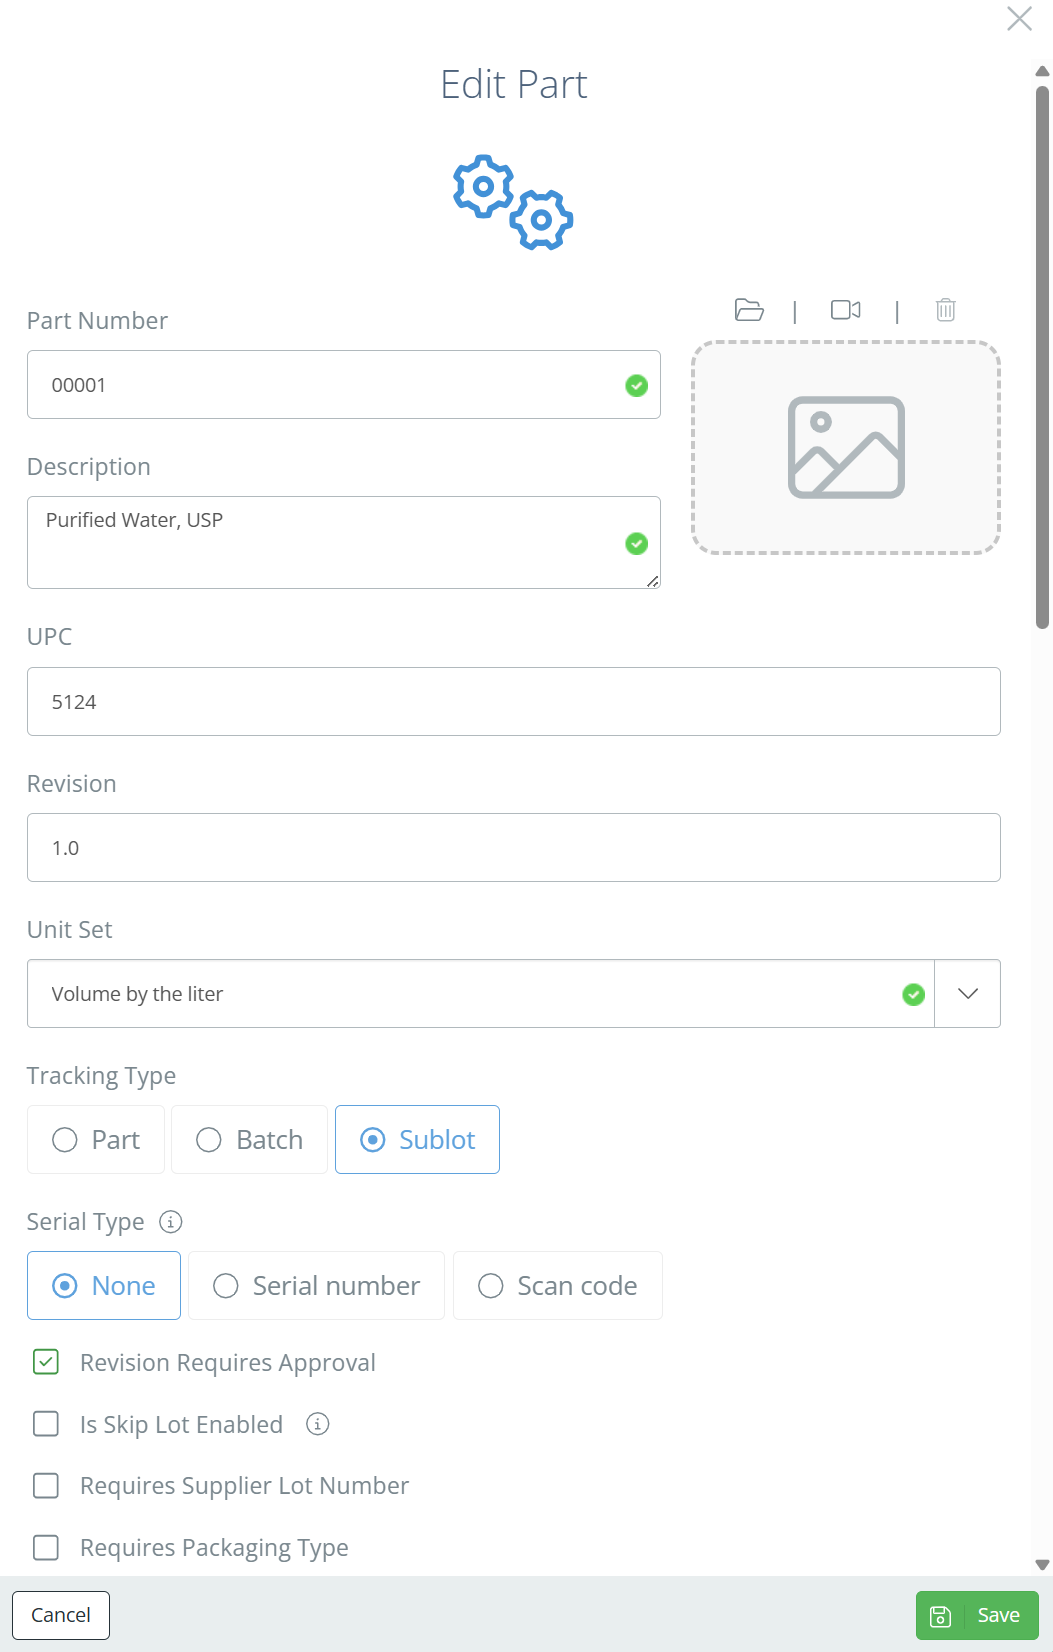
Screencap from v4.21.264.356
To control which users have access to edit part information, adjust their user permissions.
Bulk Edit Parts
If changes to Class information (Part, Purchasing, Sales), Part Type, and/or Location need to be changed for more than one part, use the bulk edit feature on the Parts page to make the changes. Check the box next to each part that you want to edit, or check the box in the header row to automatically check (or un-check) all of the boxes on the page. Once the parts have been selected, click "Batch Actions" and make the necessary changes. Once you click "Update", the information will be saved to all of the selected parts.
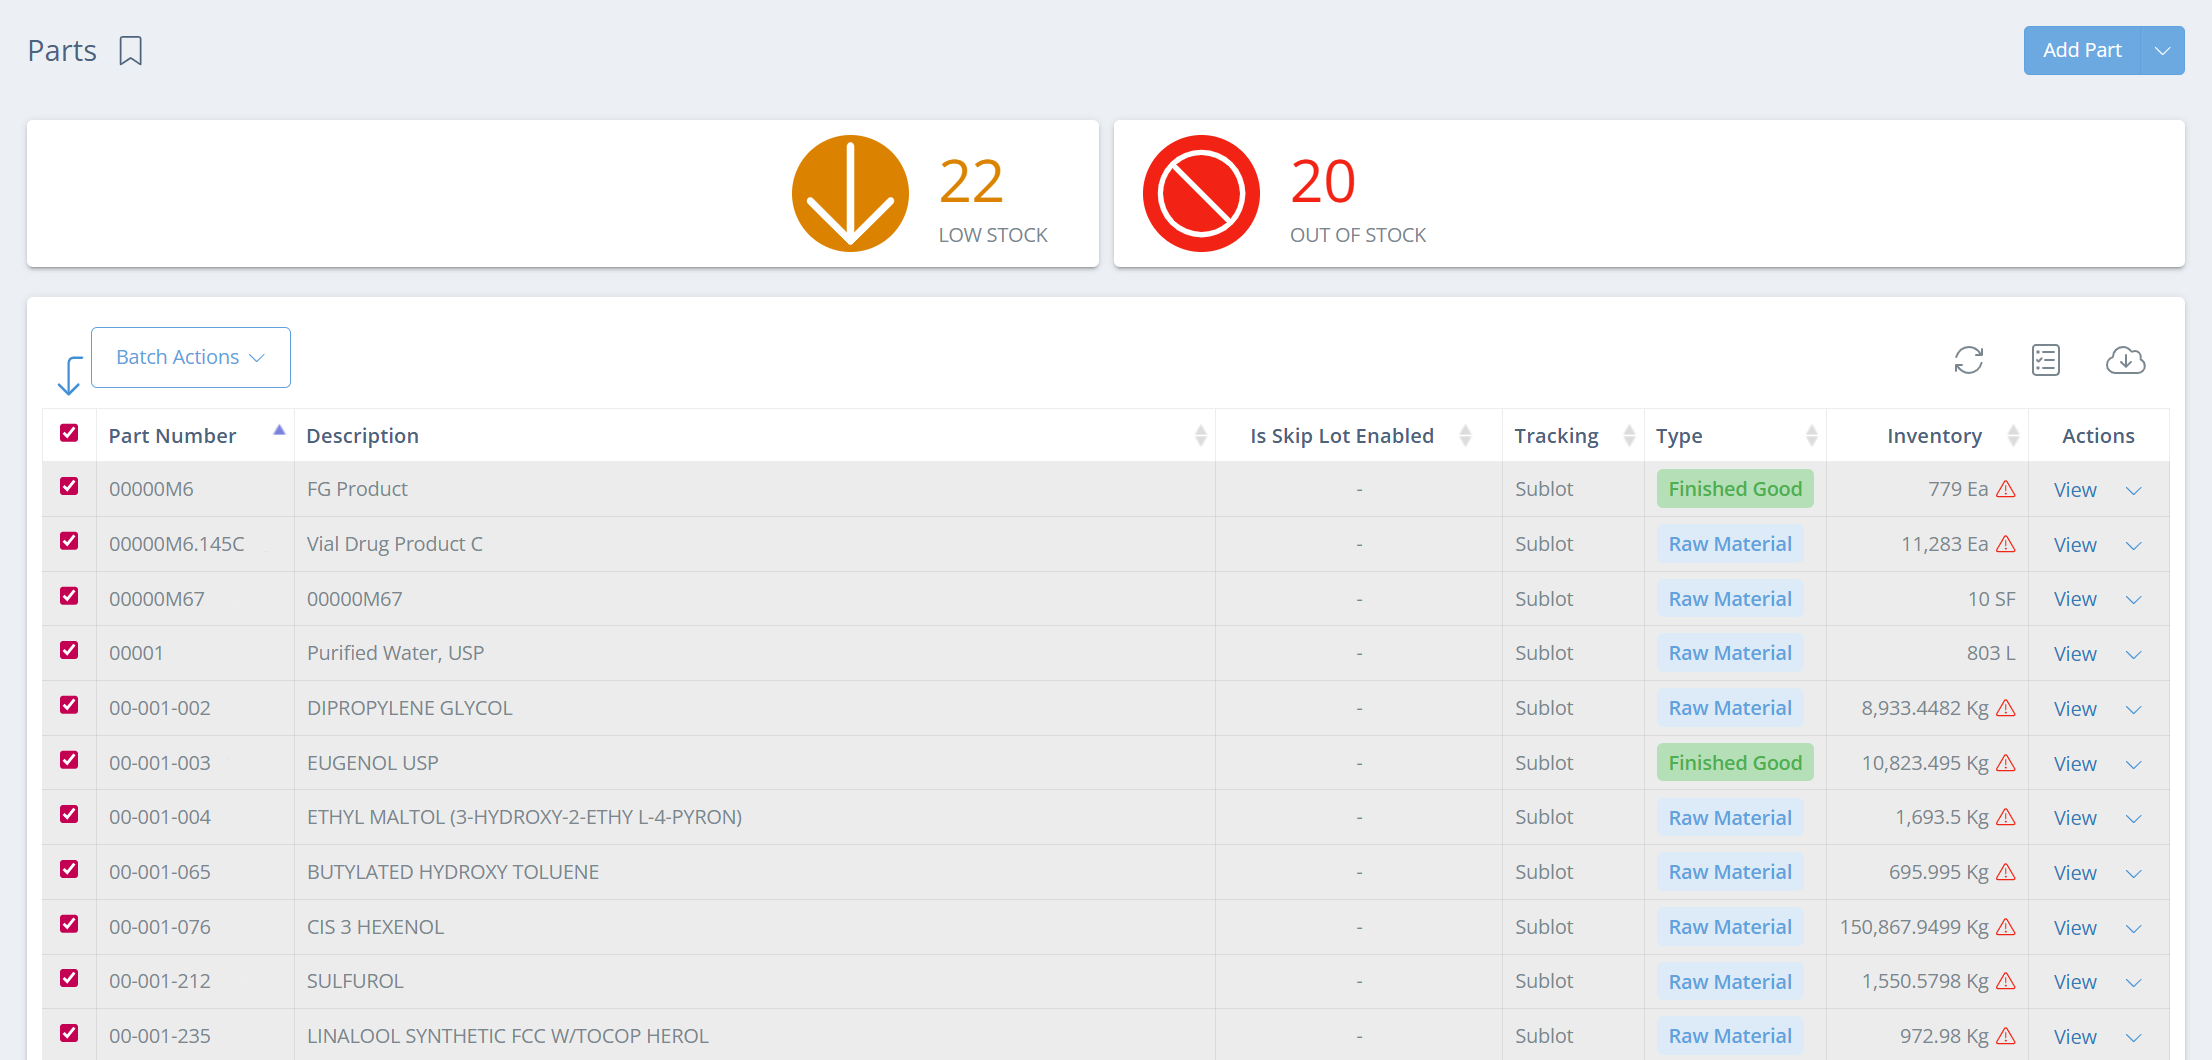
Screencap from v4.21.264.356
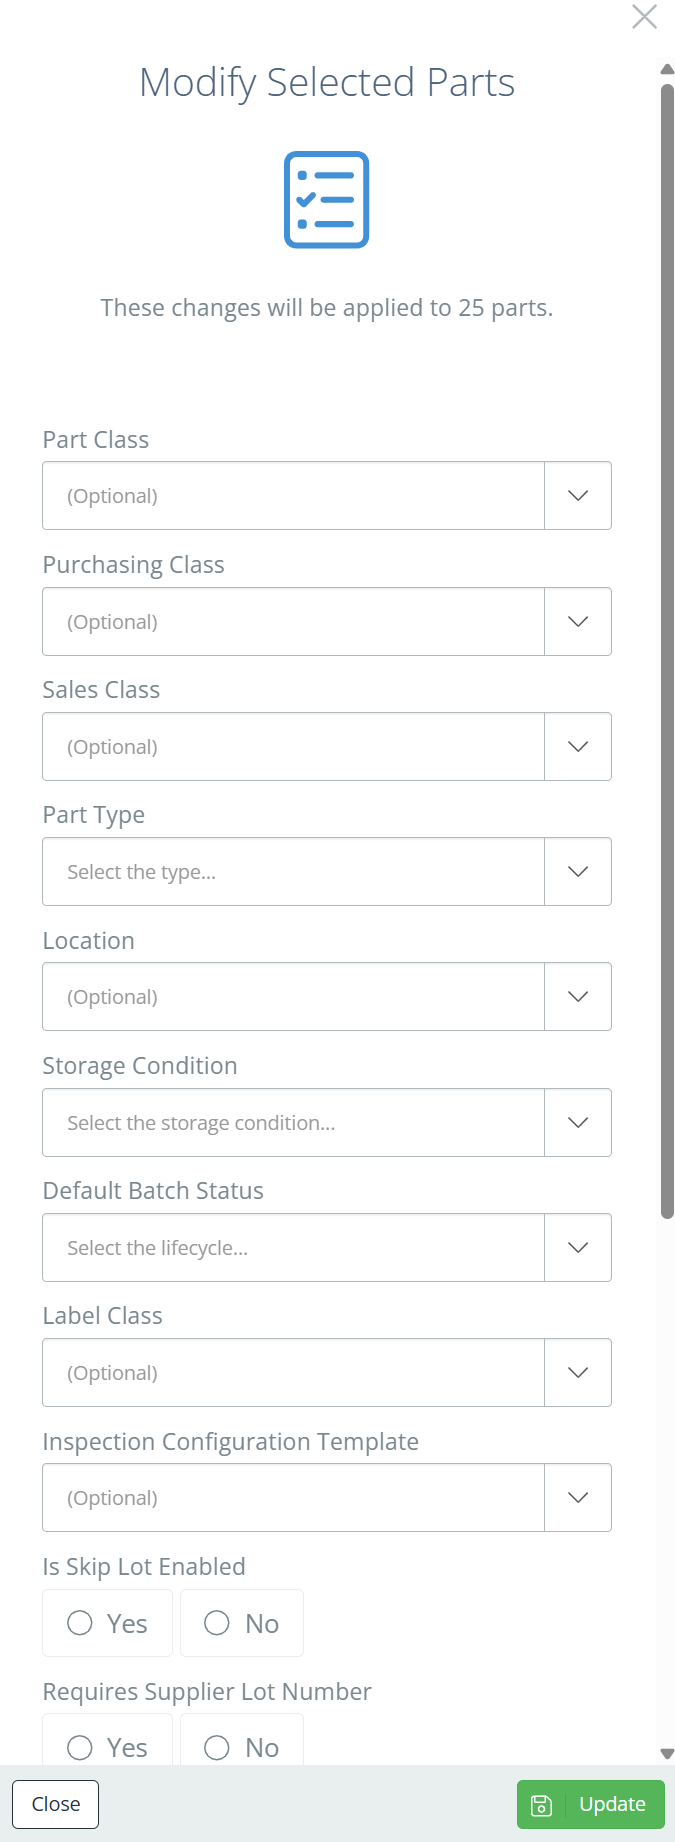
Screencap from v4.21.264.356
Delete a Part
QuickBooks Online
Deleting a Part in DataNinja will mark it as Inactive in QuickBooks, but will not remove any of the Part history.
NetSuite
For NetSuite, mark the Part as Inactive in NetSuite and let the status sync over to DataNinja.
If a part will no longer be utilized, you can delete the part in DataNinja. Deleted parts are not visible in the UI, but can be manually recovered by the DataNinja team by request. If you still want to be able to see the part, consider changing the Lifecycle instead.
Updated 22 days ago