Team Roles and Contractors
Assigning team members to esignature and permission role groups
Team Roles are used to control:
- Which people have authorization to complete a Manufacturing or Incoming Inspection Approval Step with their electronic signature.
- Example:
Anyone one who is assigned to the "Production Admin" role can e-sign for the Manufacture signature of a batch. After their e-signature, a person in the role of "Quality" must e-sign before the batch is released.
- Example:
- Permissions. Any team member assigned to a specific role will receive all permissions associated with the role.
- Example:
Members of the "Admin" role have full permission to make changes in DataNinja.
- Example:
- Site Navigation
- Example:
Members of the "Contractor" role cannot see nor navigate to the Shipping page in DataNinja.
- Example:
- Monetary Adjustment Limitations
- Example:
Members of the "Production Team" role cannot make adjustments that have a monetary value greater than $100.
- Example:
DataNinja recommends having all desired Team Roles set up (or at least existing on the Team Roles page) before setting up Permissions.
Navigating to Team Roles
- Click the gear icon in the top right corner.

- Under "Settings" click "Team Roles".

By default, the 'Admin', 'Equipment Service Alerts', 'Production Admin', 'RedEscalation', and 'YellowEscalation' Team Roles should already exist, and cannot be deleted, nor can an adjustment limit be added to these roles.
Creating a New Team Role
From the Team Roles page, select the "Add Role" button at the top right of your screen. Then specify the name of the role, set an adjustment limit, and add any necessary users to the role before hitting "Save". You can have any number of Team Roles, and can delete any manually created roles.
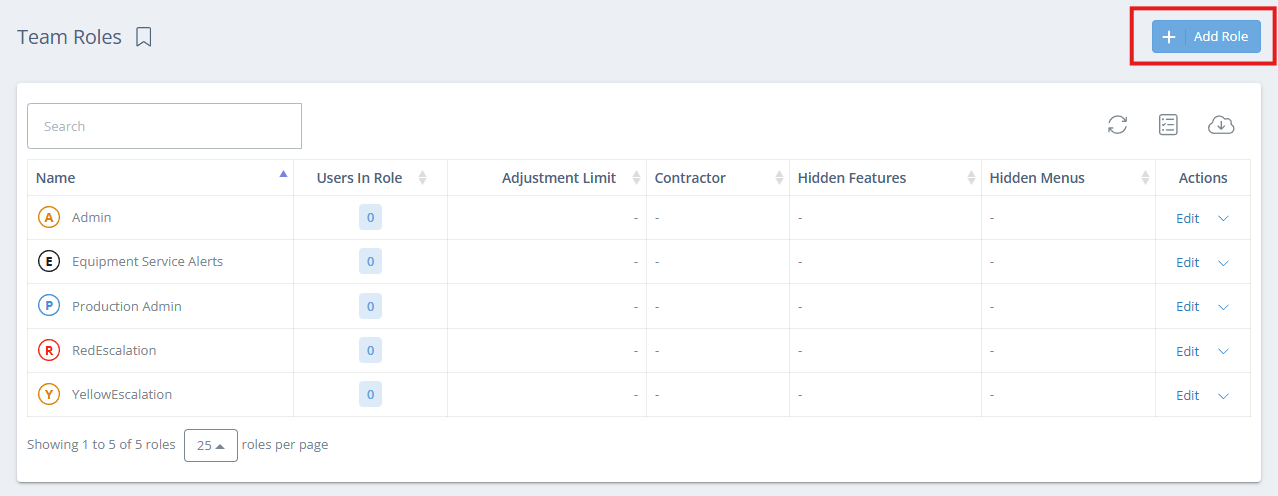
Screencap from v4.20.263.1027
Adding a Team Member to an Existing Role
From the Team Roles page, double click the Role the team member should be added to, or click "Edit" in the Actions column.
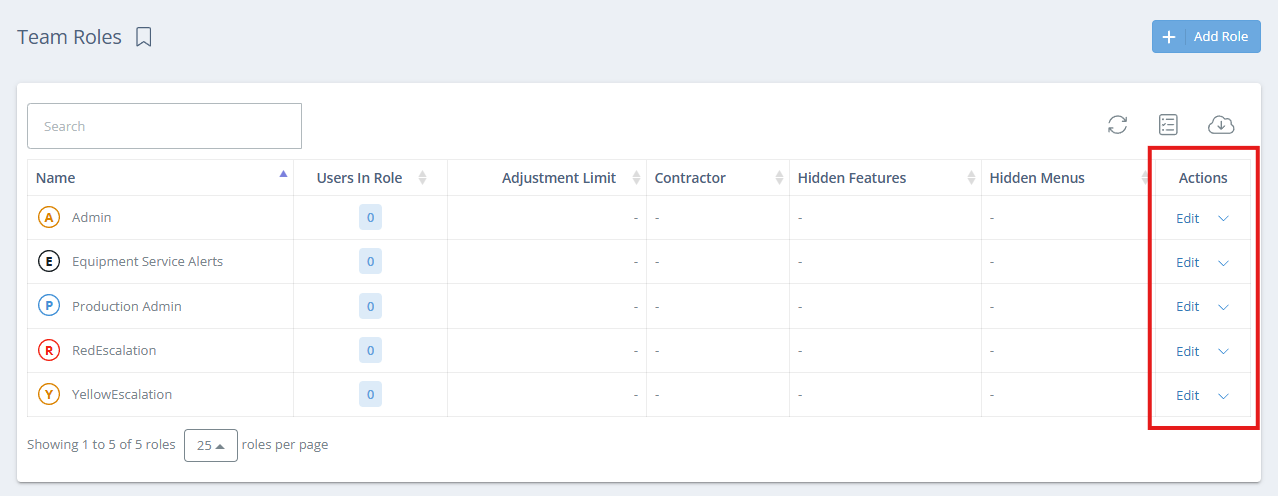
Screencap from v4.20.263.1027
In the "Users in Role" field, start typing a member's name and select them from the dropdown to assign a team member to the role selected. Specify if the role is for Contractors (or if you want the role to have limited site access) or not, then hit "Save".
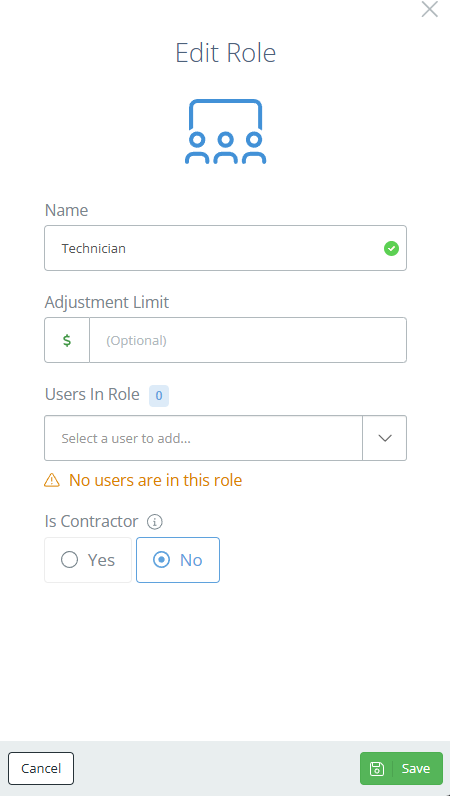
Screencap from v4.20.263.1027
Contractor Settings
If a role has "Yes" selected under "Is Contractor", you can selectively control what users in the role can see and do within your DataNinja site. These settings will show up in the "Edit Role" aside.
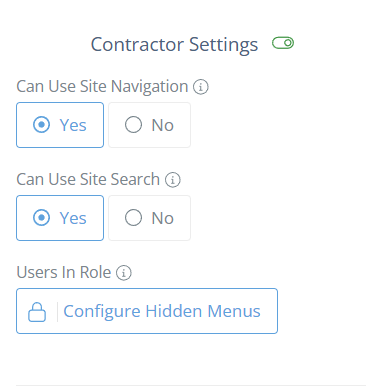
Screencap from v4.20.263.1027
Can Use Site Navigation
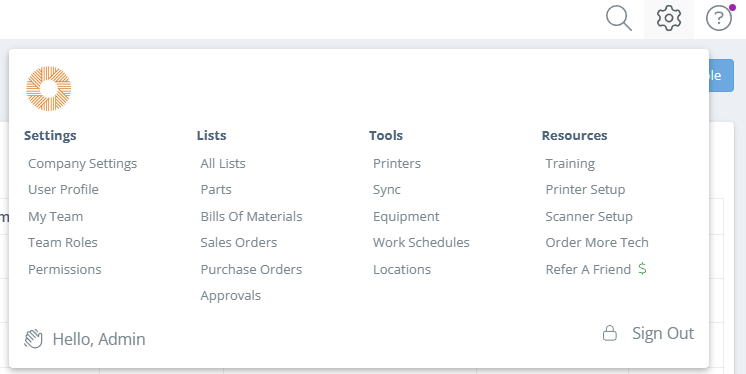
If "No" is selected, then users in this role will not see any options other than "Sign Out" when they click on the gear icon in the top right.

Screencap from v4.20.263.1027
Screencap from v4.20.263.1027
Can Use Site Search
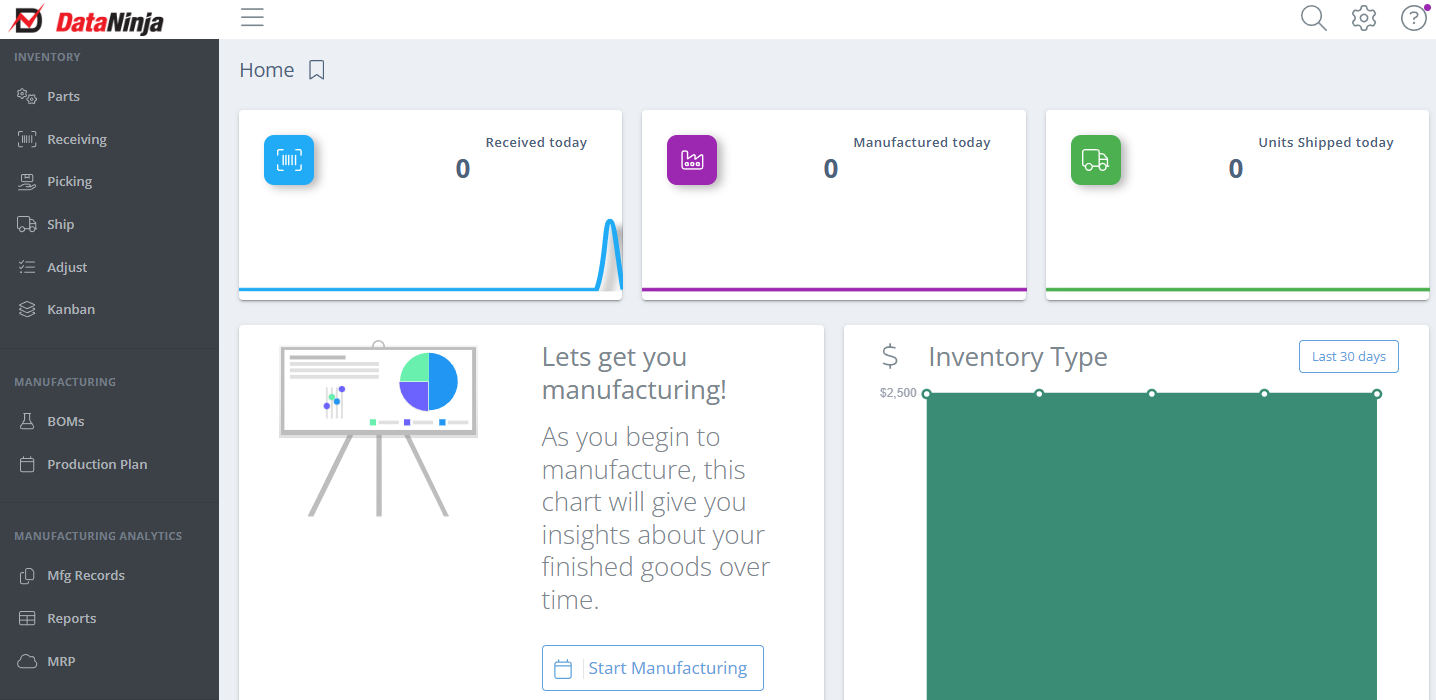
This determines whether the search icon is visible in the top bar, so users in the role can search within the site.


Users in Role
By default, all menus in the lefthand sidebar are visible, but if you click "Configure Hidden Menus" you can select which menus you want to hide from users in the role.
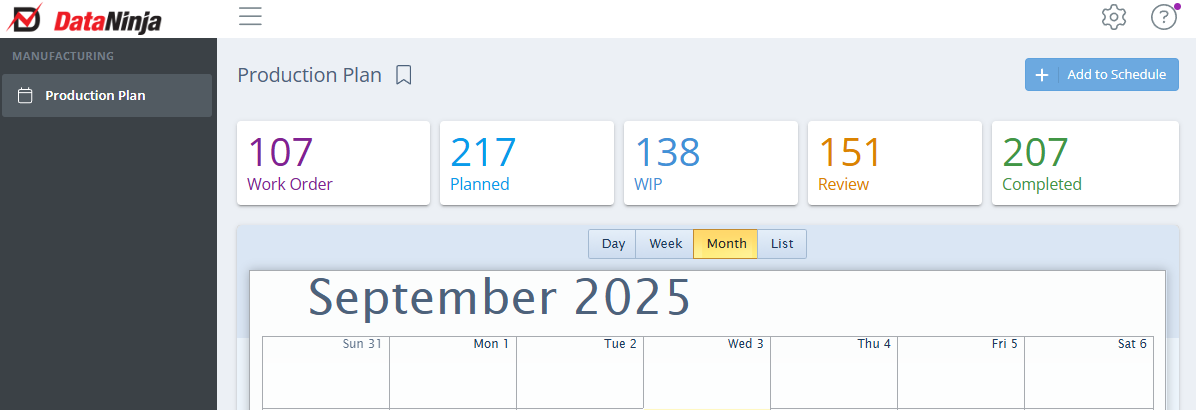
Screencap from v4.20.263.1027
Screencap from v4.20.263.1027
Smart Security Controls
Access is proactively controlled even if contractors try to use a direct link.

Works with QuickBooksUse the order "Division" field so contractors only see orders pertinent to their company.
Updated 9 months ago