Material Reservations
Assign lots to specific production runs or sales orders
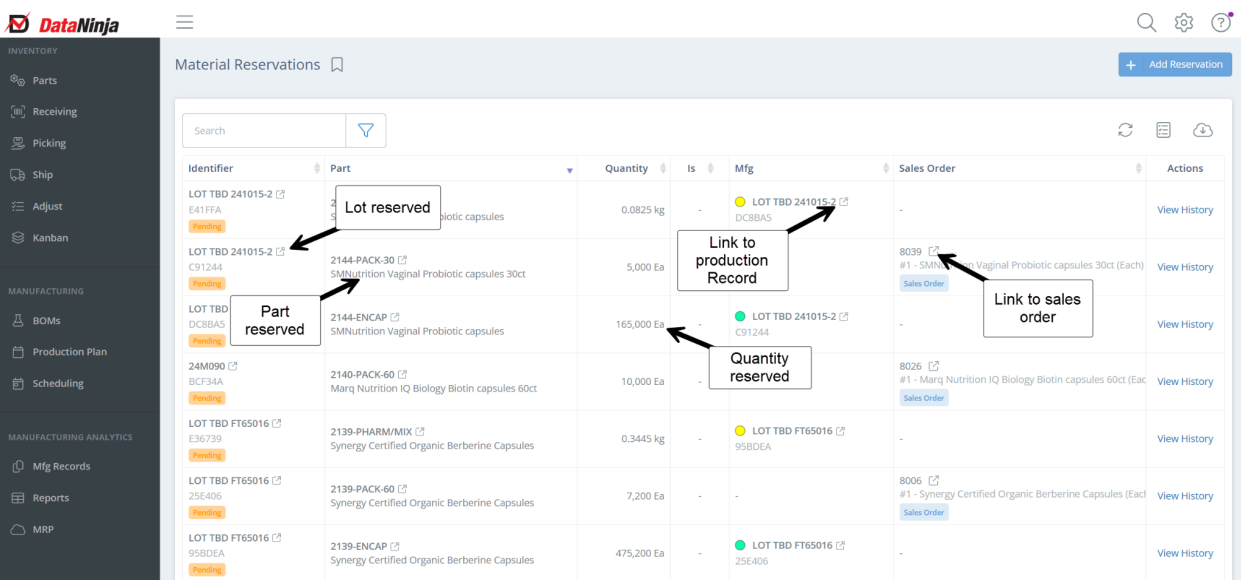
View Material Reservations In DataNinja
You can see all material reservations by going to "Settings" → "All Lists" → "Material Reservations".
Material reservations can be added, changed, and deleted on the production/manufacturing record.
When a pick for a part with a material reservation has been added, picking will be directed to the reserved lot.
Add a Material Reservation
For Manufacturing Records (Purchase Orders)
In the left-hand sidebar, click on “Production Plan”. Click on the "Planned" or "WIP" tab and search for the batch by either part number or identifier. Click "View" or double click on the batch to open the production record.
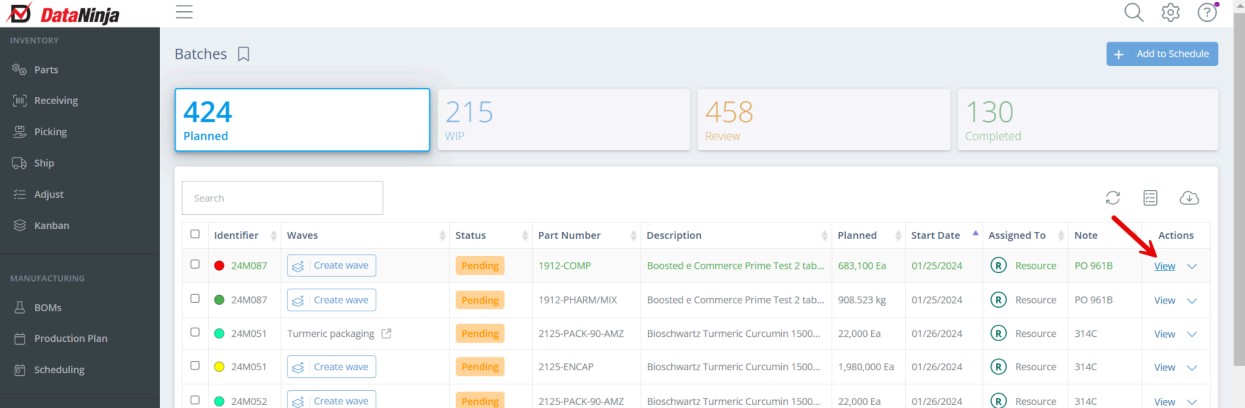
If the batch shows on the calendar, you can also click on the batch, then click on the Identifier to open the production record.
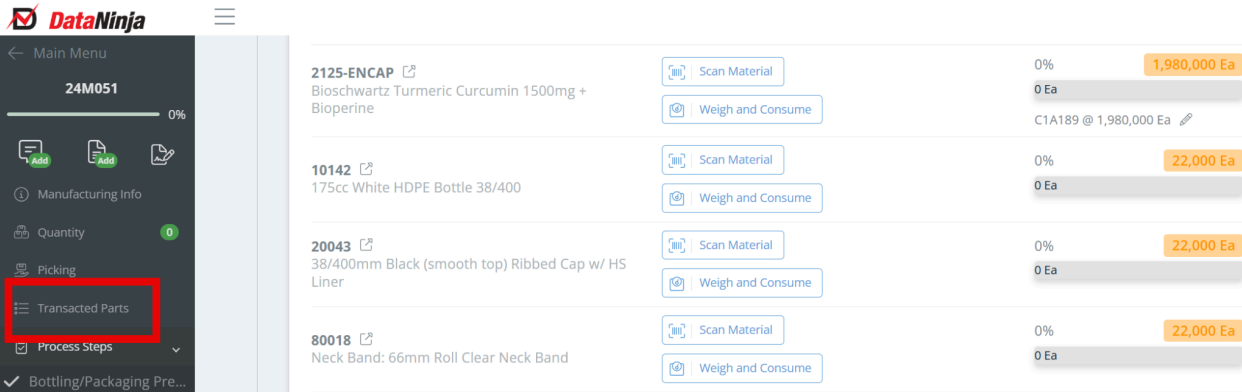
Scroll to the transacted parts and find the part for the material reservation.
Click the dropdown next to “View Locations” and select “Material Reservations”.
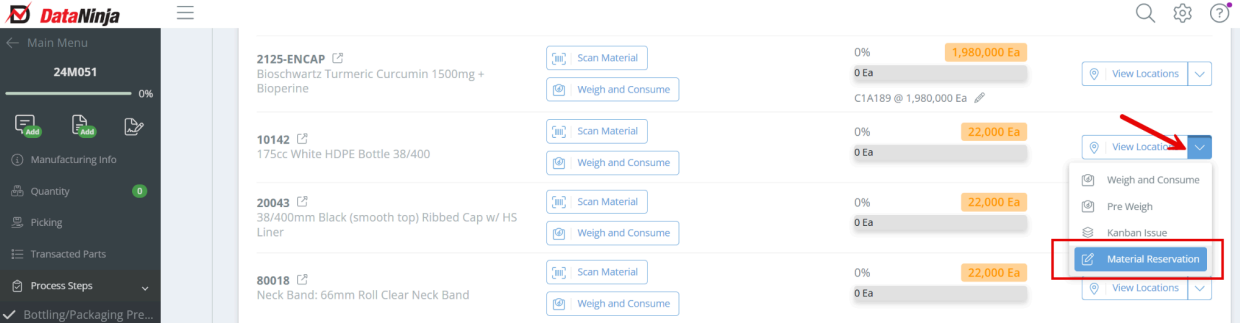
Scan or type in the Lot Number you want to reserve, and enter an amount to reserve. Select “Add Reservation” in the bottom right corner.
For Work Orders (WO's)
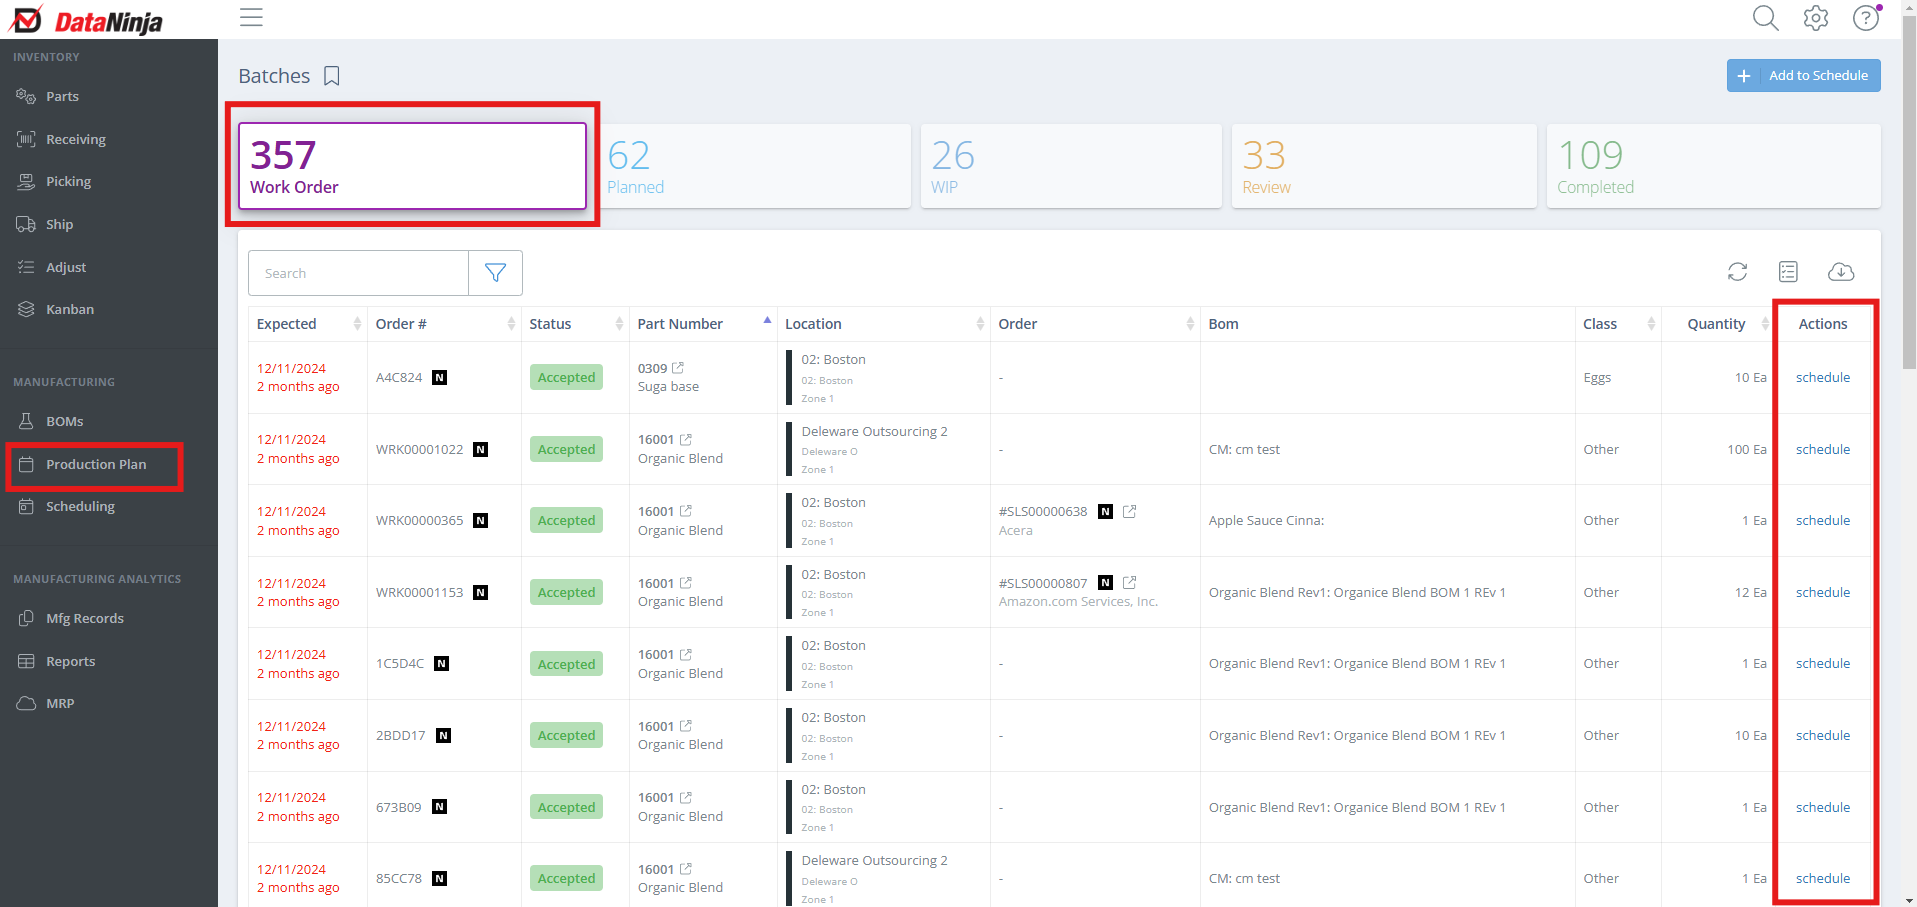
Work Orders must be scheduled in order to reserve materials. To do so, click on "Production Order" from the left-hand sidebar, then click on the "Work Order" tab. Search by the order or part number, then click "Schedule" in the Actions column.
Search and select the BOM you are scheduling, then expand the additional fields and select Yes under "Reserve Materials". After clicking save, you will see a page to reserve either a Sales Order Line or a Mfg Batch. Search and select the correct line or batch, then specify the quantity you are reserving. After saving, the Work Order should show on the schedule and the specified material(s) reserved.
If you want to verify that the material has been reserved, open the manufacturing record for the work order and check under the "Material Reservations" field in the Produced Batch Information.
For Sales Orders (SO's)
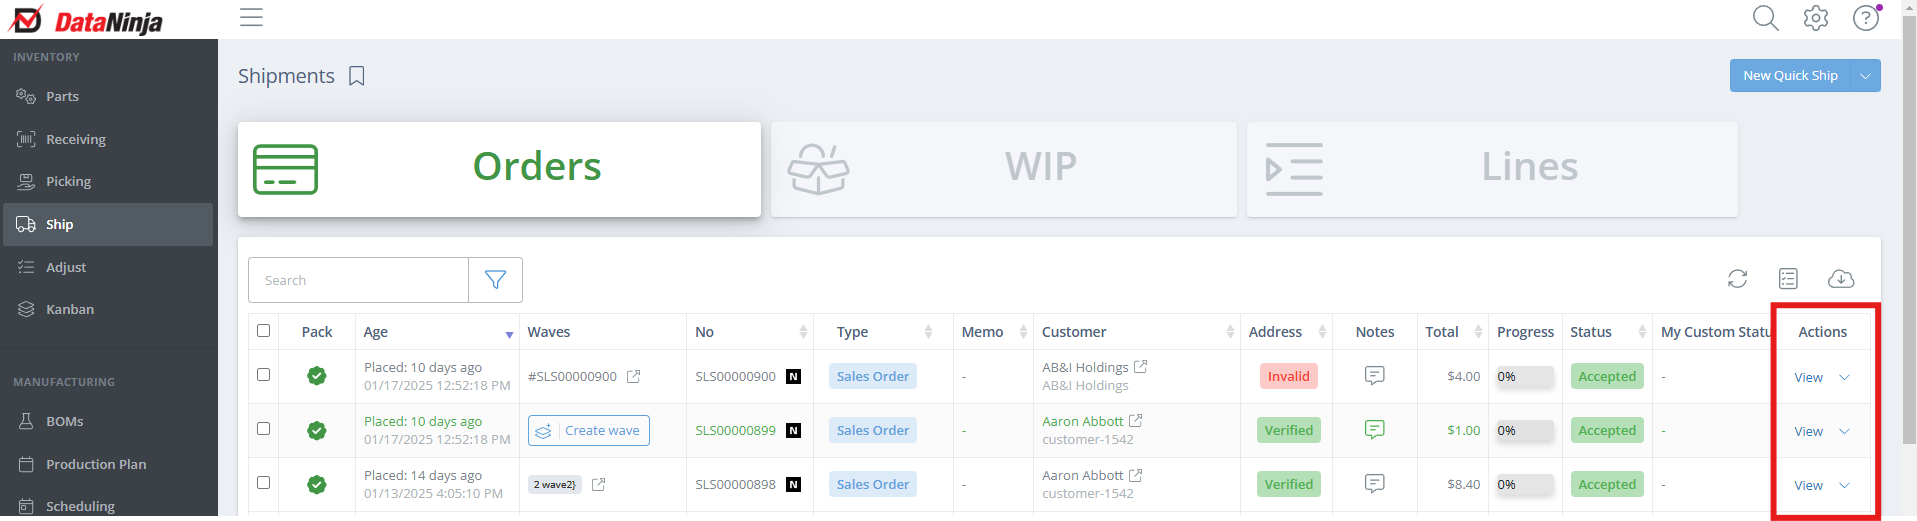
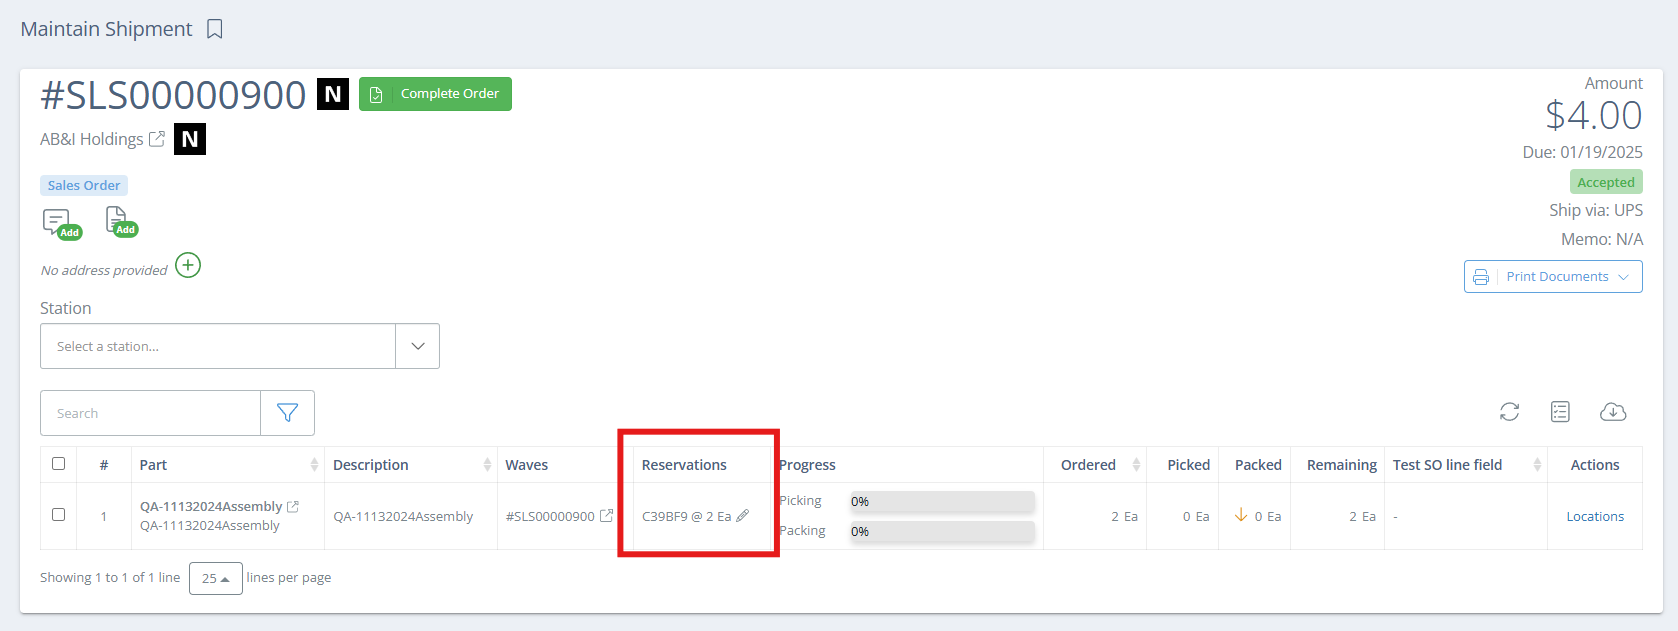
In the left-hand sidebar, click on “Ship”, then search to find the Sales Order. Then double click on the order or on "View" in the Actions column to open the order details.
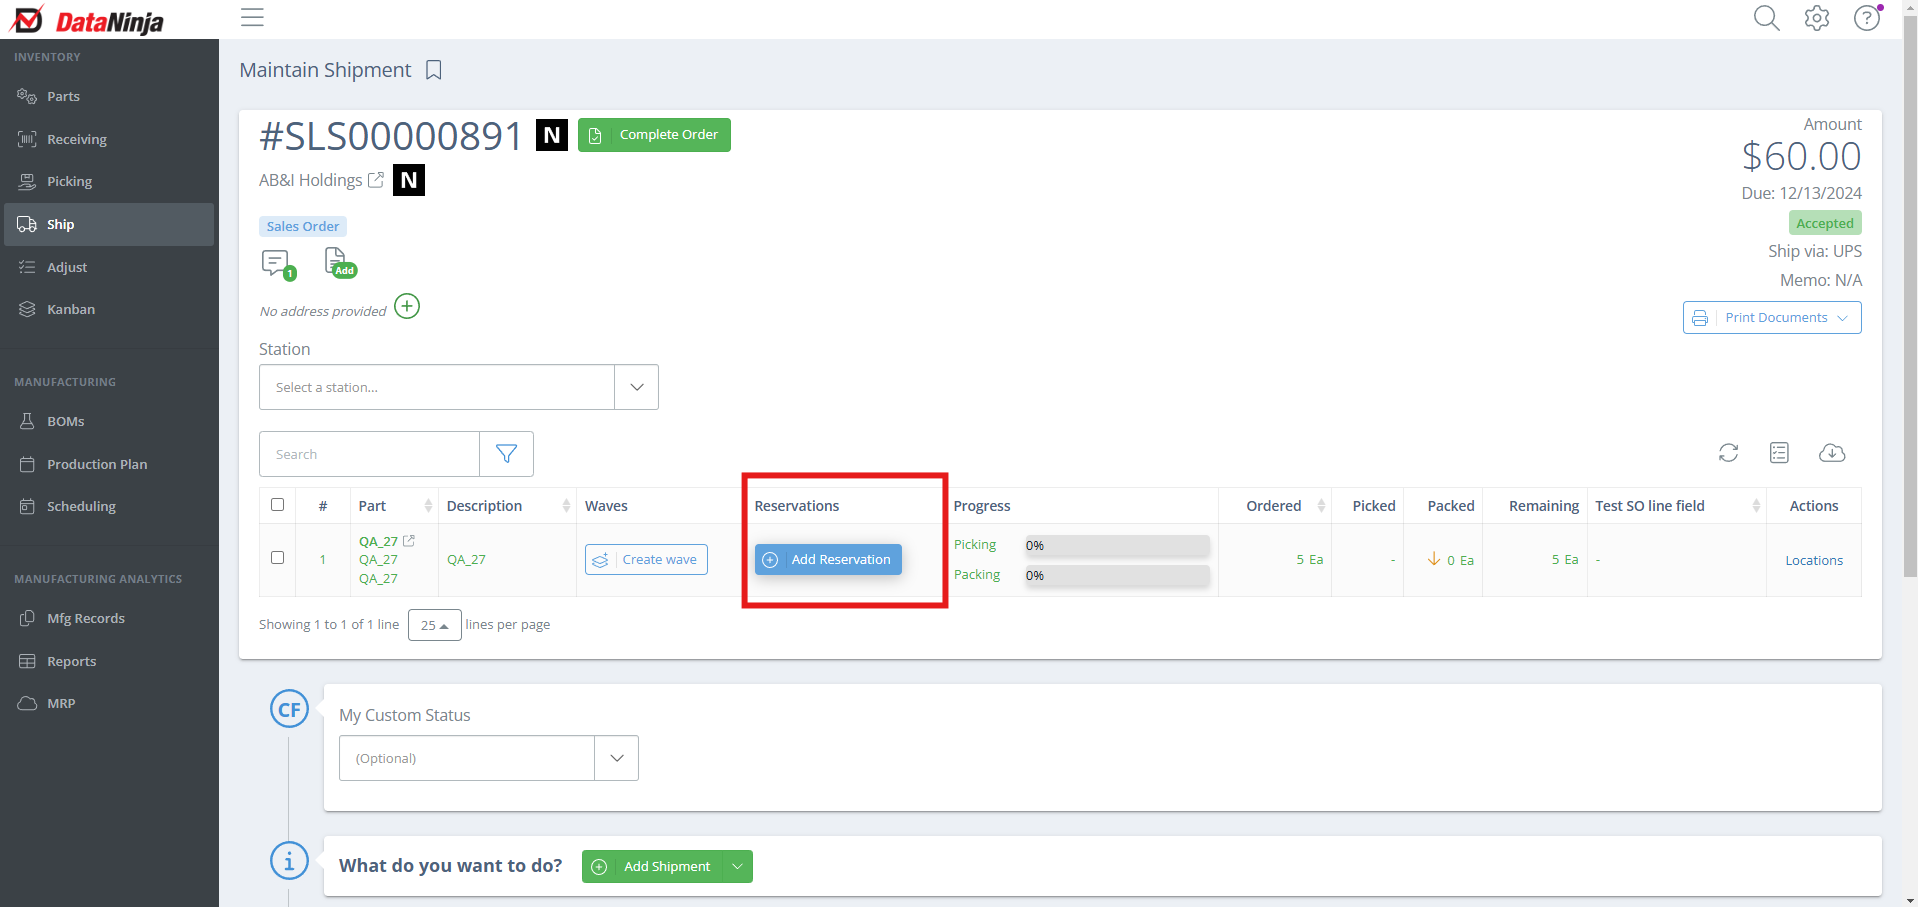
In the Reservations column, click "Add Reservation".
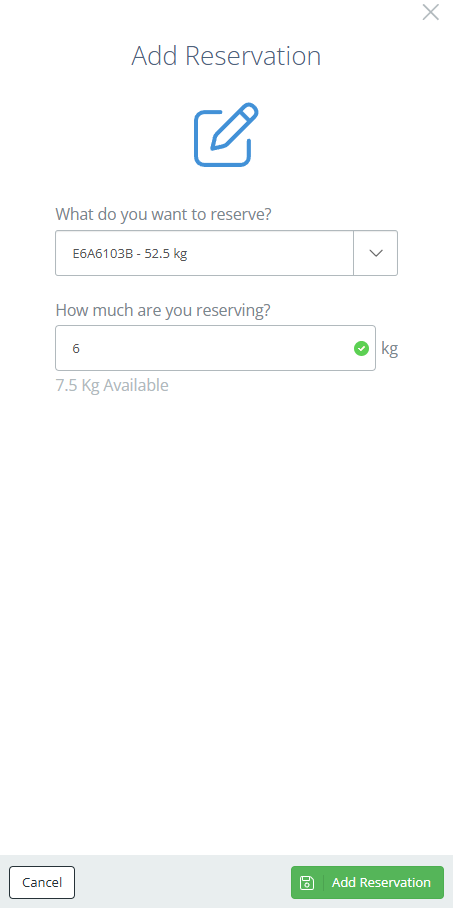
In the sidebar on the right-hand side of the page, select if you are reserving a batch or if you will be scanning inventory.
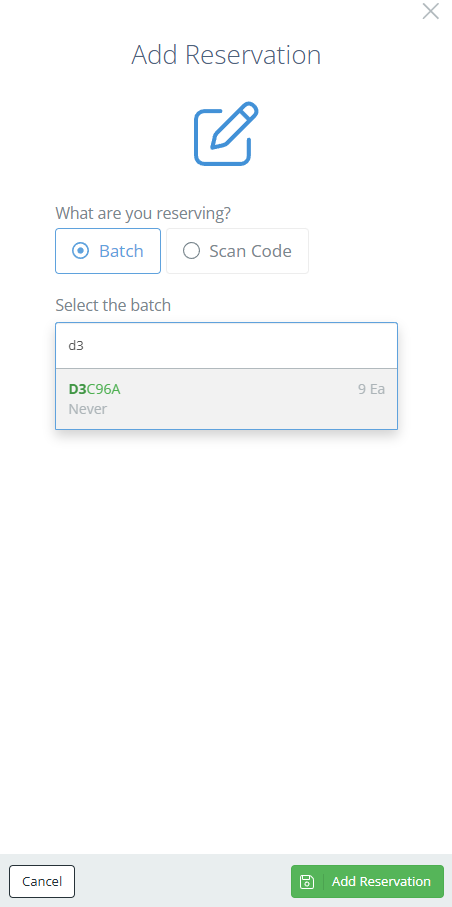
Enter the quantity you will be reserving, then "Add Reservation". The reservation should now show, with the part number and reserved quantity, on the order page.
Delete a Material Reservation
In the left-hand sidebar, click on “Production Plan”. Click on either the "Planned" or "WIP" tab and searching for the batch by either part number or identifier. Click "View" or double click on the batch to open the production record.

If the batch shows on the calendar, you can also click on the batch, then click on the Identifier to open the production record.
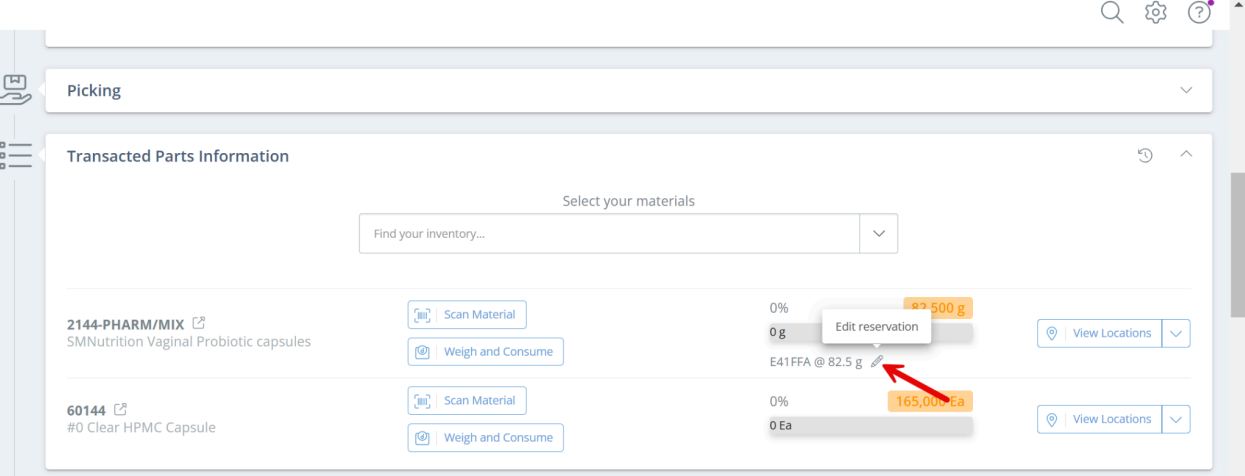
Scroll to the transacted parts and find the part for the material reservation.

Click on the pencil icon next to the material reservation.
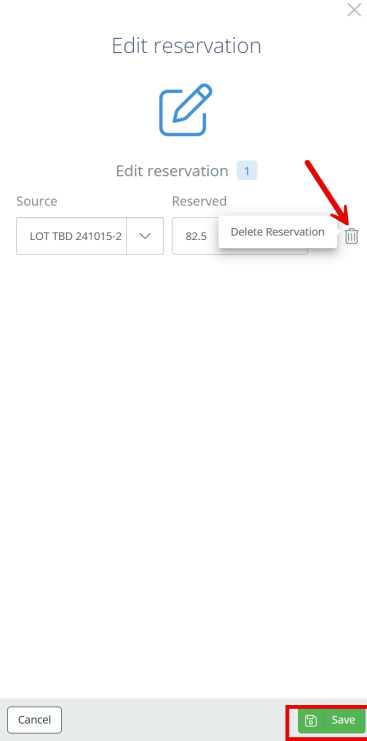
Click the trash can next to the reservation and select save.
Updated 9 months ago