
Custom Lot Numbers
DataNinja generates unique identifier codes for inventory tracking automatically. Identifiers consists of a unique, random combination of 6 numbers and letters. A good rule of thumb is to let the system track and generate these details for you, but you can also require that an identifier be manually entered at both the receiving and manufacturing level.
By default, DataNinja will utilize letters A-G and numbers 0-9 when generating identifiers.
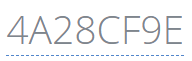
Still want to use your own custom lot code traceability format? No problem. You can use your own schema for lot number with DataNinja in place of a system generated one.
Custom Lot Numbers
If the auto-generated identifiers created by DataNinja are not compatible with your process, it might be better to use a custom format.
During Receiving
To enter a custom lot number during receiving, click on the Identifier field and enter the desired lot number.
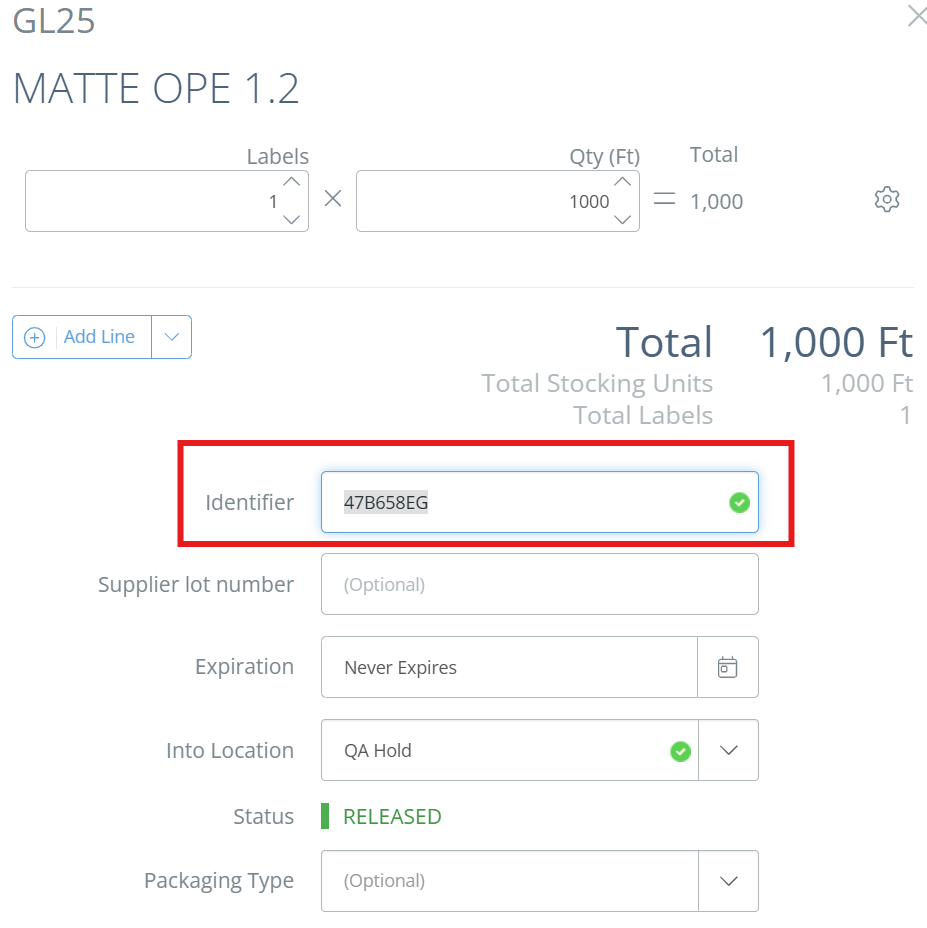
Remember that the lot number must be unique across parts. For example, you can receive Part A multiple times under the same lot number, but Part B has to be received under a different lot number.
Require Custom Lot NumberIf you need the Lot number to be manually entered every time upon receipt, just check the 'User Generated Barcode' checkbox on the Part settings page. This is set at the part level for greater control over your receiving process. If you need to set that on multiple parts, use the bulk select feature on the Parts page to make the change.
During Production
Using custom lot numbers during production can be done 2 ways: change the Display Identifier, or manually set the Barcode.
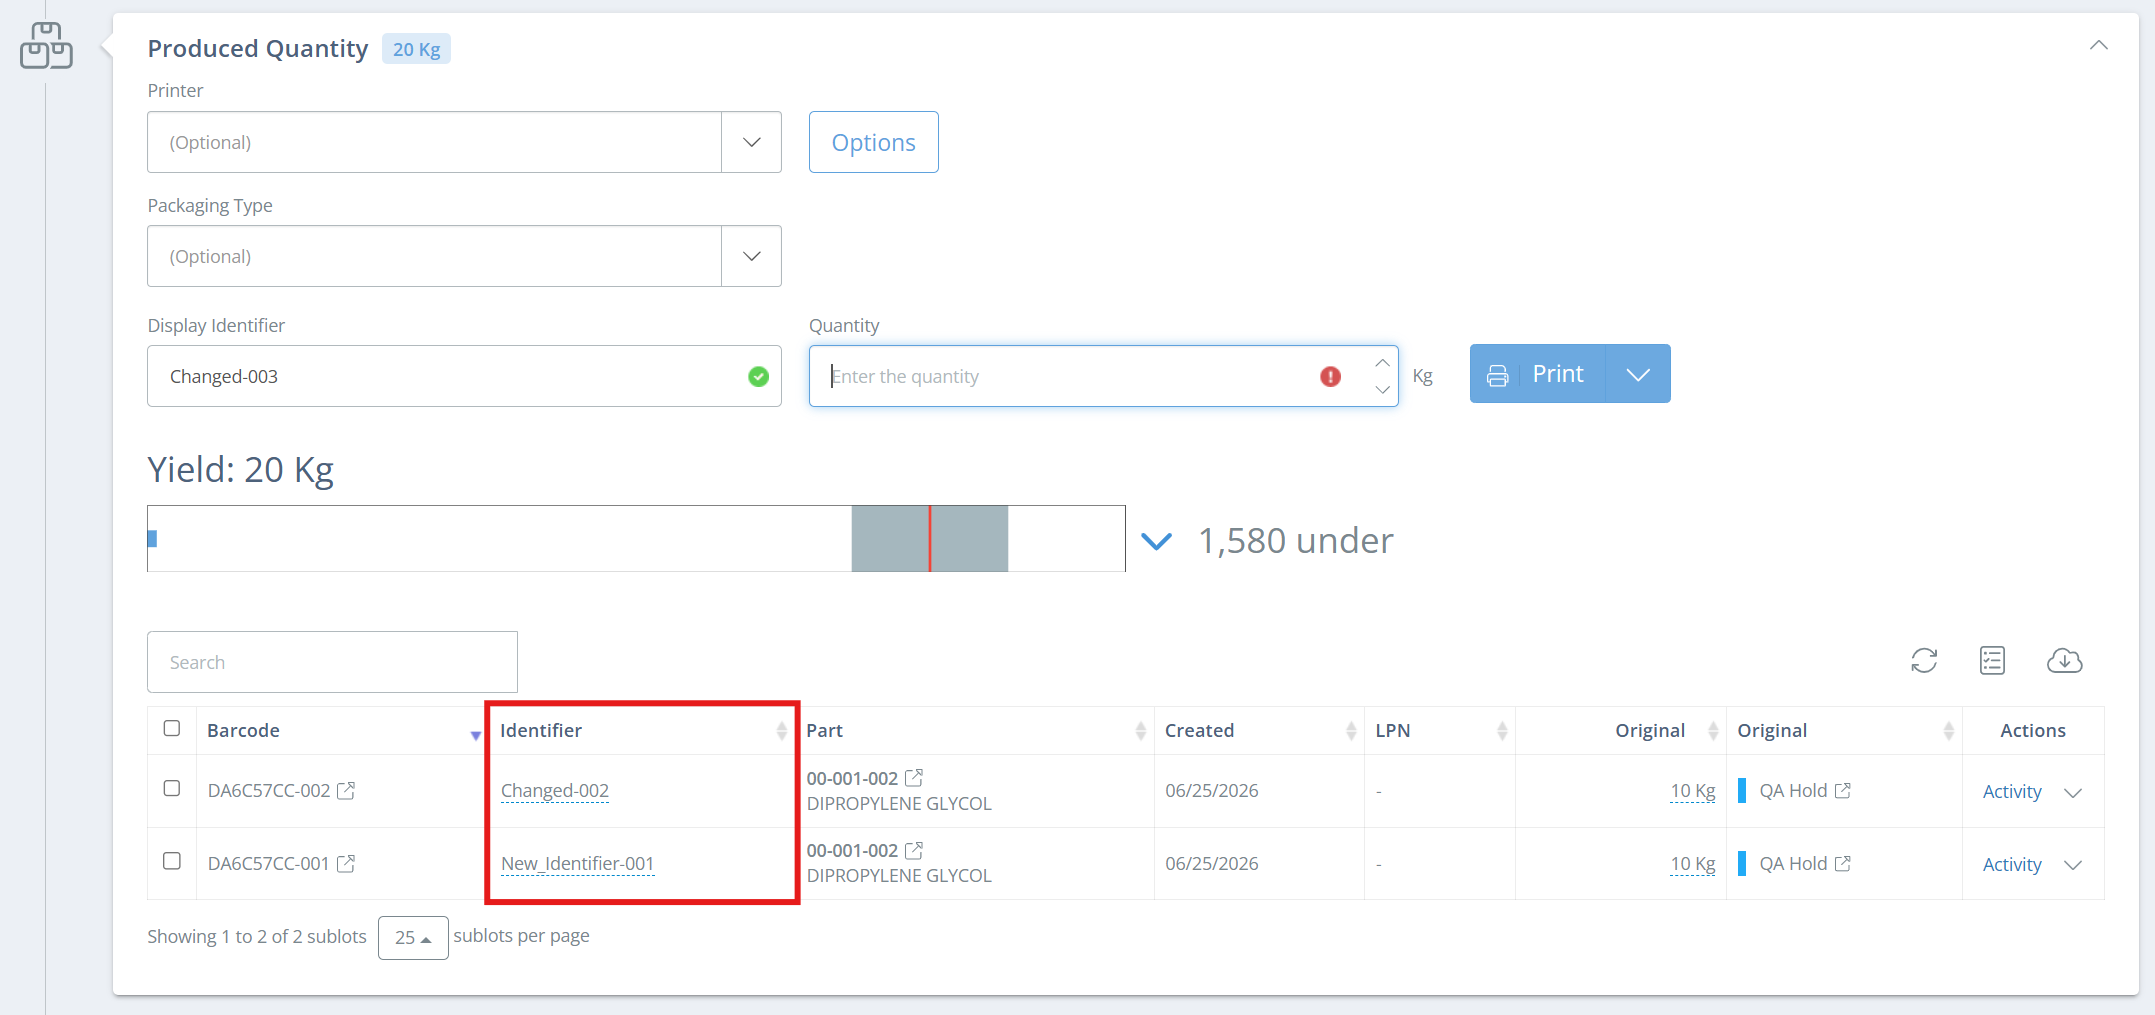
On a production record, you'll see both a Barcode and a Display Identifier field when printing labels. The Display Identifier field is purely for visual purposes, and it doesn't have to be unique across parts, though it's still recommended to be. The Barcode is the DataNinja-generated identifier**, and will always be unique; it also cannot be changed.
**If you have the 'User Generated Barcode' setting checked on the BOM, then the Barcode will be the identifier entered by the user who schedules production. It must still be unique, and cannot be changed after the manufacturing record is created.
Changing the Display Identifier
To change the Display Identifier on a production record, click in the Identifier field and enter the desired lot number.
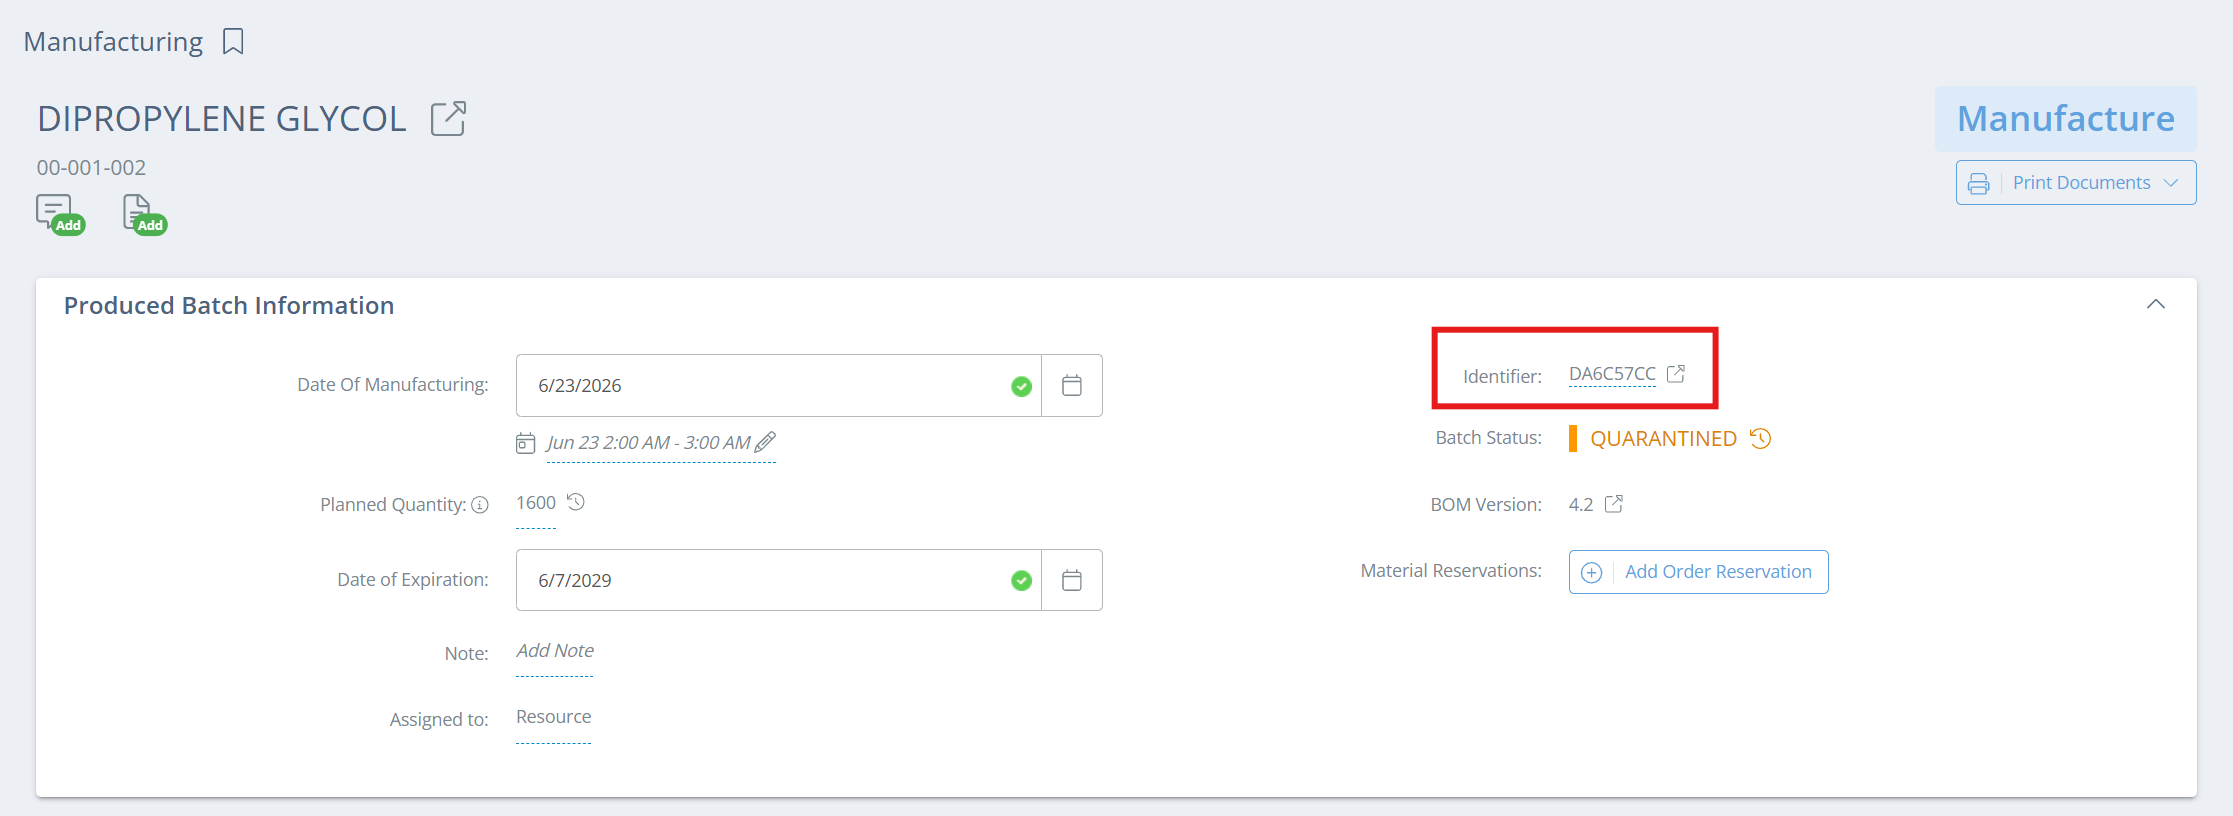
Note that changing this field does not change the DataNinja-generated Barcode. When printing the manufactured good labels, you'll see both the custom Display Identifier as well as the default Barcode.
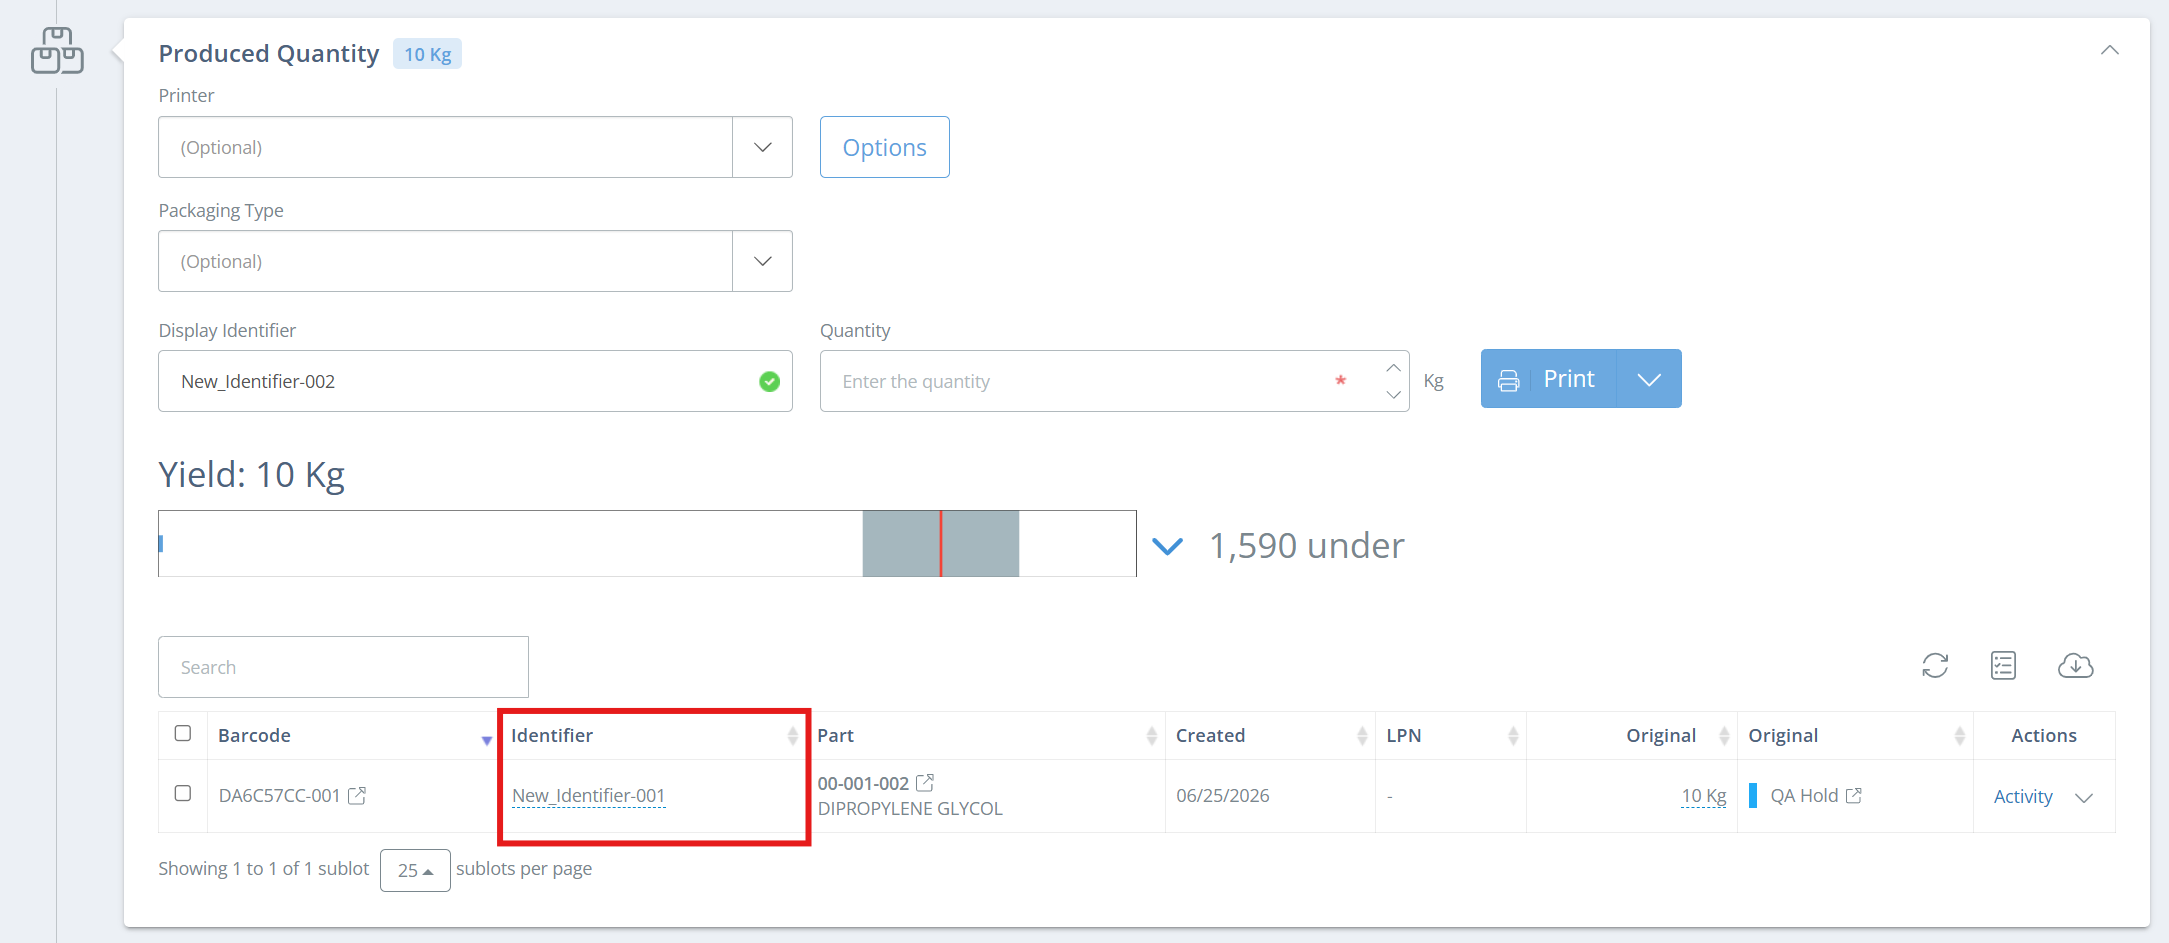
The Display Identifier can be changed at any time. If you change the Display Identifier partway through production and print the labels, the new Display Identifier will be reflected (if your manufacturing labels are set up to show the Display Identifier) on the printed labels. The Identifier column in the Produced Quantity section of the record will also show the change, but the Barcode will always remain the same.
NetSuite IdentifierNetSuite only syncs the Barcode, not the Display Identifier. So if you need NetSuite to record a specific lot number, it must be entered as the Barcode.
Updated 2 days ago