
Part Classifications
Track handling requirements for a part, including allergen tracking
Español: Lee esta página en español.
Français : Consultez cette page en français.
This page applies to DataNinja tenants integrated with NetSuite or QuickBooks Online, and to tenants with no finance system integration. The workflow in DataNinja is the same across integrations; where a financial system changes behavior, the integration-specific note calls it out.
Items that are synced with an integration will show the relevant integration's logo. Screenshots on this page may show the NetSuite logo, but tenants integrated with QuickBooks Online will see that logo instead. Tenants with no financial integration won't see any logo.
Part Classifications are used to track Allergens and other handling requirements (e.g., milk, soy, organic, etc.). These can also be used to control what locations and zones a part can be transferred to.
Creating New Classifications
To get to the Part Classifications page, click on the gear icon in the top right, then select 'All Lists' in the Lists column. On the All Lists page, click on the 'Part Classifications' option.
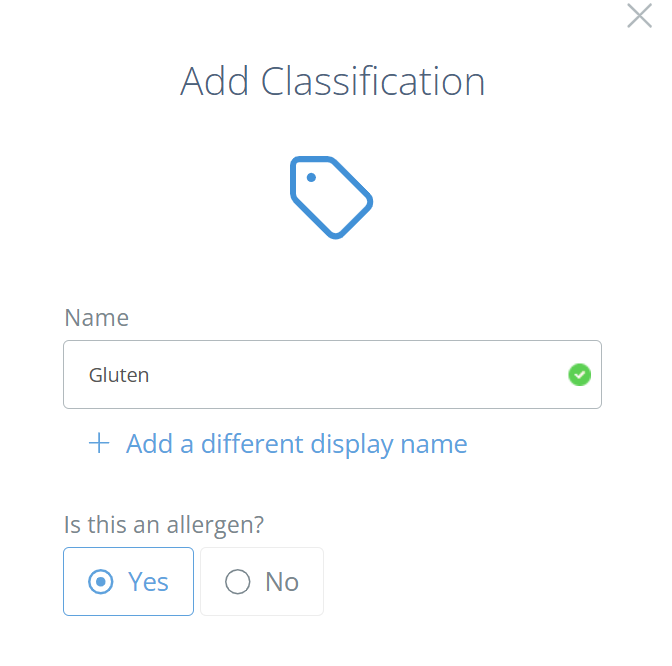
On the Part Classifications page, click "Add Part Classification". Then in the new aside, fill in the name of the Classification, a different display name (if desired), and mark if it is an allergen before saving.
Editing a Part Classification
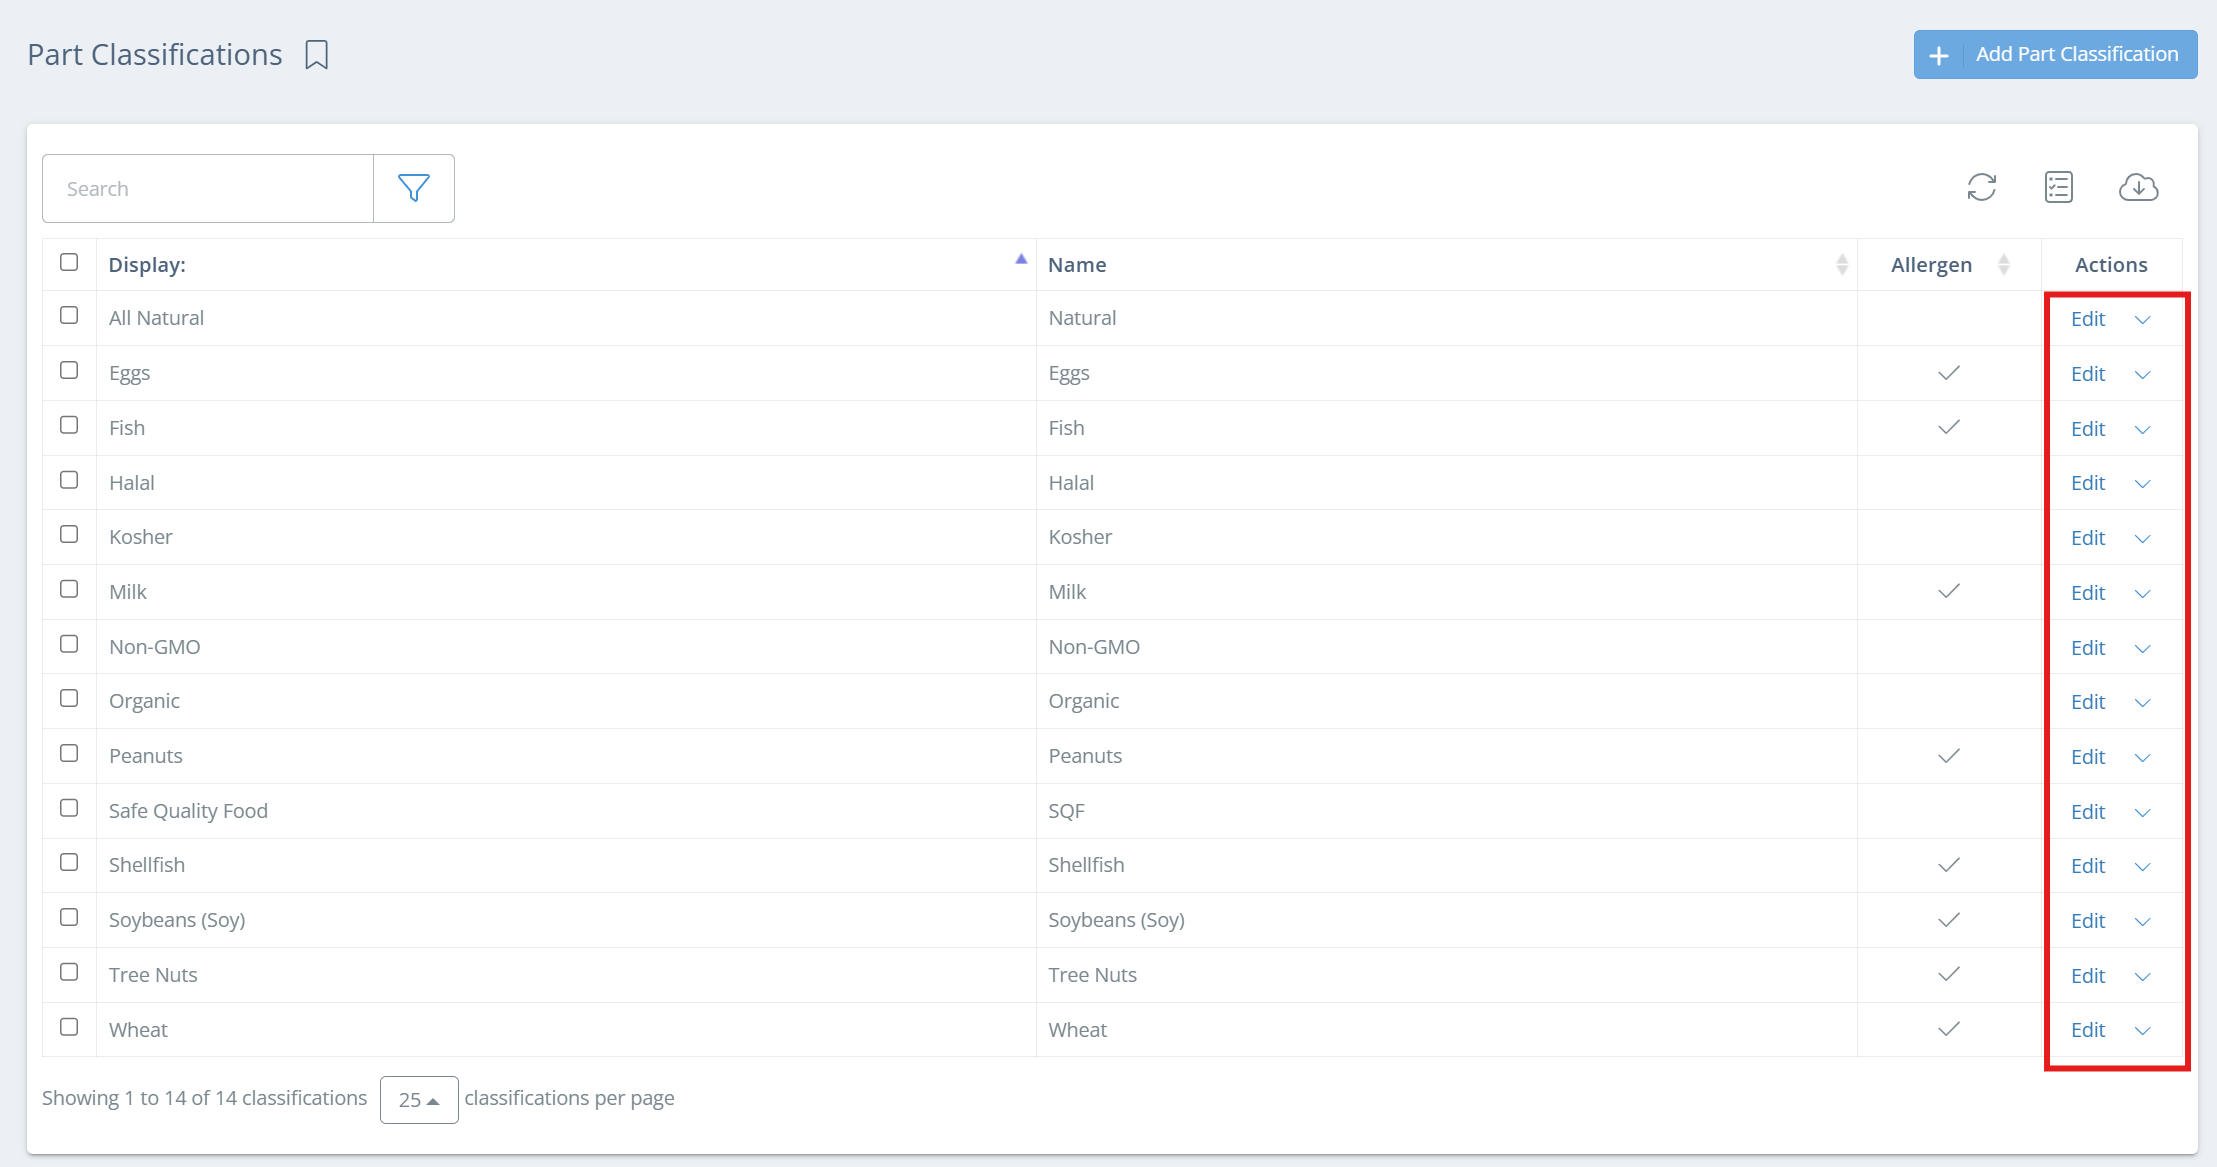
From the Part Classifications page, double click on a Classification or click edit on the far right to open the sidebar, and make sure to save any changes before exiting.
Add Classifications to an Existing Part
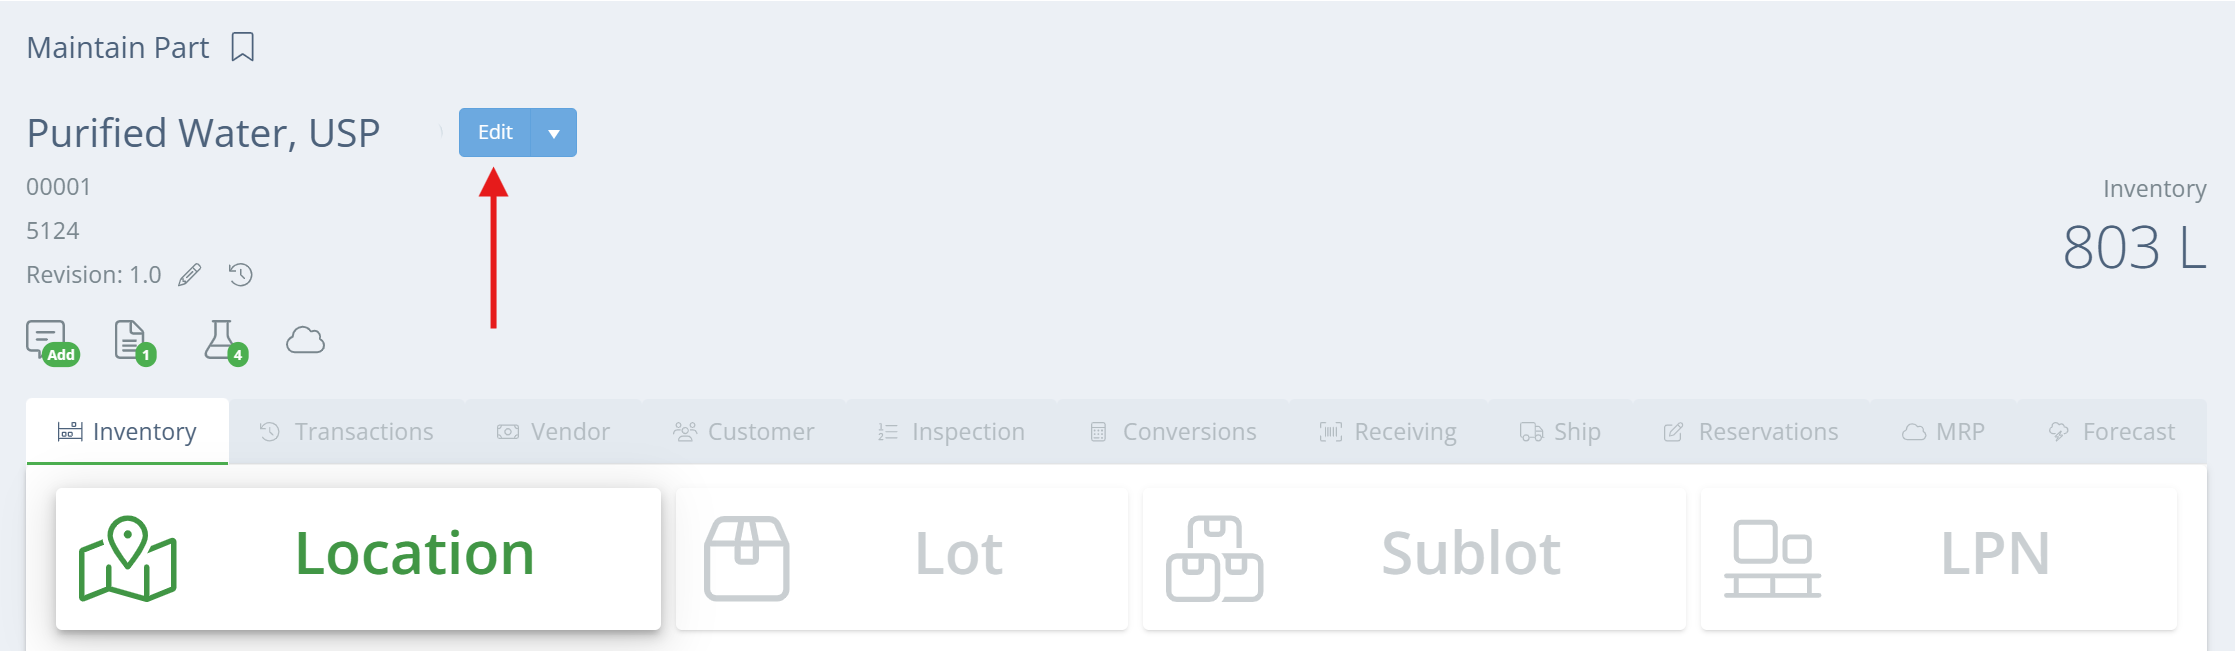
On the Parts page, double click on the part to open the Maintain Part page, then click "Edit".
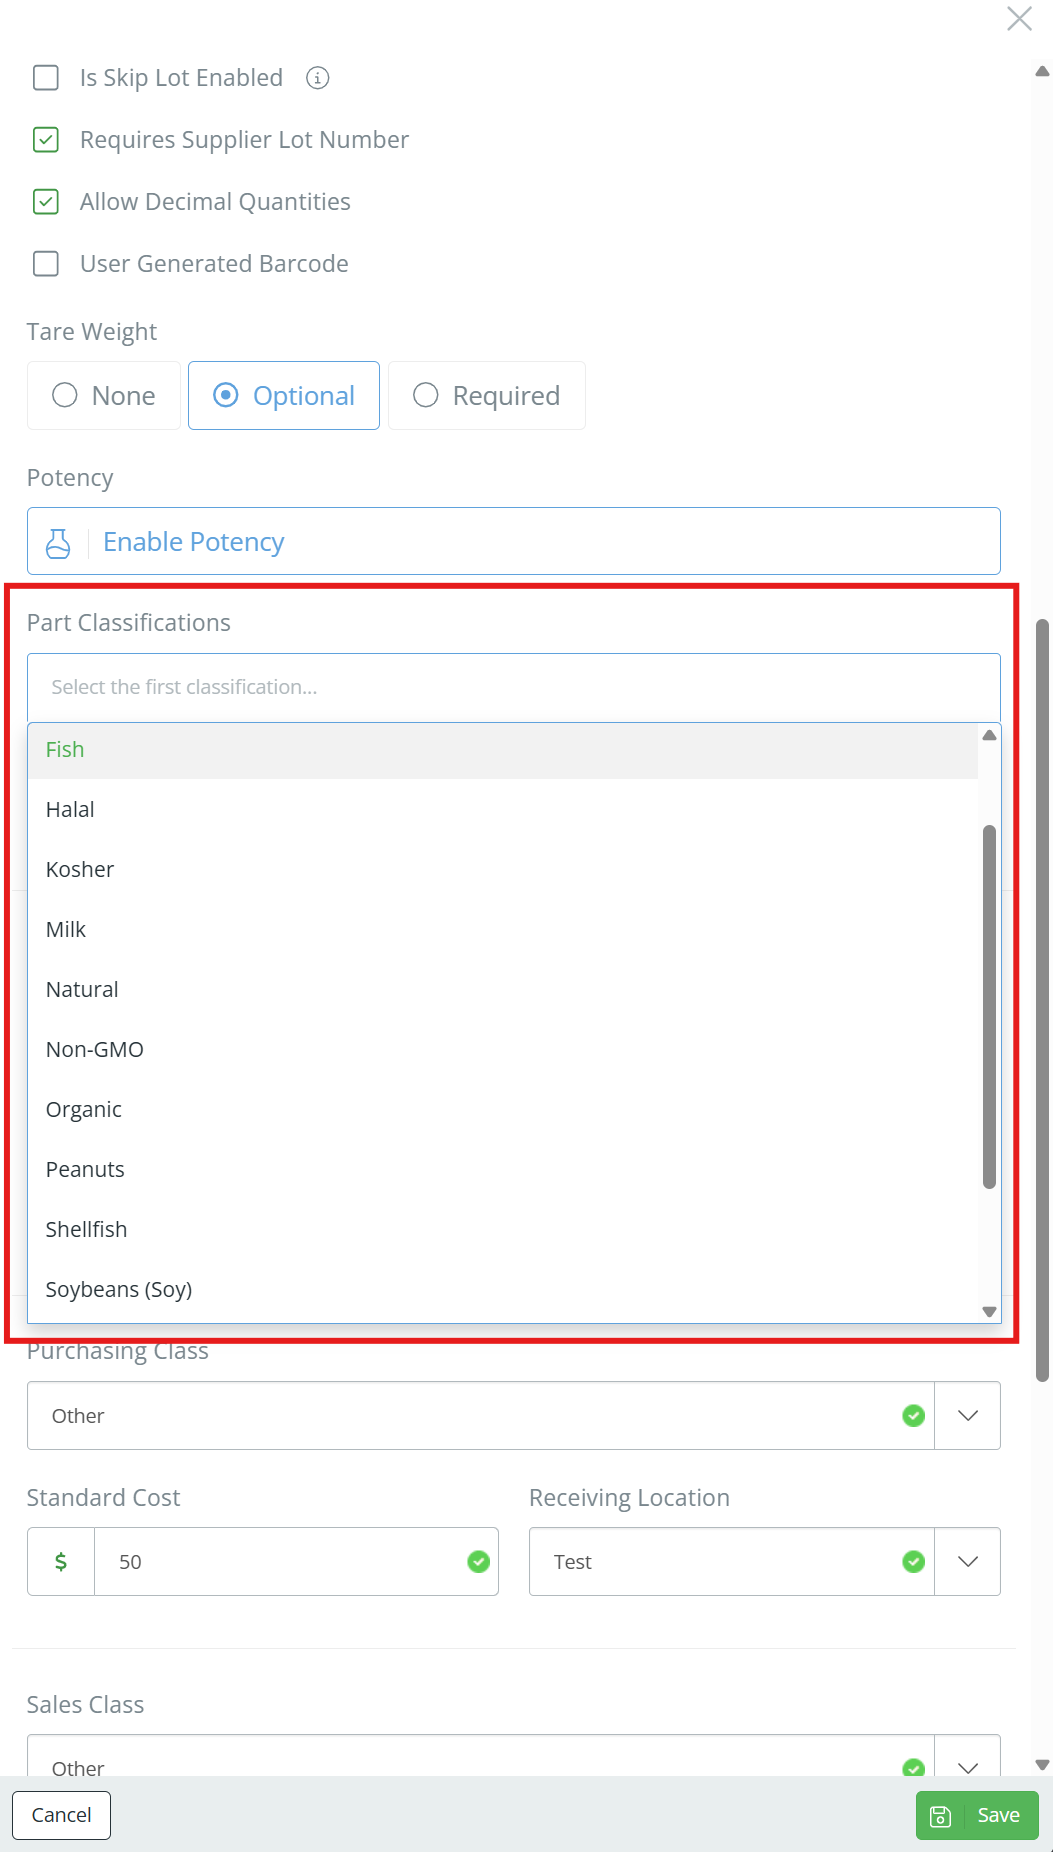
In the Part Classifications box, select all applicable classifications and hit Save when done.
Updated about 17 hours ago