Setting Up Your First BOM (Archived)
All information is present on Bills of Materials page
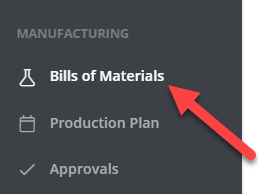
1. Click on "Bill of Materials"
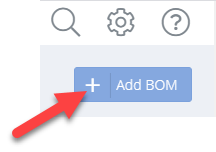
2. Select "Add BOM"
Blue button, near the top right corner of the screen
3. Which part does this BOM generate?
Select the part that will be produced into inventory whenever this BOM is executed.
Tip
Start with one of the things you make the most often. This first BOM will go slow, but it will get fast after you go through the process a few times and learn how to bulk edit, and copy BOMs.
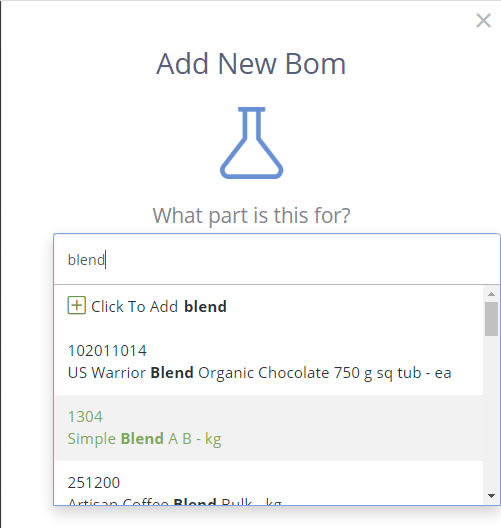
Selecting the to-be-produced part from the dropdown will reveal the following fields:
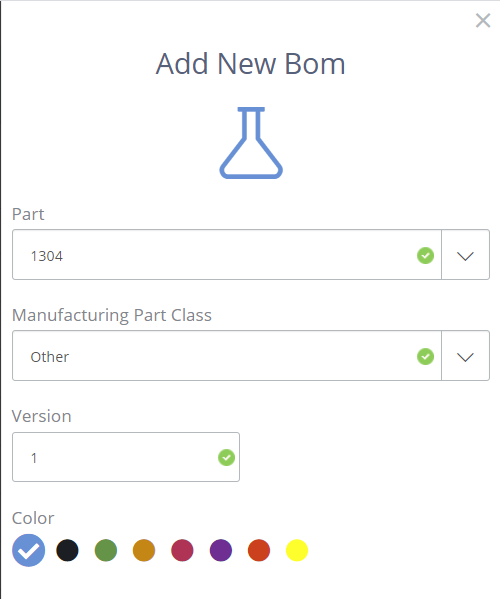
Manufacturing Part Class (Optional, Alpha Numeric)
This field is used to "tag" groups of BOMs into strata for sorting, grouping, and reporting. Go with the default of "Other" if nothing comes to mind (this is easy to add later).
*Version (Required, Alpha Numeric)
A BOM's version is what makes it unique. Start with 1 or 01 unless you have a pre-defined formula or recipe you would like to migrate from existing paperwork.
**Color (Selection, Optional)
Each run of this BOM will get its own "dot" and Lot Number (identifier) on your production plan. Assigning different types of BOMs to specific colors will make it visually easier to balance the schedule. This is easy to change later, go with the default blue unless something else makes sense.
Show additional fields (+)
These extra fields are each optional.
Default Batch Size - What is the most common batch size for this formula/BOM/recipe?
Minimum Quantity - Smallest allowable batch size for this BOM.
Maximum Quantity - Largest allowable batch size for this BOM.
Location - Which Inventory Location should the output of this BOM be created into?
Customer - Use if this formula/BOM/recipe is for a specific customer only.
4. Save it!
Click the green "Save and Close" button at the bottom left corner

5. Celebrate! But not too much.
You just created the structure for your first DataNinja BOM! Next here are your next steps:
A. Required Parts
B. Process Steps
C. Approval Steps
Each BOM needs these details filled in for DataNinja to do paperless manufacturing.
6. Release your BOM
Now that your BOM is complete setting the BOM's Lifecycle to "Released" will make it possible to schedule the BOM on your production plan.
From the "Edit BOM" view. Toggle the Lifecycle to Released near the top right of the screen
7. Scheduling Production
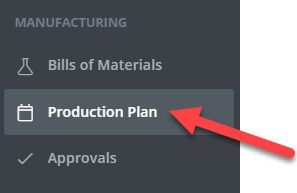
Select "Production Plan" from the main menu.
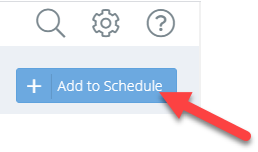
Tap "Add to Schedule". Blue button, top right
For more details instructions see Scheduling Production
Updated 8 months ago
