Connecting with QuickBooks Enterprise
How to start the bidirectional sync between DataNinja and QuickBooks Desktop Enterprise
1. Download Your QWC File From DataNinja
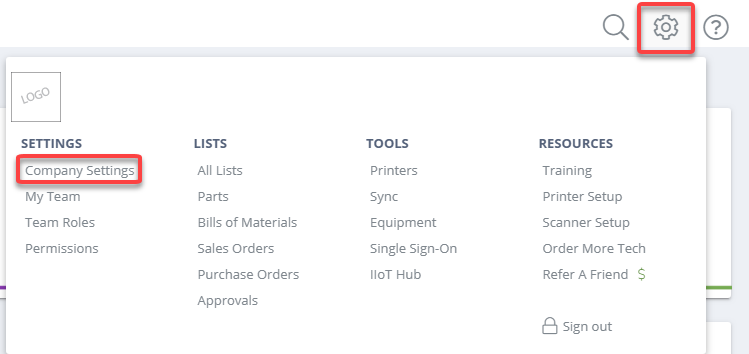
From any page, tap the gear icon and select Company Settings.
2. Upload QWC File to QuickBooks Web Services (Intuit Web Connector)
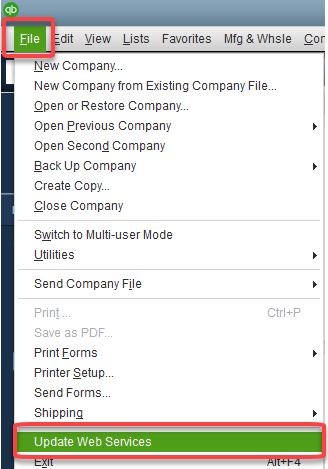
In QuickBooks Enterprise; click File then Update Web Services.
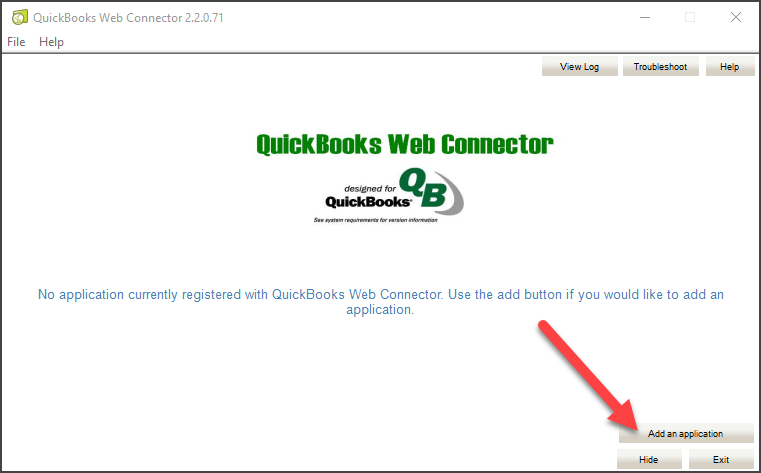
The QuickBooks Web Connector window will pop-up. Click Add an application .
Locate and select the QWC downloaded from your DataNinja account in step 1.
3. Authorize the Web Service
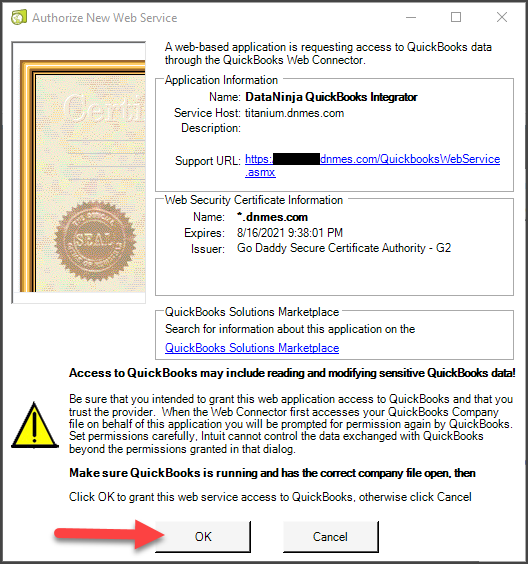
Allow the sync between QuickBooks Enterprise and DataNinja to operate at all times. This selection is recommended over Yes. whenever this QuickBooks company file is open so that the sync is not terminated at times when the user authorizing the web connector is not logged into QuickBooks.
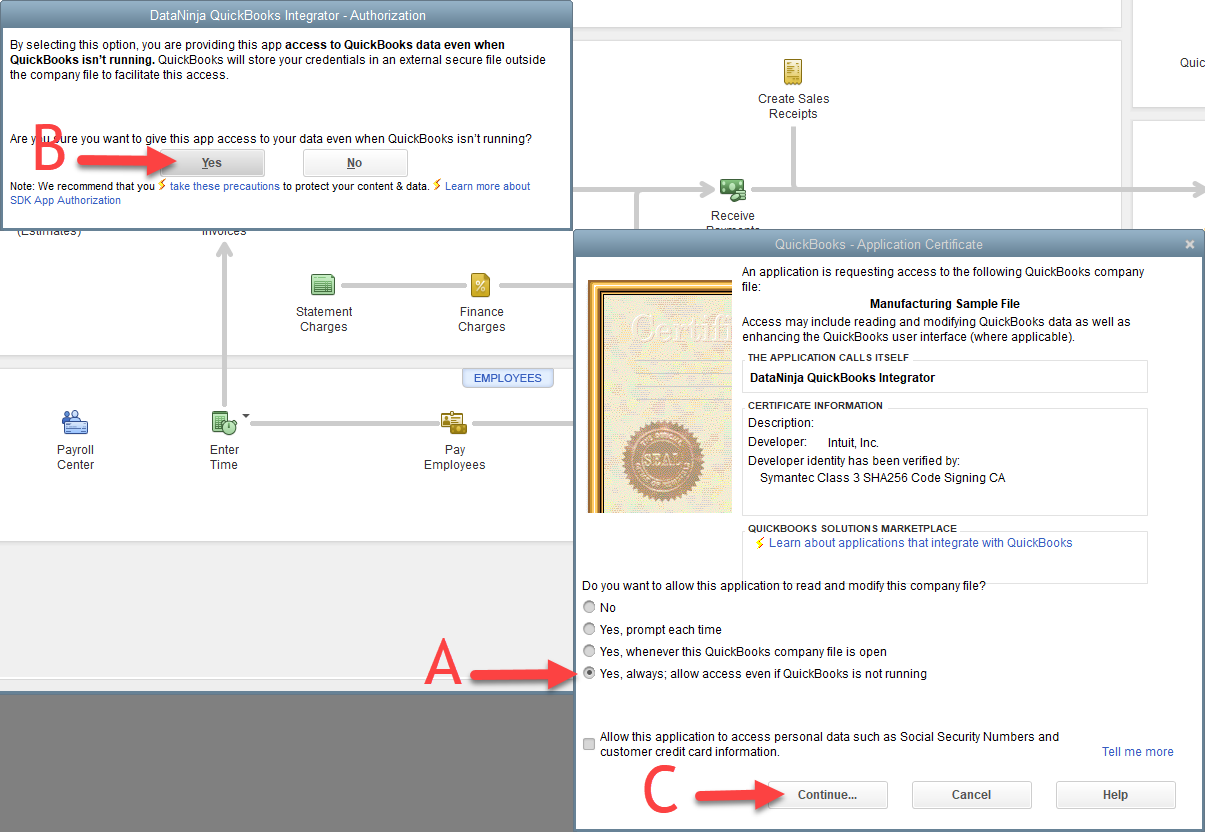
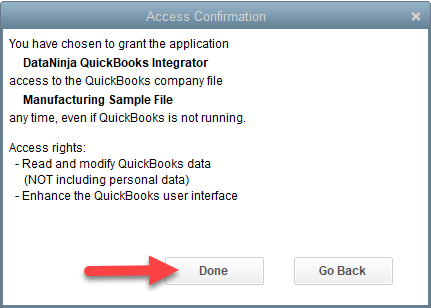
Click Done in the Access Confirmation Window.
4. Add DataNinja Account Password to QuickBooks Web Connector
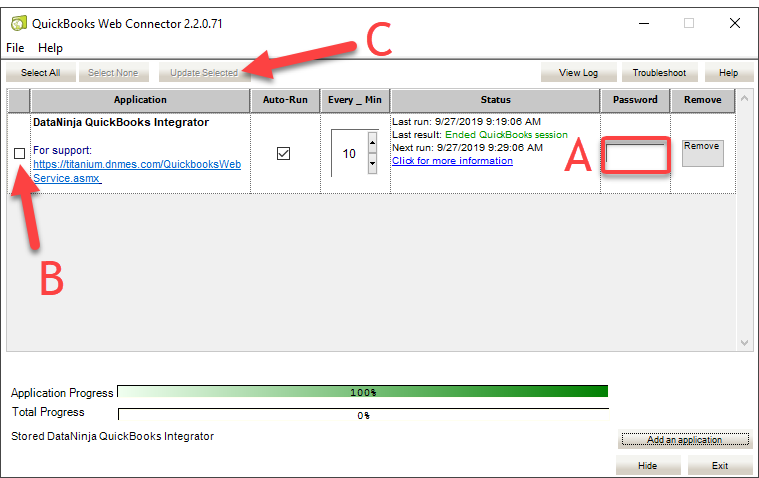
A. Add the DataNinja password of the user who was logged in during step 1 (when the QWC file was downloaded from DataNinja)
B. Check the box marked by arrow B in the image below
C. click Update Selected
5. Celebrate
You just seriously upped the game on real-time financial controls. The bidirectional sync with QuickBooks is up and running.
Updated about 1 year ago
